July 6, 2026•15 min read
How to Create Your First AI Fashion Model (Step-by-Step Guide)
A true beginner's walkthrough to building your first AI fashion model: write the prompt, pick the look and pose, generate a batch, fix bad outputs, and save a reusable persona for your whole collection.
Picture of How to Create Your First AI Fashion Model (Step-by-Step Guide) article
Most tutorials skip the part that actually matters. They hand you a garment photo, tell you to drop it on a stock body, and call the model a checkbox. But if you want a face you can use again next season, you have to build the person first. That is what this guide is about: learning how to create an AI fashion model from a written prompt, then saving it as a persona you own and reuse.
This is written for someone who has never opened an AI model tool. No design degree, no photography background, no idea what a "seed" or a "reference image" is. By the end you will have written your first prompt, generated a batch, thrown out the bad ones, fixed the prompt line that caused them, and locked in a repeatable model you can dress in your real garments. The whole first attempt takes about 20 minutes.
The timing is not an accident. The AI in fashion market was worth around $3.14 billion in 2025 and is projected to hit roughly $60.57 billion by 2034, a compound growth rate near 39% (Precedence Research). Brands are moving to this because the math is brutal, and I will get to the numbers later.
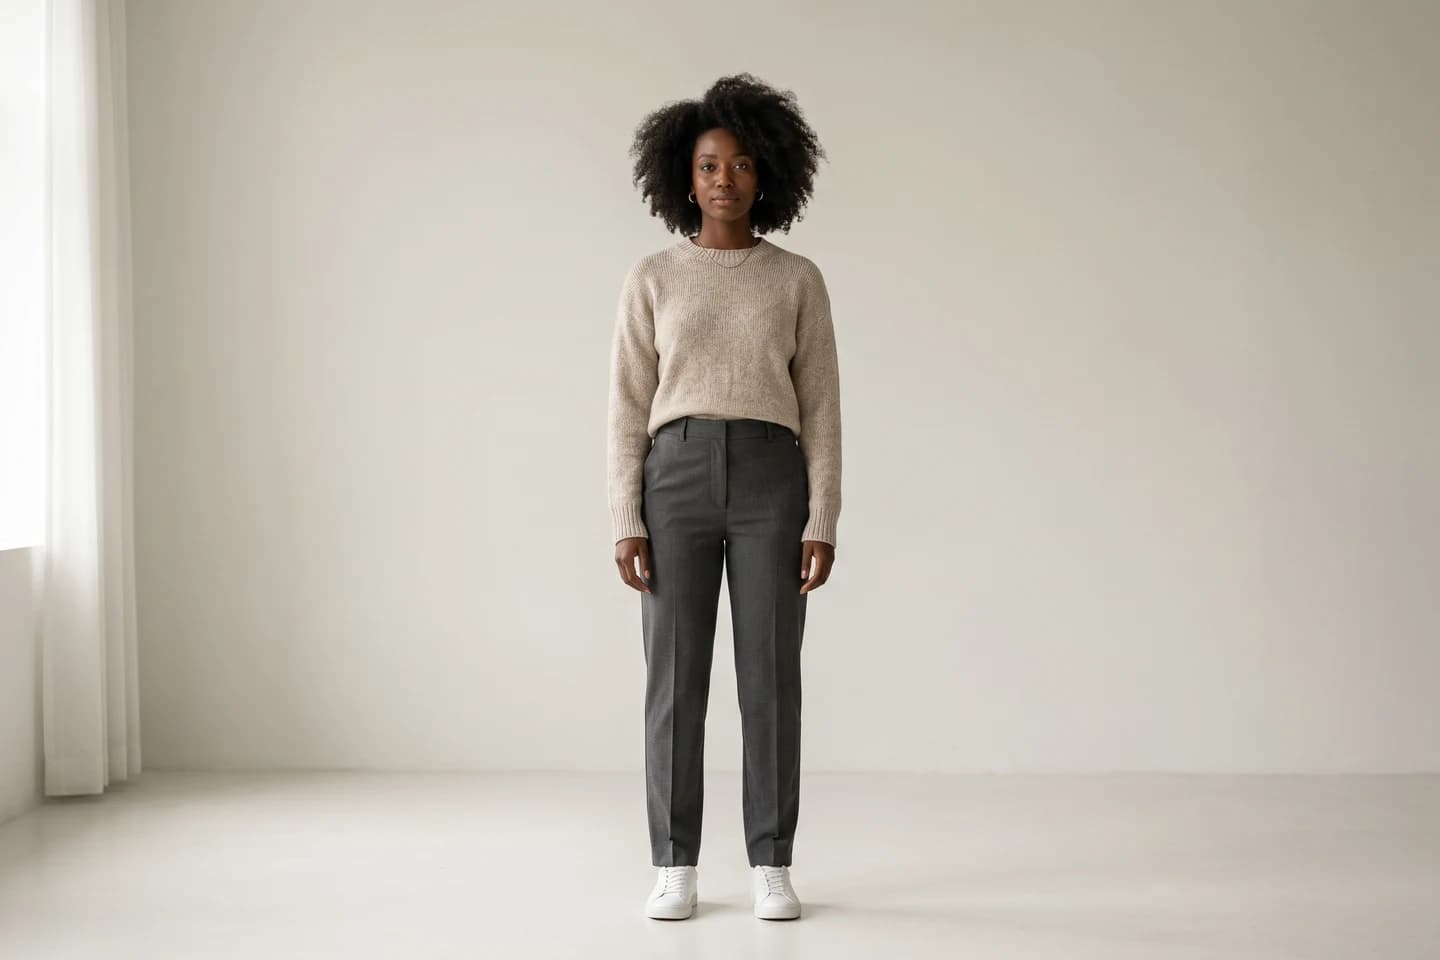
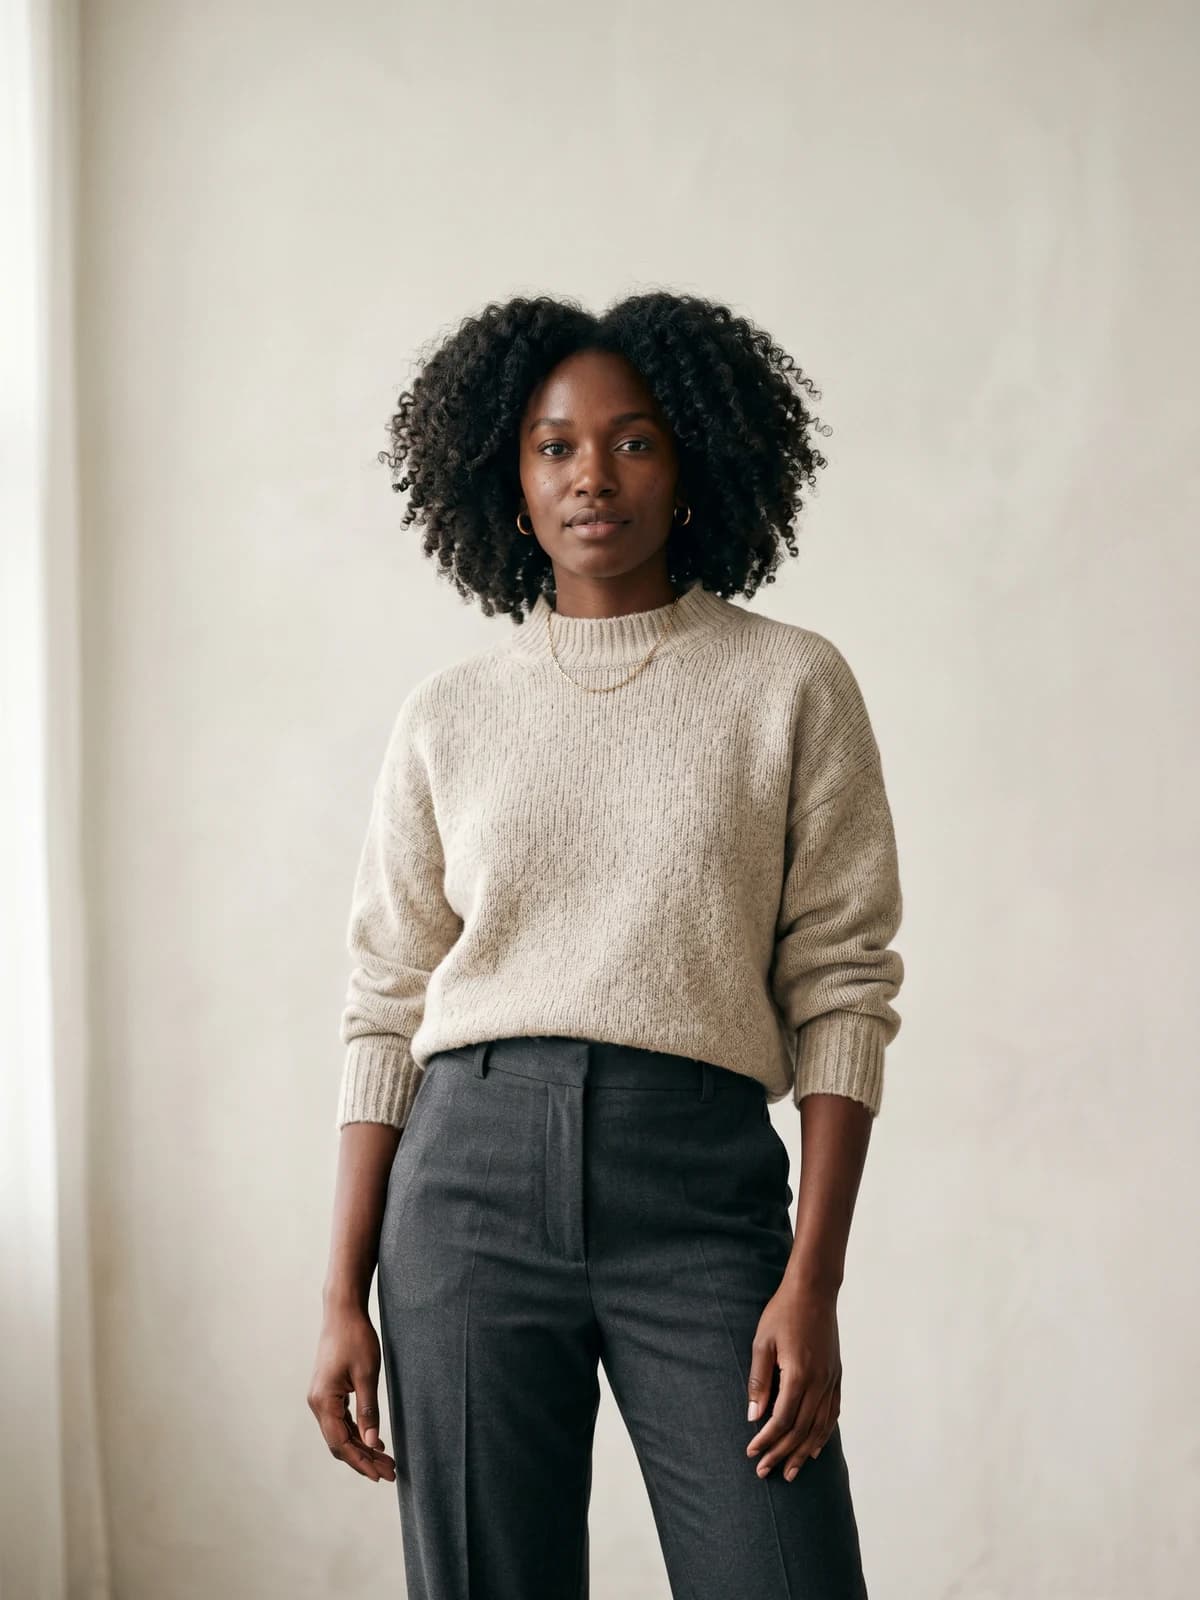
Create your own AI fashion models
Generate diverse, brand-consistent models from a simple prompt and reuse them across every campaign.
What is an AI fashion model, and what can you do with one?
An AI fashion model is a digital person generated by software instead of hired for a shoot. You describe a face, a body, an age, and a vibe in words, and a text-to-image system renders a photorealistic human who does not exist. There is no agency booking, no call sheet, no release form to chase.
Once you have one, you can put it to work in a few ways:
- Show your clothes on a body so shoppers can picture the fit
- Keep the same face across an entire catalog for a consistent brand look
- Reshoot the same model in new poses, seasons, and backgrounds on demand
- Build a small cast of models that match your customer base
The key difference from a garment-first workflow is ownership. When you generate a model as a persona, you are not renting a random body for one photo. You are creating a repeatable asset. That distinction runs through every step below.
What you need before you learn how to create an AI fashion model
You need less than you think. Here is the honest checklist.
- An AI model tool. Something that turns text prompts into photorealistic people. WearView handles this alongside try-on and product-to-model, so you can build the model and dress it in one place.
- A clear idea of your customer. Age range, style, the kind of person who buys from you. Your model should look like someone your audience recognizes.
- Garment photos, if you plan to dress the model. Clean, well-lit shots help. Product images should be at least 1024 pixels wide on a plain background so fabric texture and prints survive the generation (Designkit).
- Fifteen minutes and a willingness to iterate. Your first prompt will not be perfect. That is normal and the fix is quick, and you can start from prompts written for clothing product photos instead of a blank box.
You do not need Photoshop skills, a camera, or any 3D software. If you can write a text message describing a person, you can write a prompt.
Step 1: Pick your starting point (text prompt or reference photo)
Every AI model starts one of two ways, and beginners freeze here because nobody explains the trade-off. Here it is.
| Starting point | Best for | Control you get | Watch out for |
|---|---|---|---|
| Text prompt | Building a model from scratch, full creative freedom | You describe every attribute in words | Vague prompts give generic faces |
| Reference photo | Matching a specific look or existing brand style | The tool copies the reference's features | You need rights to use the reference |
For your first model, start with a text prompt. It teaches you the vocabulary and it does not depend on sourcing an image you have permission to use. A reference image is worth adding later, once you know the look you want to lock in. If you already have a signature model and want variations of that same face, a reference photo plus a tool built for consistent AI models is the faster path.
Pick text-to-image now. Reference matching can wait until Step 6.
Step 2: Write your AI fashion model prompt
This is the part every competitor glosses over, so slow down here. A good AI fashion model prompt is not one sentence. It is a stack of decisions, and the order matters because the tool reads the front of your prompt as the most important. Build it top to bottom:
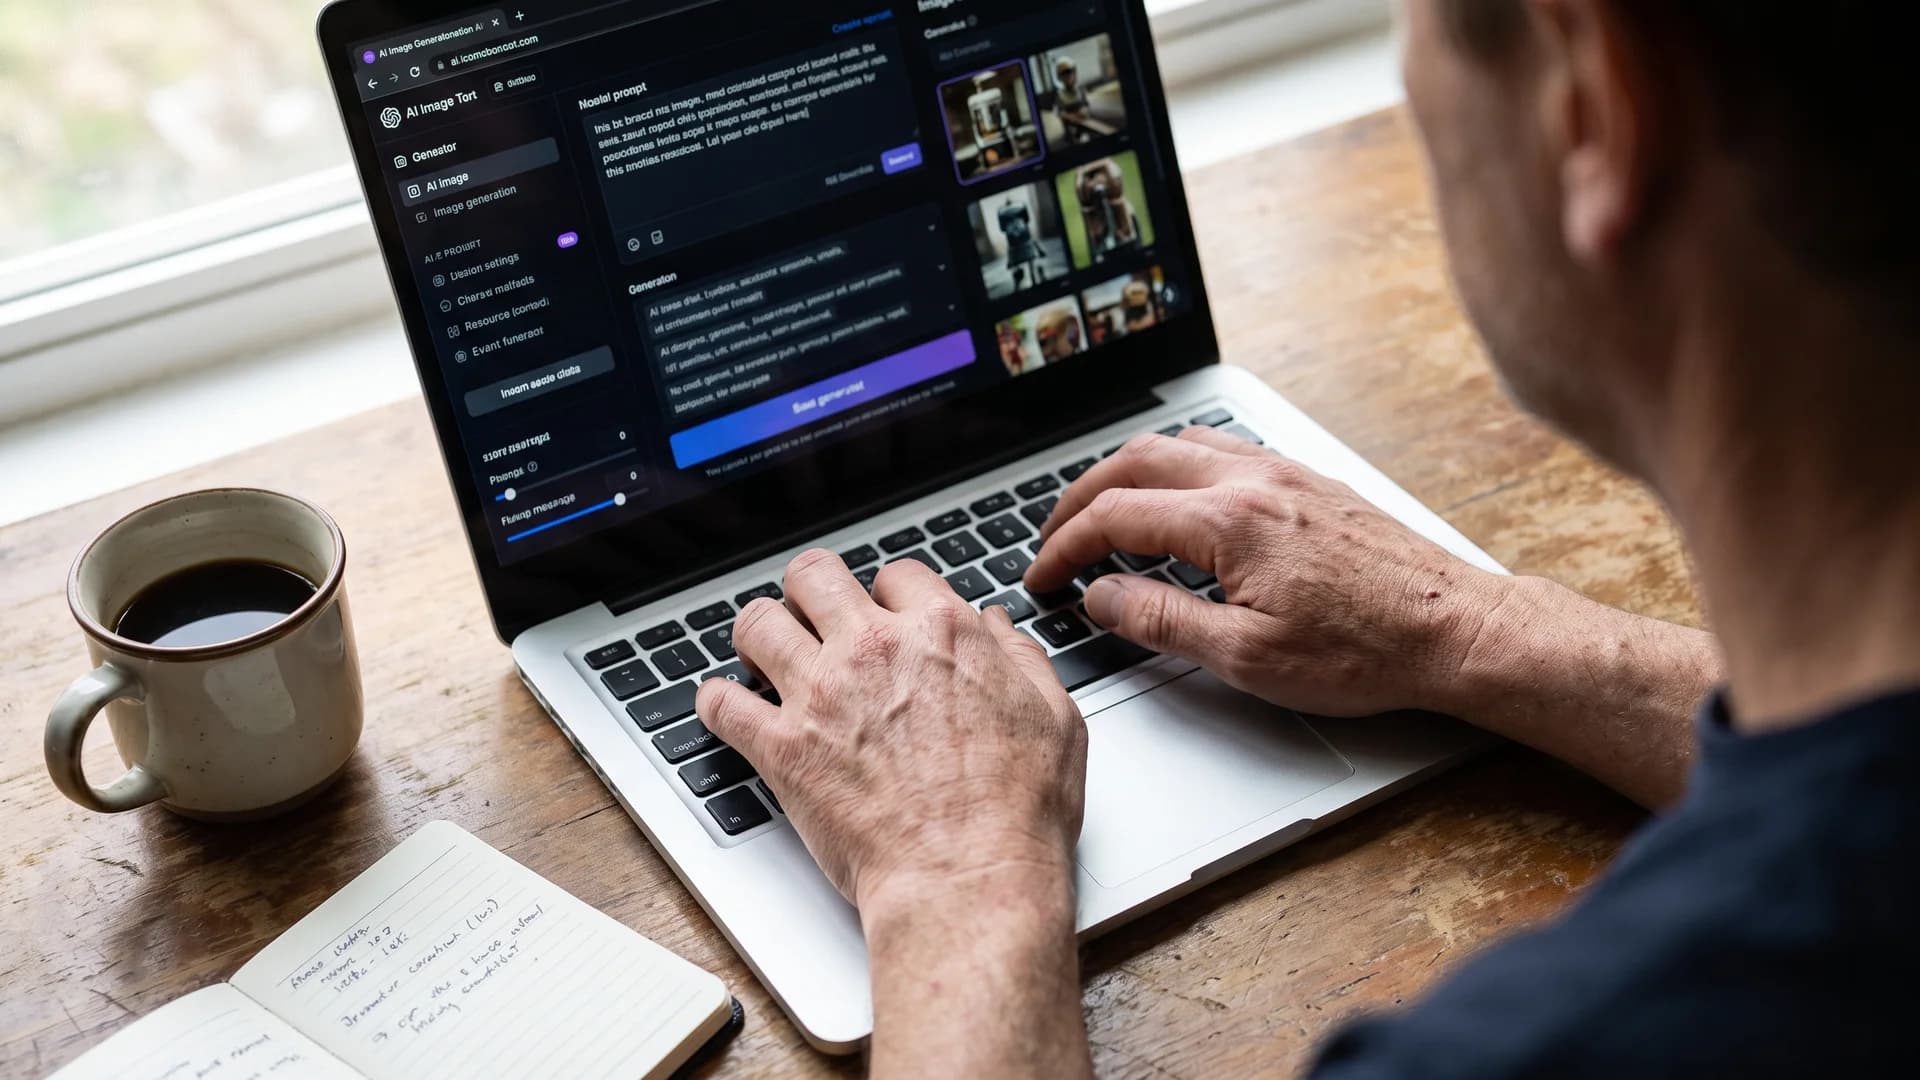
Writing an AI fashion model prompt on a laptop at a desk
- Shot type. Full-body, three-quarter, or close-up portrait. Start with three-quarter, it shows both the face and the outfit.
- Facial features. Face shape, eye and hair color, hairstyle, expression. "Soft round face, natural relaxed smile, dark shoulder-length hair."
- Age and heritage. Be specific and realistic. "Woman in her late 20s, East Asian features."
- Body type. Give an actual description, not a euphemism. "Mid-size, average build, size 14." Vague bodies default to the same thin template every time.
- Wardrobe. What the model wears in this base shot. Keep it simple and neutral so the face reads clearly.
- Environment. "Plain light grey studio backdrop" is the safest first background.
- Lighting. "Soft even studio lighting, no harsh shadows."
Strung together, a first prompt looks like this:
Three-quarter shot of a woman in her late 20s with East Asian features, soft round face, natural relaxed smile, dark shoulder-length hair, mid-size average build, wearing a plain white crew-neck tee, plain light grey studio backdrop, soft even studio lighting, photorealistic.
Notice what is not in there: no "beautiful," no "perfect," no "flawless." Those words push the model toward plastic, airbrushed skin. If your tool supports a negative prompt, add the things you do not want, like "plastic skin, cartoon, distorted hands, extra fingers." A short negative prompt does a lot of quiet work. Prompt-writing is a skill you build fast once you see which words move the output.
Step 3: Set the pose, background, and lighting
You have a face. Now direct the shot. Most tools separate this from the base prompt so you can keep the same model and just change the scene.
- Pose. Start neutral: standing straight, arms relaxed, facing the camera. Neutral poses are the easiest to keep consistent later. Once your model is locked, you can branch into walking, seated, or over-the-shoulder shots. Tools with pose control let you feed a reference pose so the body matches a shot you already have in mind.
- Background. Studio grey and clean white are the workhorses for product pages. Save the coffee-shop-and-golden-hour scenes for lifestyle and social content, not your core catalog.
- Lighting. Soft and even reads as professional and forgiving. Hard, directional light looks dramatic but exposes any weirdness in AI-rendered hands and hairlines.
A simple rule for your first models: change one variable at a time. If you swap the pose, the background, and the lighting all at once and the result looks off, you will not know which choice broke it.
Step 4: Generate your first batch and pick the keepers
Do not generate one image. Generate a batch of four to eight. AI models vary run to run even with the same prompt, and you want options to compare. A single output is a coin flip; a batch is a shortlist.
When the batch lands, judge each one against a short list:
- Hands and fingers. The classic tell. Count the fingers.
- Eyes. Both looking the same direction, symmetric, not glassy.
- Skin. Real pores and slight texture, not a smooth wax finish.
- Proportions. Head-to-body ratio, natural neck and shoulders.
- Garment. If you dressed the model, check the fabric, seams, and any text or print.
Keep the two or three that pass. Discard the rest without overthinking it. Speed here matters more than perfectionism, because you are about to refine anyway. Your goal at this stage is a "good enough" base face you can commit to, not a finished campaign image.
Step 5: Read your results and fix the prompt
This is the section nobody writes, and it is the one that will actually make you good. A bad output is not random. It is your prompt telling you which line to change. Learn to read it.
| What you see | Likely cause | Prompt fix |
|---|---|---|
| Plastic, airbrushed skin | "Beautiful," "flawless," or no texture cue | Add "natural skin texture, visible pores"; add plastic to the negative prompt |
| Face keeps changing between runs | No fixed identity, prompt too vague | Lock a seed or save the model as a persona (Step 6) |
| Body looks nothing like described | Body line buried too low or too vague | Move body type higher in the prompt, use specific size language |
| Warped hands | Complex pose or busy background | Simplify the pose, use a plain backdrop, add "distorted hands" to negatives |
| Wrong age | Age cue too soft | State a decade, "late 20s," not "young" |
| Garment print smeared | Low-res garment input | Re-upload the garment at 1024px or wider on a clean background |
Change one line, regenerate a small batch, compare. Skin is the most common complaint and the easiest to over-correct into looking fake, so if you get stuck there, add a texture cue and dial it back until it reads natural. Two or three of these edit-and-regenerate loops usually gets a beginner to a model they are happy to keep.
Step 6: Save a reusable AI model persona for your whole collection
Here is the payoff, and the thing that separates a persona from a one-off image. A great single photo is nice. A model you can summon again next week, in a new outfit, with the same face, is a business asset.
To build a reusable AI model persona:
- Save the winning generation as your reference. This becomes the identity anchor.
- Give it a name and notes. "Maya, late 20s, mid-size, house model for basics." Write down the prompt that produced it.
- Regenerate from the reference, not the prompt. Feed the saved image back in so the tool copies the face, then change only the outfit, pose, or scene.
- Test consistency. Generate the same model in three different outfits. If the face drifts, tighten your reference or use a tool built for identity consistency.
This is where a purpose-built AI fashion model generator earns its keep over a generic image app. Keeping one face stable across a 40-product catalog by hand is painful; a tool designed for it does the anchoring for you. For inspiration on how real labels deploy a house model this way, see our roundup of brands using AI fashion models. Once your persona holds up across a few test outfits, you have something you can build an entire collection around.
AI fashion models vs a traditional photoshoot
I promised numbers, so here they are. Brands switch for two unglamorous reasons: cost and speed.
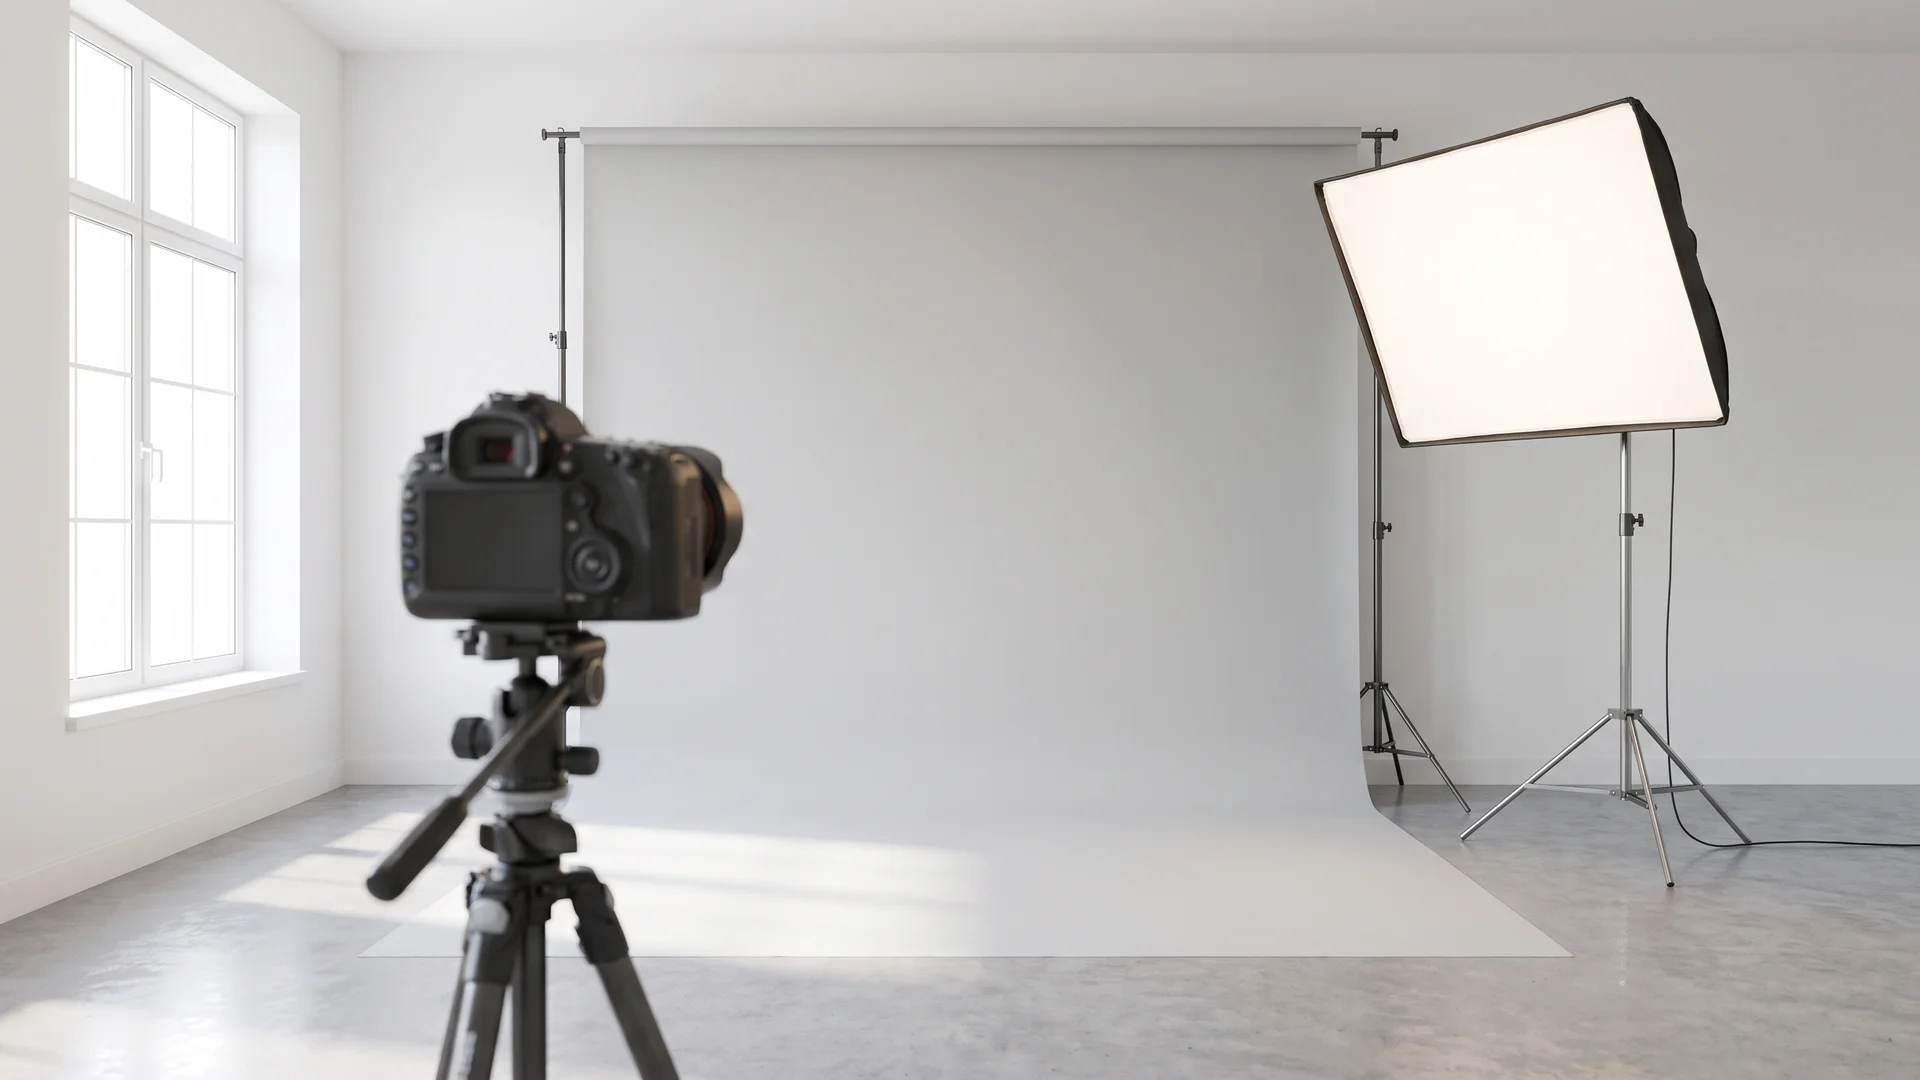
Studio setup used to create AI fashion model photography
| Factor | Traditional photoshoot | AI fashion model |
|---|---|---|
| Cost per day | $1,500 to $25,000+ | Monthly software subscription |
| Model fee | $500 to $2,000/day, top-tier $1,500 to $5,000+ | Included in the tool |
| Cost per product photo | Around $91 in one real 50-item shoot | Cents, effectively |
| Turnaround | Days to weeks (booking, shoot, edit) | Minutes |
| Reshoots | New booking, new budget | Regenerate on demand |
| New pose or background | Reschedule | Change one prompt line |
A professional shoot runs anywhere from $1,500 to more than $25,000 per day depending on scale (DojoBusiness). Agency model fees alone sit around $500 to $2,000 a day, with top-tier talent reaching $1,500 to $5,000+ (Tryly.ai). And a real-world 50-product shoot totaled about $4,550, roughly $91 per photo (Tryly.ai).
To be fair to the old way: a physical shoot captures real fabric movement and a specific human energy that still matters for hero campaigns. AI is not a wholesale replacement for every image a brand will ever need. But for catalog volume, quick tests, and reshoots, the cost gap is hard to argue with. If you want the full breakdown, WearView is built specifically as an AI fashion model generator for exactly this workflow.
Put your first AI model to work
A model with no clothes on it is a portrait, not a product. The last move is to dress it. Take your saved persona and run your real garments onto it, so every product on your site shows on a body your customer recognizes.
Two workflows do this:
- Product to model. Upload a flat-lay or packshot and place it on your saved model. WearView turns a flat garment into an on-model photo in under 15 seconds, which makes catalog-scale work realistic. Start with product to model when you have product shots to convert.
- Virtual try-on. Feed a single garment reference and preview it on the model before you commit. Reach for try on clothes with AI when you want to test looks fast.
Run the same persona through either flow and you get a consistent, on-brand set of images without booking a thing. The same set then feeds product pages, ads, social, and your next lookbook, which is where putting AI models to work across a clothing brand picks up.
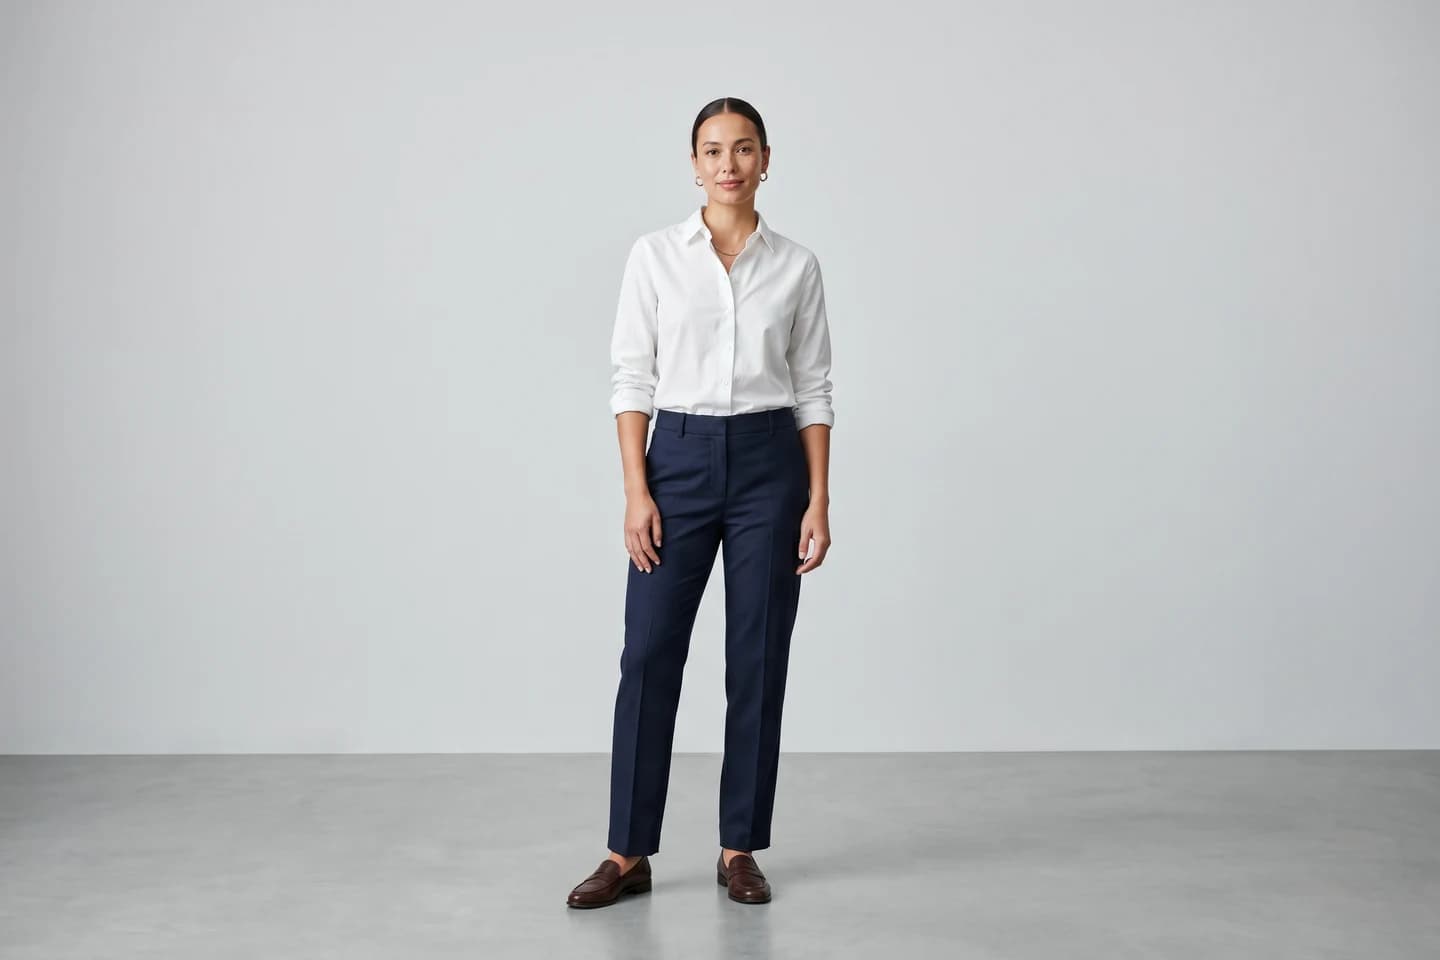
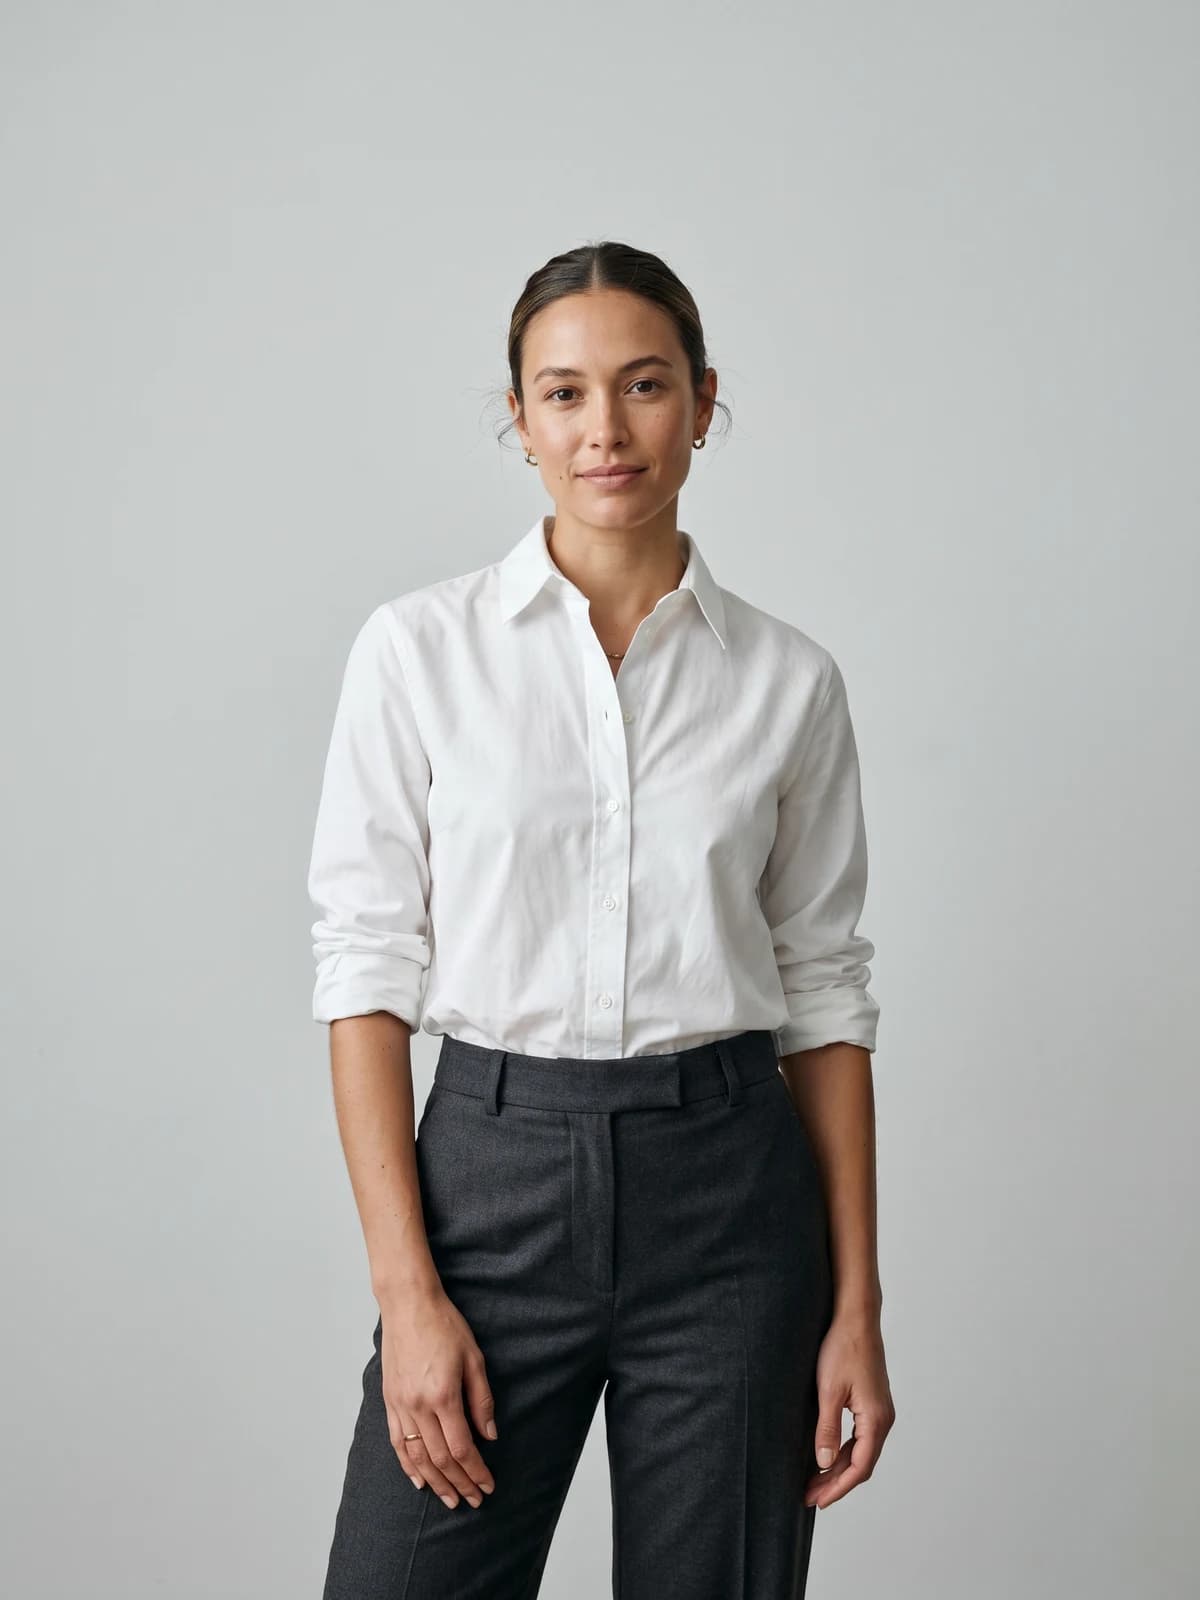
Turn flat-lays into on-model photos
Drop in a flat-lay or product shot and get professional on-model photography ready for your store.
Key takeaways: how to create an AI fashion model
- Build the person first, not the product. Write a text prompt before you touch a garment. The model is the reusable asset.
- Stack your prompt in order: shot type, face, age and heritage, body, wardrobe, environment, lighting. The front of the prompt carries the most weight.
- Generate a batch, not a single image. Compare four to eight, keep two, check hands, eyes, and skin.
- Read bad outputs as feedback. Each flaw maps to one prompt line. Change one variable, regenerate, compare.
- Save the winner as a persona. Name it, note the prompt, and regenerate from the reference so the same face carries across your whole collection.
- Then dress it. Use product-to-model or virtual try-on to put your real garments on the model you built.
FAQ
Can I create my own AI fashion model from scratch? Yes. You write a text prompt describing the face, age, heritage, body, and vibe, and a text-to-image tool renders a photorealistic person who does not exist. You do not need a reference photo to start, and you own the result to reuse.
How do I write a good prompt for an AI fashion model? Stack your decisions in order of importance: shot type, then facial features, then age and heritage, then body type, then wardrobe, environment, and lighting. Be specific with numbers and avoid words like "flawless" that push skin toward looking plastic. Add a short negative prompt for things you do not want.
How do I keep the same AI model's face consistent across different photos? Save your best generation as a reference image, then regenerate from that reference instead of the prompt, changing only the outfit, pose, or background. A tool built for identity consistency anchors the face for you, which is how brands keep one model across a full catalog.
Do I need any design or photography skills to create an AI model? No. If you can describe a person in a text message, you can write a prompt. There is no camera, no Photoshop, and no 3D software involved. The only skill you build is prompt writing, and that comes within a few tries.
How long does it take to generate an AI fashion model? The generation itself takes seconds. A realistic first attempt, including writing the prompt, generating a batch, and one round of fixes, takes about 15 to 20 minutes. Dressing the model afterward with product-to-model takes under 15 seconds per image.
Are AI fashion models free to create? Most serious tools are paid because rendering photorealistic humans costs compute. WearView has no free tier; plans start at $29 a month for the Lite plan with 50 credits, $49 for Pro with 200 credits, and $99 for Advanced with 500 credits. That is still a fraction of a single photoshoot day.
Can I use AI fashion models commercially for my store and ads? On WearView's paid plans, every output comes with full commercial usage rights, so you can use the images for your store, product pages, and ads. Always check the license terms of whichever tool you use, since rights vary by provider.
How realistic do AI-generated fashion models look? Current tools produce images that are hard to distinguish from a real shoot, especially at close range, as long as you prompt for natural skin texture and check hands and eyes. The realism gap is mostly a prompting problem now, not a technology limit.
Sources: Precedence Research, DojoBusiness, Tryly.ai, Designkit, AI in fashion cost and market data (2025-2026)
WearView Team
WearView Content & Research Team
WearView Team is a group of fashion technology specialists focused on AI fashion models, virtual try-on, and AI product photography for e-commerce brands. We publish in-depth guides, case studies, and practical insights to help fashion businesses improve conversion rates and scale faster using AI.