July 5, 2026•17 min read
How to Create the Ghost Mannequin Effect: DIY Technique Guide (2026)
The ghost mannequin effect makes clothes look worn by an invisible body. This DIY guide covers the gear, both camera passes, the invisible-neck trick, editing, and a faster AI route if you skip Photoshop.
Picture of How to Create the Ghost Mannequin Effect: DIY Technique Guide (2026) article
Most tutorials that promise to teach the ghost mannequin effect skip the hard half. They open Photoshop, drop in two finished photos, and start masking, as if the shooting already happened by magic. It didn't. That first half is exactly what most guides on how to create ghost mannequin effect shots never show you. The clean invisible-model look starts at the tripod, with how you dress the garment, where you point the light, and which second shot you capture for the inside of the collar. Get the capture right and the editing takes minutes. Get it wrong and no amount of masking saves it.
This guide walks the full pipeline for how to create the ghost mannequin effect yourself: the gear, dressing and pinning the garment, both camera passes (the on-mannequin shot and the foam-board inside shot), the invisible-neck warp trick step by step, then edge cleanup and shadows. At the end there's a faster route for anyone who doesn't own Photoshop or a mannequin at all.
Clean ghost-mannequin shots, instantly
Remove the mannequin and get crisp invisible-model product images that look studio-shot.
What the ghost mannequin effect is (and why apparel brands use it)
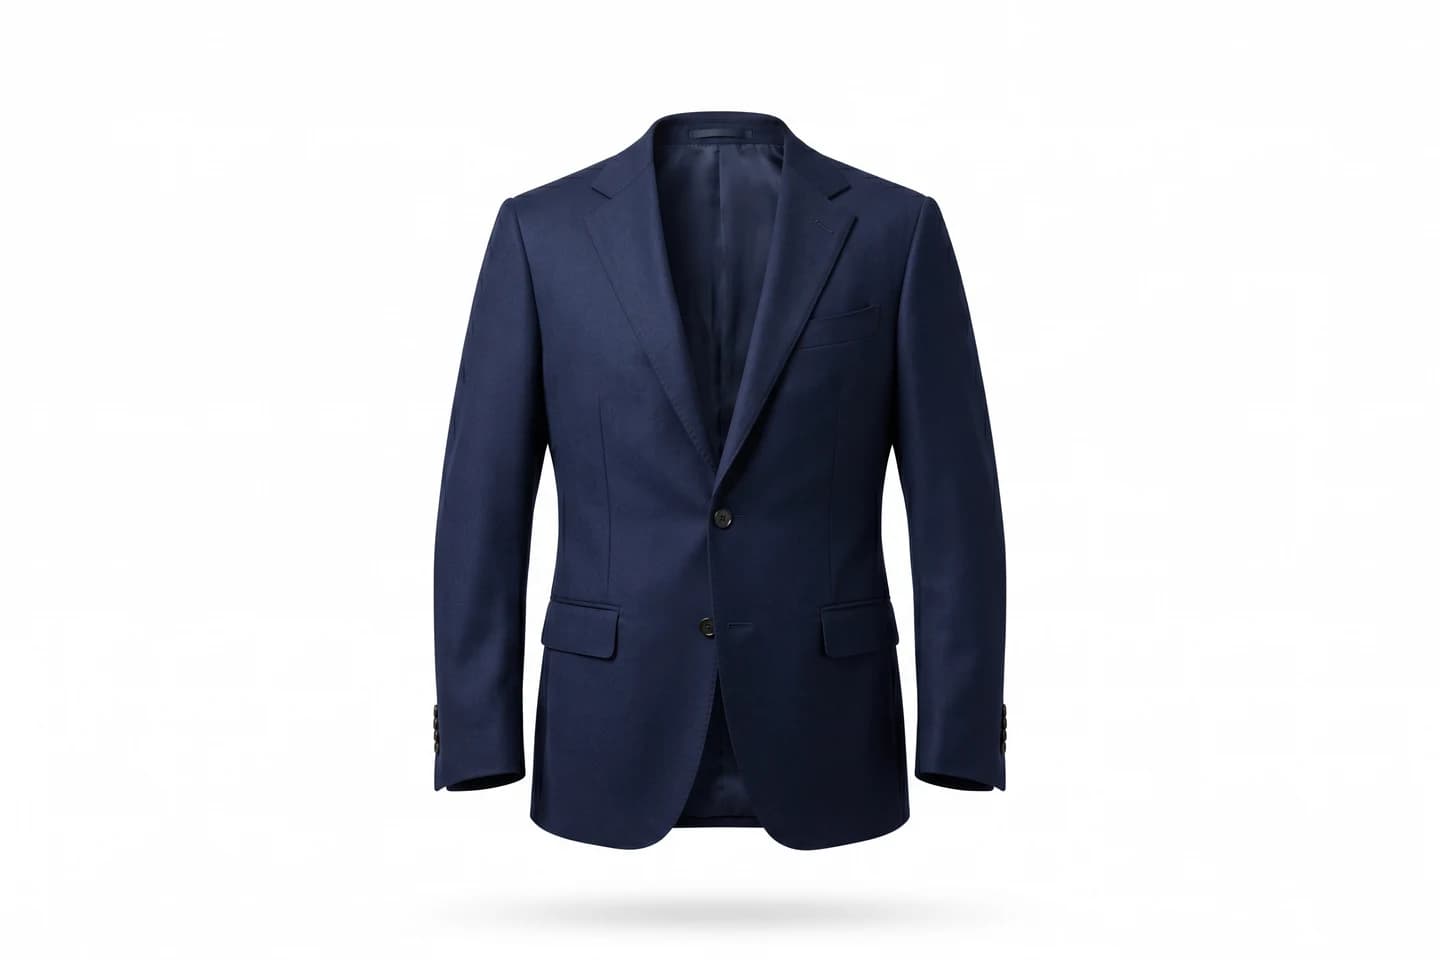
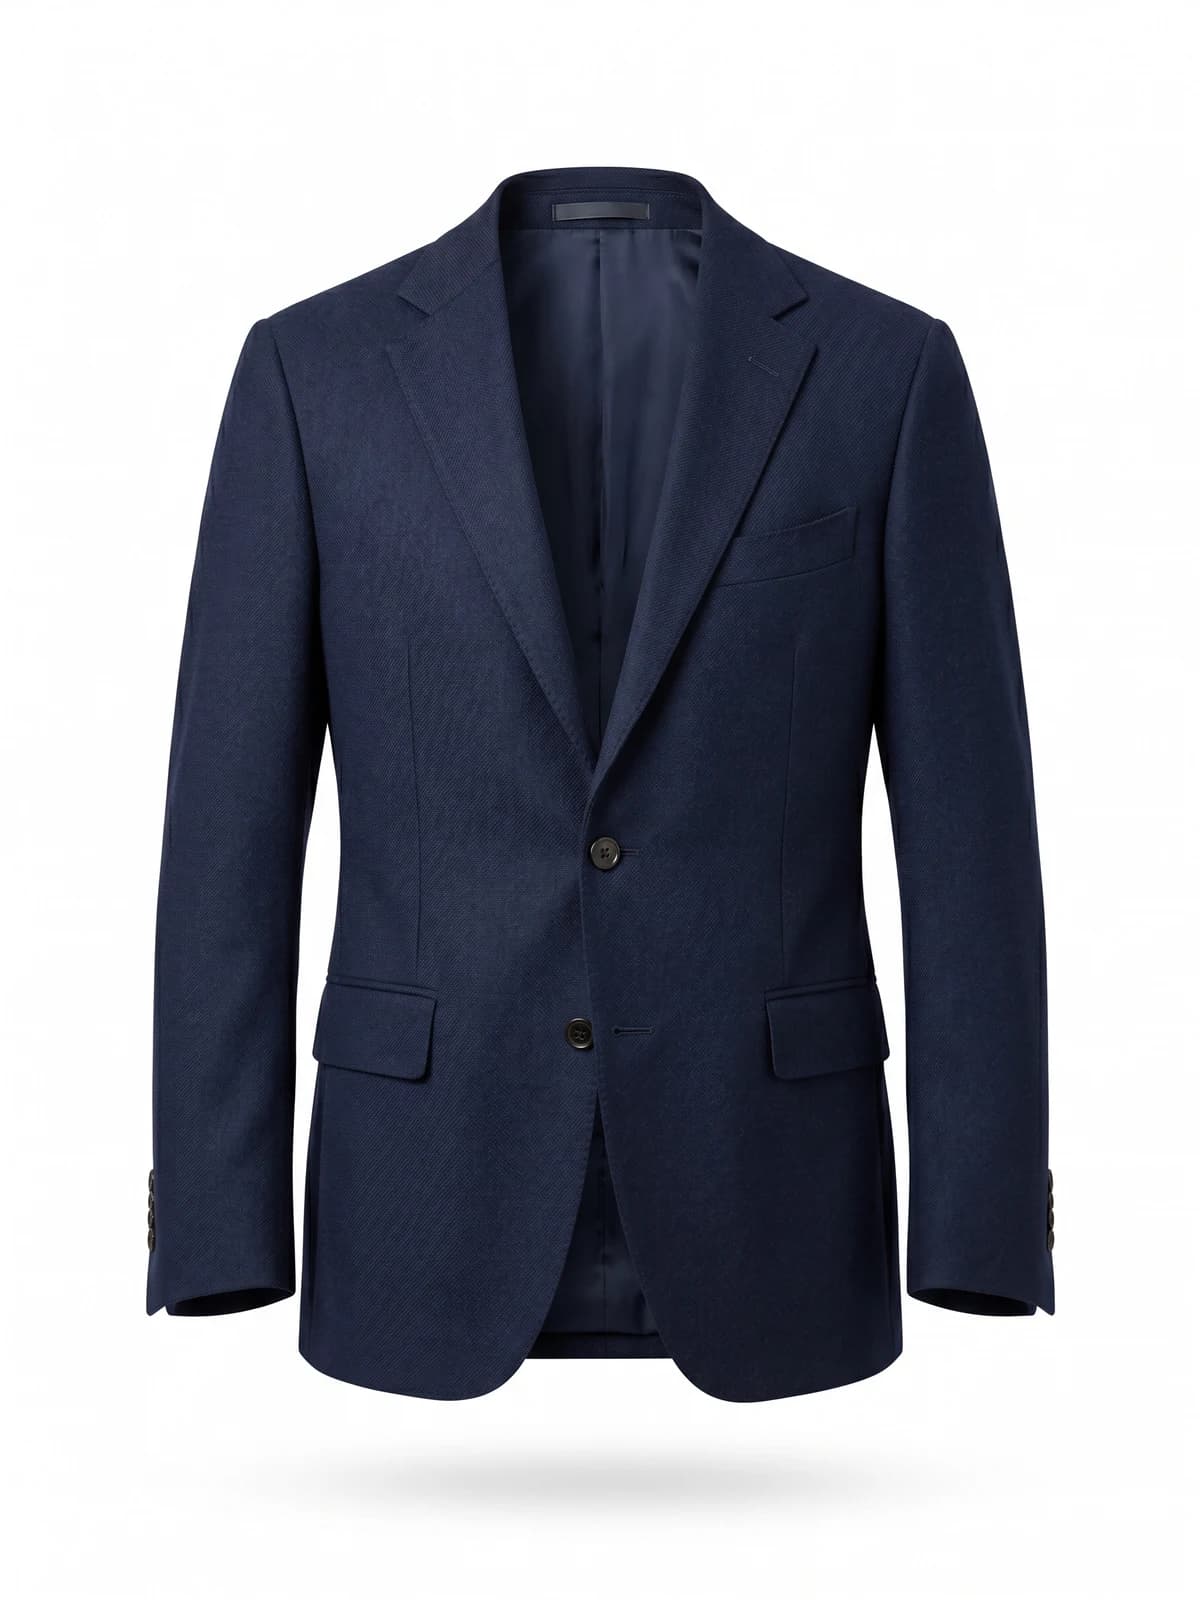
The ghost mannequin effect (also called invisible mannequin or the hollow man effect) is a product photo where a garment holds a full 3D shape as if a body is inside it, but the body and mannequin are gone. You get the drape and structure of a worn item with none of the distraction of a model or a plastic form.
Brands use it because it converts. Shoppers want to see fit and hang before they buy, and the effect shows both while keeping the focus on the product. For a deeper primer on the look itself, see our AI ghost mannequin overview. This post assumes you know the goal and want the technique.
The payoff shows up in the data. Apparel pages using 360-degree product imagery have reported conversion rate lifts of up to 27% versus static front-and-back shots (ConvertMate), and current best practice for fashion product pages sits at 8 to 12 images so buyers can zoom the fabric and check every angle (Rewarx). Ghost mannequin shots are the backbone of that set.
The DIY gear checklist for a ghost mannequin shoot
You do not need a rented studio. You do need a repeatable setup so every product looks the same. Here is the working kit.
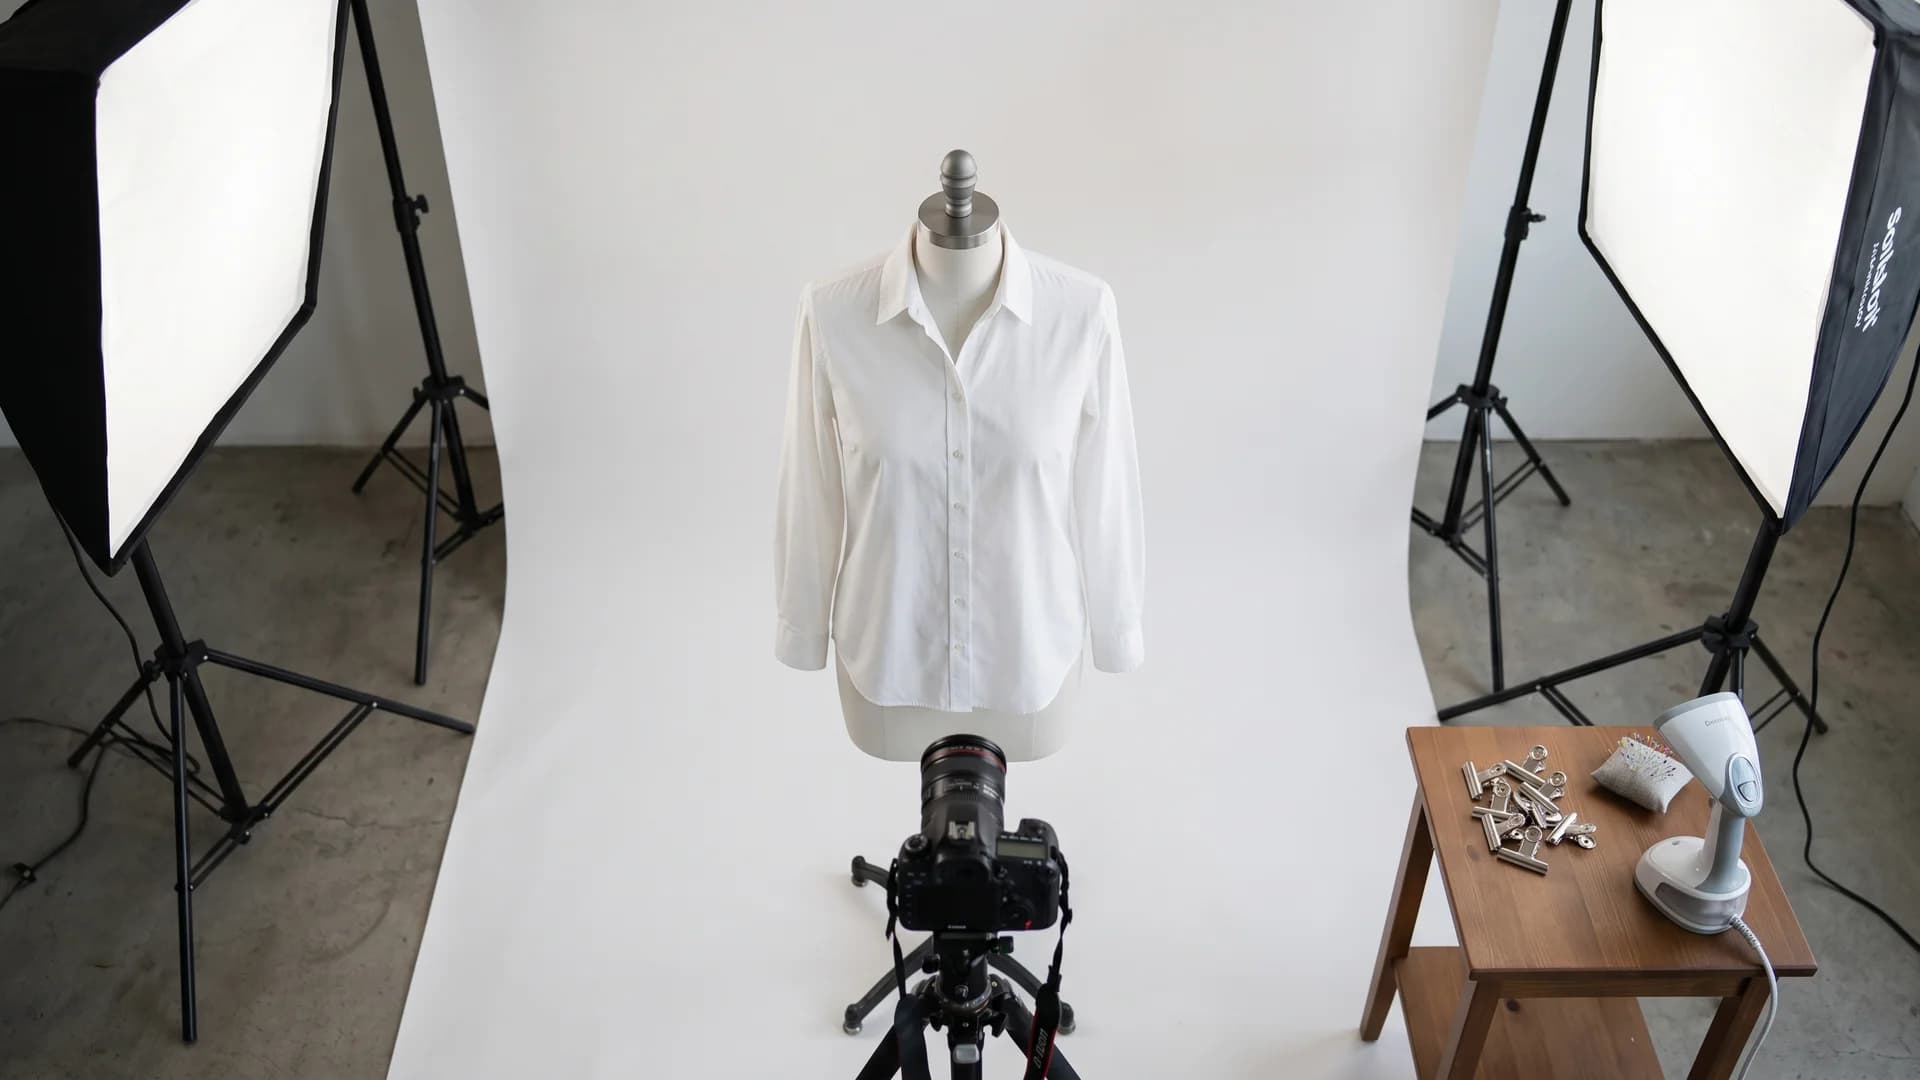
Ghost mannequin effect shoot setup with a matte white dress form, softbox lights, and a tripod-mounted camera
- A matte white mannequin or dress form. Matte, not glossy. A shiny surface bounces light back into the fabric and fights your masking later. Removable arms, neck, and shoulder caps make the inside pass far easier.
- A camera you can shoot in manual. A DSLR or mirrorless body is ideal, but a recent phone with a manual or pro mode works for most soft goods.
- A tripod. Non-negotiable. Both passes have to line up pixel for pixel, and handheld shots will not.
- Two light sources with diffusion. Softboxes or even two windows with sheer curtains. Even, soft light kills harsh shadows and keeps whites clean.
- A white sweep or seamless backdrop. Paper roll, foam board, or a wrinkle-free sheet. Keep it a stop brighter than the garment so it separates cleanly.
- Foam board (white). This is the trick prop for the inside pass. A5 or A4 sized offcuts let you prop open a collar or cuff.
- Clips, clamps, pins, and a steamer. Bulldog clips pull slack out of the back, pins hide inside seams, and a steamer removes every wrinkle before the shutter fires.
That's the whole list. The single upgrade that matters most is the mannequin: a form with detachable parts saves you the hardest masking in the entire process.
Step 1: Prep and dress the mannequin (pinning, steaming, symmetry)
Editing cannot fix a badly dressed garment. Spend the time here.
Steam first, dress second. Steam the item off the form, then dress it. Steaming on the mannequin traps wrinkles in the shoulders and creases you can't reach.
Dress for symmetry. Line up the center placket, the collar points, and the hem so the left and right sides mirror each other. Step back and check from the camera position, not from the side.
Pull the slack to the back. A mannequin is rarely the exact size of the garment. Gather the extra fabric behind the form and hold it with bulldog clips or pins so the front reads as a clean, true-to-size fit. This is the same reason brands rely on a real fit model for on-body work: the front silhouette has to look intentional.
Pin the structure you want to keep. If a jacket should show an open lapel or a shirt a specific collar stand, pin it into place from the inside where the camera won't see the pin.
Tuck stray threads and lint-roll. Every thread and speck is a manual edit later. Two minutes with a lint roller saves ten in post.
Step 2: Shoot the on-mannequin front and back (camera settings that work)
Now capture the main pass: the garment on the form, front and back.
Keep the camera locked on the tripod at the garment's mid-height so you aren't shooting up or down at it. Frame with a little breathing room around the edges so nothing crops.
These settings are a reliable starting point for a two-light white-background setup:
| Setting | Recommended | Why |
|---|---|---|
| ISO | 100 to 200 | Lowest native ISO keeps whites clean and noise-free |
| Aperture | f/8 to f/11 | Front-to-back sharpness across the whole garment |
| Shutter speed | 1/125 with strobes, or to taste with continuous light | Freezes any sway; match to your lights |
| White balance | Custom or a fixed Kelvin | Consistent whites across every product |
| Focus | Manual, locked | Same focus point on every shot in the set |
| File format | RAW | Recovers highlight and shadow detail in editing |
Shoot the front, then rotate the mannequin (or the garment) and shoot the back without moving the camera. If you want the 360 spin set that drives those conversion gains, capture angles at fixed increments here too. Do not touch focus, exposure, or the tripod between frames. Consistency across frames is what lets you batch-edit later and keep a whole catalog looking like one shoot.
Step 3: Shoot the foam-board 'inside' pass for necks, cuffs and hems
Here is the step almost every Photoshop-only tutorial rushes past, and it is the reason their necks look fake.
When you remove the mannequin in editing, you cut a hole where the neck opening was. Behind that hole there is nothing: no inner collar, no back-of-neck fabric, just background. The inside pass (sometimes called the foam-board technique) photographs exactly that missing piece so you can paste it back in.
How to shoot it:
- Take the garment off the mannequin, or remove the mannequin's neck and shoulder caps if they detach.
- Lay or prop the garment so the camera sees into the collar from the front, showing the inner back neck, the label area, and the inside of the collar band.
- Slide a piece of white foam board behind the neck opening to hold the shape open and give you a clean, evenly lit inner surface.
- Keep the same lighting, white balance, and camera height so the inside shot matches the on-mannequin shot in tone.
- Repeat for any other opening the effect will reveal: cuffs on a rolled sleeve, an open jacket front, split hems.
For a simple crew-neck tee you often need one inside frame. A structured coat with an inner collar, lining, and multiple openings can need three or four. That extra capture is exactly why layered garments cost more to edit, which we get to below.
If you have no proper studio to do this in, our guide to ghost mannequin photography without a studio covers four budget home setups that still produce a usable inside pass.
Step 4: The invisible-neck trick, layering and warping in Photoshop
You now have two files: the garment on the mannequin, and the inside-of-neck shot. The invisible-neck trick stitches them so the collar looks like it wraps around an empty, rounded neck opening. The steps below are the core moves, and our tool-by-tool Photoshop ghost mannequin walkthrough goes deeper on the neck joint, hollow sleeves, and ecommerce export settings.
Work in this order:
- Open the on-mannequin shot as your base layer. Mask out the mannequin and the background so only the garment remains on transparency. A Pen tool path gives the cleanest edge on straight and curved seams; Quick Selection is faster on high-contrast whites. Save the path so you can reuse it.
- Place the inside-neck shot on a layer below the garment. It should peek through the neck hole you just cut. Scale and rotate it so the visible inner collar lines up with the outer collar's left and right edges.
- Warp the inside piece to fake the body curve. This is the actual trick. Select the inside layer, choose Edit then Transform then Warp. Grab the top-center anchor point and pull it down into a shallow U so the back of the neck dips as it would over real shoulders. Nudge the two upper corner handles outward slightly so the collar reads as rounded, not flat. The goal is a gentle curve that matches how the outer collar sits, not a deep scoop.
- Match tone. Add a Curves or Levels adjustment clipped to the inside layer so its brightness matches the outer garment. A mismatch here is the number-one giveaway of a rushed edit.
- Erase the hard seam where the inside layer meets the outer collar with a soft layer mask so the two blend into one continuous opening.
The whole move is: cut the hole, drop the inside shot behind it, and warp that inside shot into a curve that mimics a neck that isn't there. Get the warp subtle and the eye reads a real, worn garment.
Step 5: Blend the layers, clean the edges, and add realistic shadows
Almost done. Three finishing passes separate an amateur cutout from a studio-grade image.
Clean the edges. Zoom to 200% and walk the entire mask boundary. Kill any white mannequin fringe, stray pixels, or jagged seams. A clipping path or a 1 to 2 pixel mask contraction removes the halo that background removal often leaves behind.
Rebuild the hems and openings. Wherever the garment was clipped or pinned at the back, make sure the front hem, side seams, and sleeve openings look continuous. Clone or gently warp to hide any pin marks that survived.
Add shadows back. A perfectly cut garment floating on pure white looks pasted on. Reintroduce a soft contact shadow under the hem and a light inner shadow inside the neck and cuffs so the garment reads as three-dimensional. Keep shadows low-opacity and soft-edged; heavy shadows look as artificial as none at all.
Set a consistent output. Export every image on the same white value, same canvas size, and same margins so the product grid looks uniform. Consistency across a catalog is its own trust signal, and it is worth templating so every SKU matches.
How long does all this take? A plain T-shirt edit runs about 10 to 15 minutes; a layered coat with inner collars and folds can take roughly double that (FixAnyPhoto). Multiply by a catalog of 200 SKUs and the math gets real.
The AI shortcut: get the ghost mannequin effect without a shoot or Photoshop
The manual method works, and it teaches you why the effect looks the way it does. It is also slow, and it needs a mannequin, controlled lighting, and Photoshop skills that take time to build. That is where a lot of sellers decide the DIY route costs more than it saves.
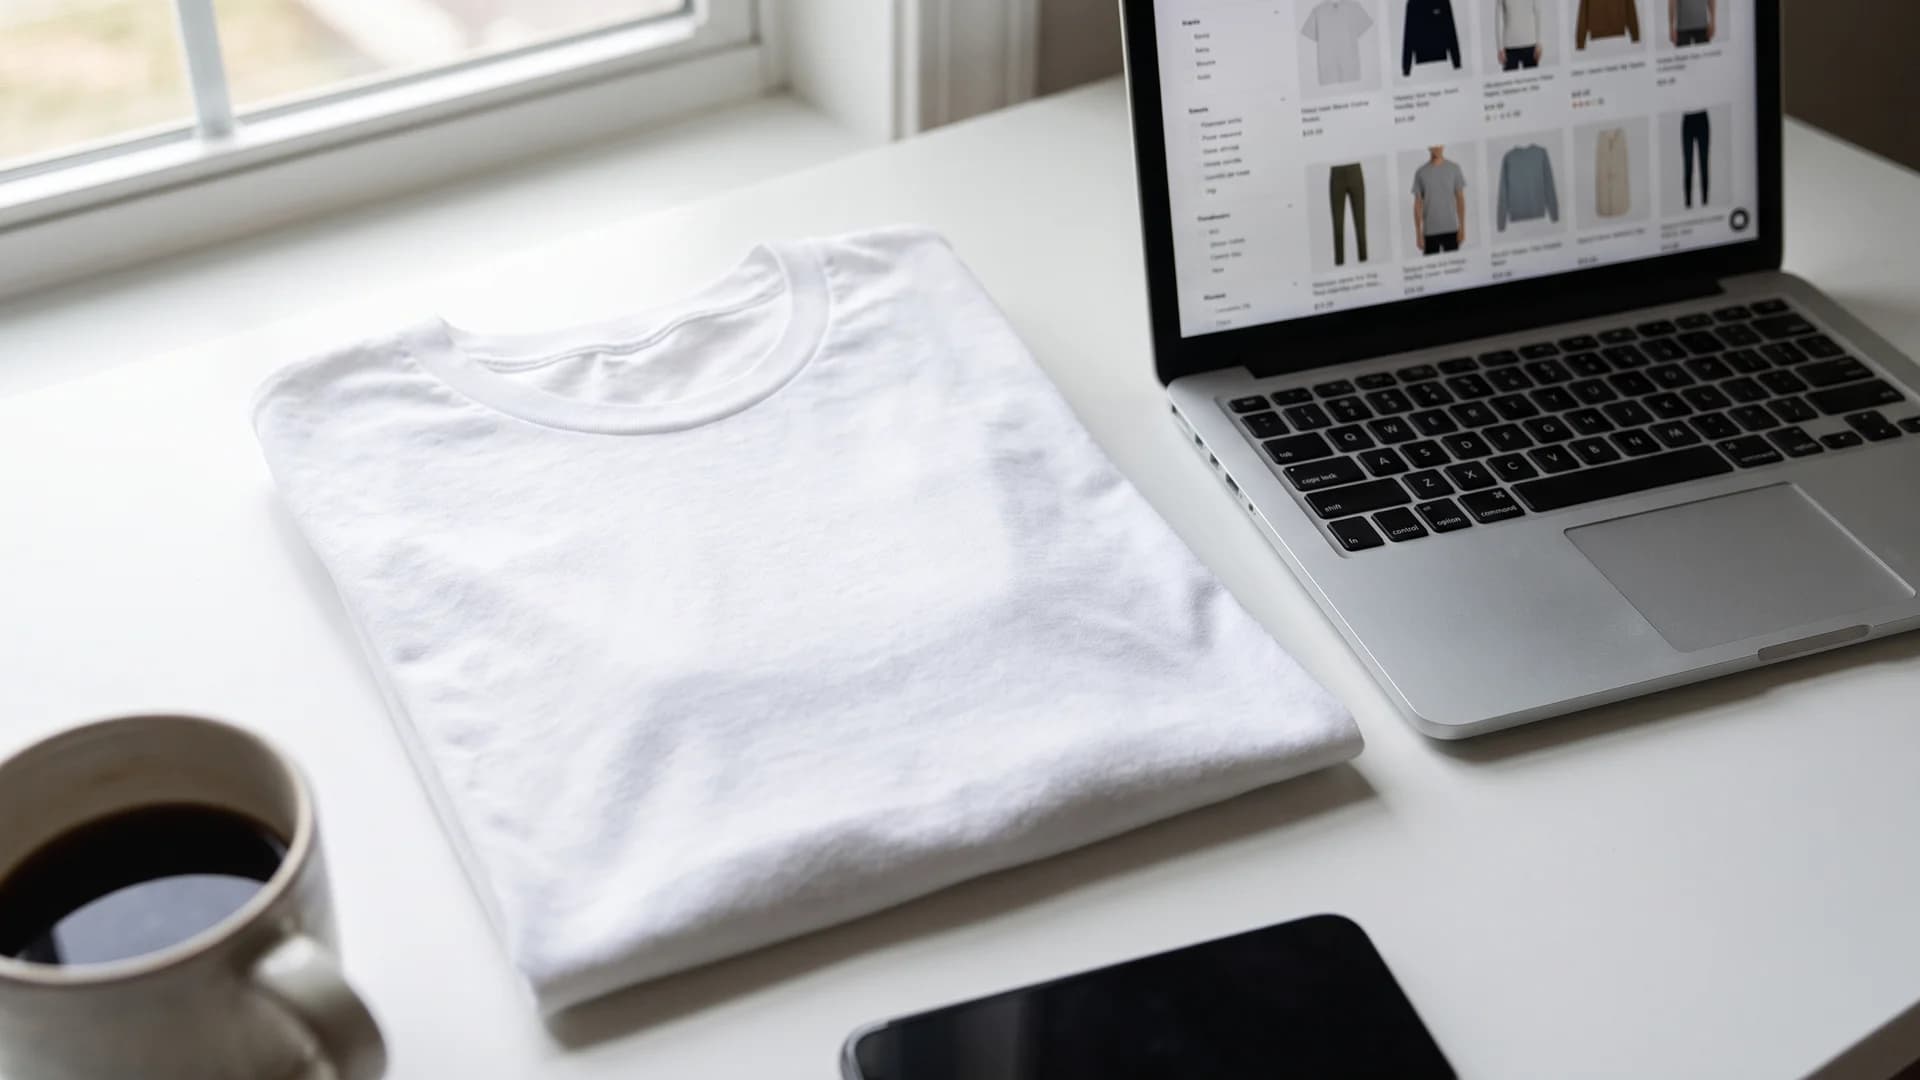
Flat-lay t-shirt beside a laptop showing an ecommerce grid, the starting point for an AI ghost mannequin workflow
The alternative is to hand the whole thing to AI. Instead of two camera passes and a warp, you feed a flat-lay or a packshot to a model that renders the garment with a hollow, worn shape directly. Tools like WearView's product to model generate the on-model or ghost-style result in under 15 seconds, with no mannequin, no inside pass, and no masking. You can see the full range of what AI-driven AI fashion photography looks like on the main site.
The economics are the real argument. Outsourced editing of a shot you still had to capture yourself runs from $0.89 for a simple image up to $1.79 for a complex one (Path), and professional invisible-mannequin retouching commonly sits in the $1.50 to $3 range (Pixelz). Full-service in-studio ghost mannequin shoots start around $52 per image with roughly a $300 order minimum for non-members (Squareshot). Against that, WearView plans run $29 a month for 50 credits (Lite), $49 for 200 (Pro), and $99 for 500 (Advanced), and every result keeps its shape and lighting consistent across the set the way consistent AI models do for full on-body work.
The honest trade-off: hand-shot ghost mannequin gives you total control over a specific garment's true drape, and some brands want that for hero images. AI wins on speed, cost, and volume, which is what most catalogs actually need. Many teams do both, shooting hero pieces by hand and generating the long tail with AI.
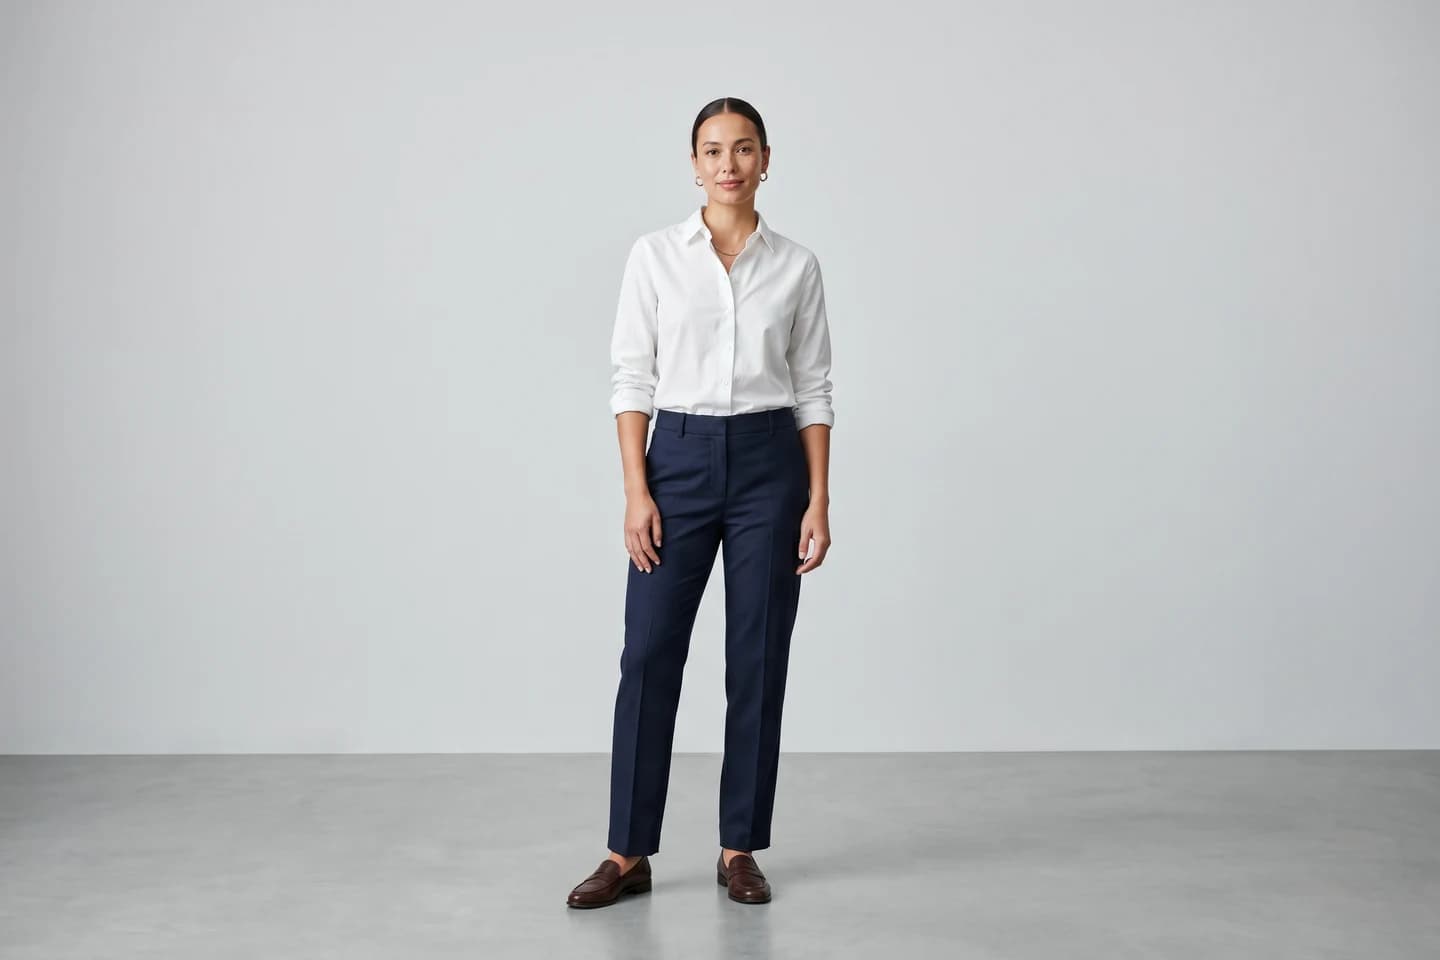
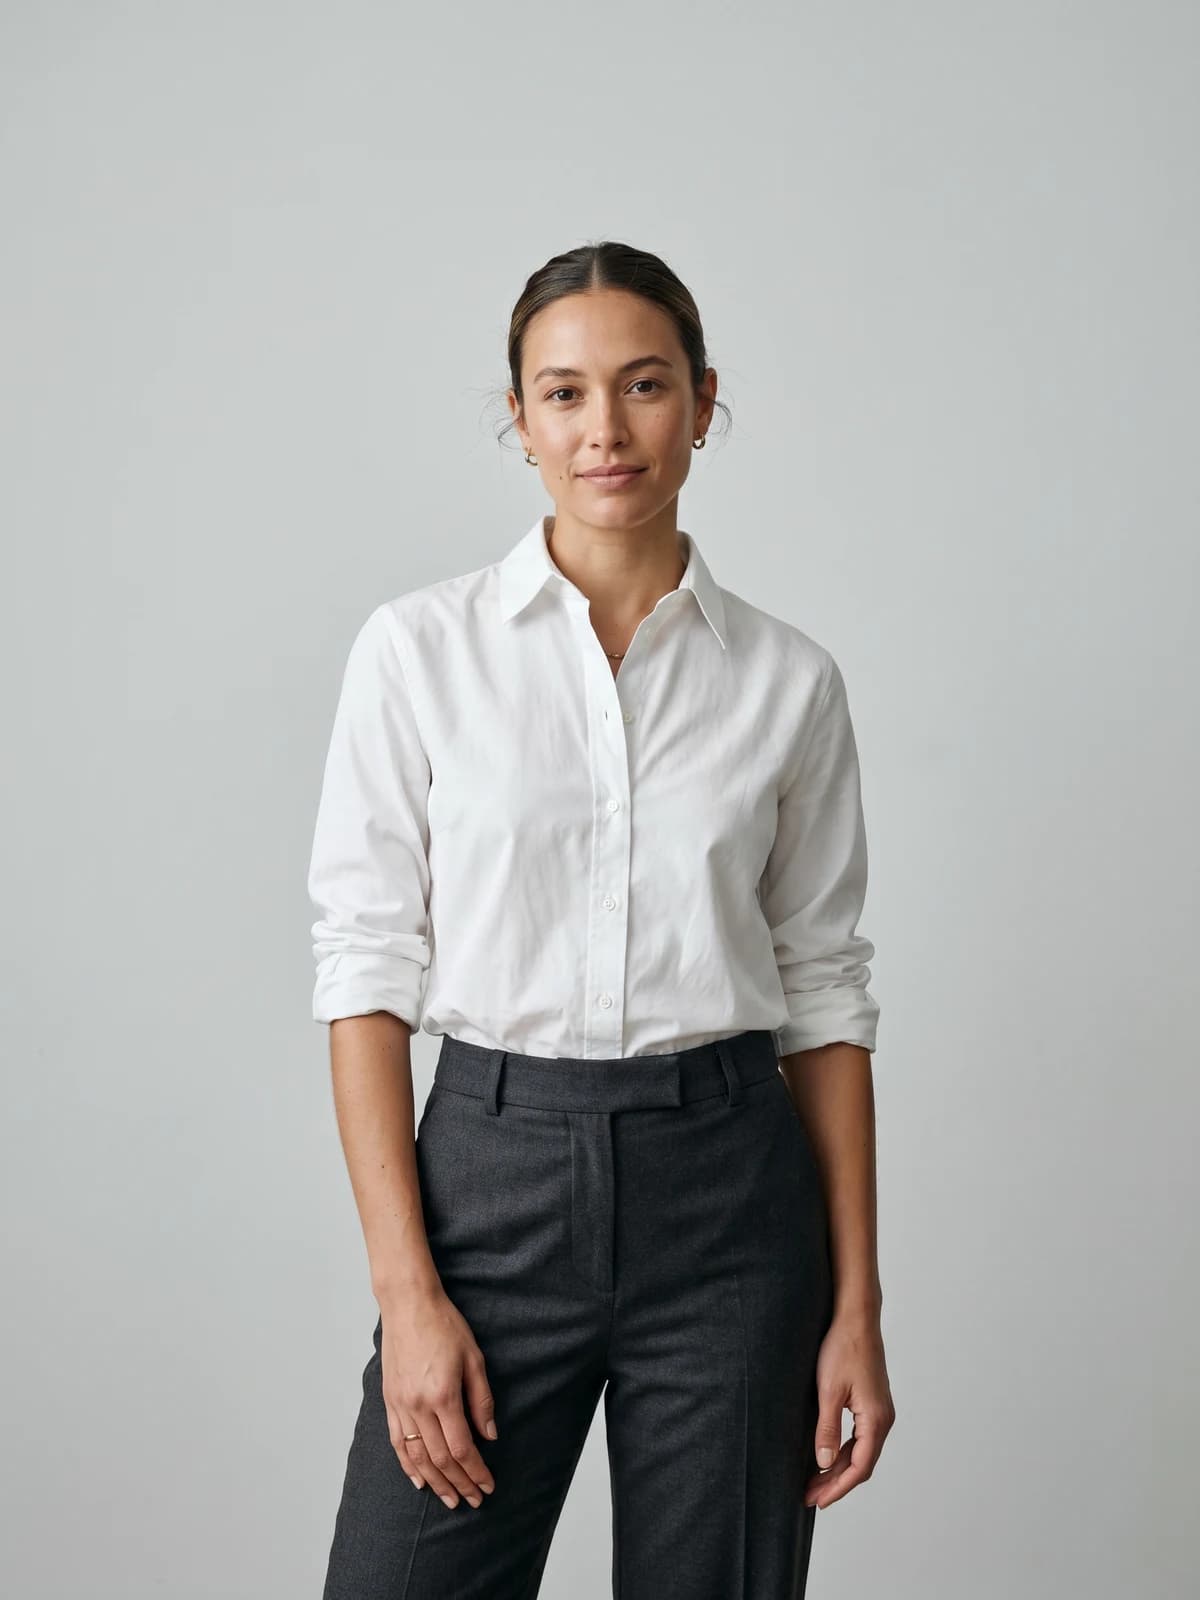
Turn flat-lays into on-model photos
Drop in a flat-lay or product shot and get professional on-model photography ready for your store.
Common ghost mannequin mistakes (and how to avoid them)
The same handful of errors ruin most first attempts. Watch for these.
| Mistake | What it looks like | Fix |
|---|---|---|
| Skipping the inside pass | A flat, dark, or hollow-looking neck hole | Always shoot the foam-board inside shot for every visible opening |
| Over-warping the neck | A collar scooped into an unnatural deep U | Pull the top-center anchor down only slightly; keep the curve shallow |
| Glossy mannequin | White fringe and reflections you can't mask out | Use a matte form; contract the mask 1 to 2 pixels |
| No shadows | Garment looks pasted onto white | Add a soft contact shadow under the hem and inside openings |
| Moving the camera between passes | Front, back, and inside shots won't align | Lock the tripod; change only the garment, never the camera |
| Wrinkles left in the fabric | Creases the eye reads as damage | Steam off the form, then dress; lint-roll before shooting |
| Mismatched whites | Grey or warm background across the set | Set a fixed white balance and hold it for the whole catalog |
Most of these trace back to one root cause: treating ghost mannequin as an editing job instead of a capture job. Fix it at the tripod and the edit gets easy.
Key takeaways
- Capture decides everything. Steam, dress for symmetry, pin slack to the back, and lock the tripod before you think about Photoshop.
- Shoot two passes, not one. The on-mannequin front and back plus the foam-board inside shot are what make the neck look real.
- The neck trick is a warp, not a cut. Drop the inside shot behind the neck hole and pull the top-center anchor into a shallow curve.
- Finish with edges and shadows. Contract the mask to kill fringe, then add soft contact shadows so the garment reads as 3D.
- Weigh DIY against AI. Hand-shot ghost mannequin gives control; an AI tool gives you the same clean result in seconds without a mannequin or masking. Match the method to the job.
Sources: Path, Ghost Mannequin Editing, Squareshot, Ghost Mannequin Product Photography, Pixelz, Invisible Ghost Mannequin Service, ConvertMate, The Impact of 360 Product Images, Rewarx, How Many Product Images Does Your Store Need (2026), FixAnyPhoto, Ghost Mannequin Editing Cost
FAQ
How do you create the ghost mannequin effect without Photoshop? You have two options. Free editors like Photopea, Fotor, and Pixlr replicate the same layer-and-warp workflow with masking and a warp tool, so the manual steps carry over. The faster route is an AI product-to-model tool that renders the hollow, worn garment shape from a single flat-lay in seconds, with no masking or inside pass at all.
What camera settings are best for ghost mannequin photography? Shoot at ISO 100 to 200 to keep whites clean, an aperture of f/8 to f/11 for front-to-back sharpness, and a fixed white balance so every product matches. Lock focus and exposure manually, mount the camera on a tripod, and capture in RAW so you can recover highlight and shadow detail while editing.
Do you need a special mannequin for the ghost mannequin effect? A matte white mannequin or dress form with detachable arms, neck, and shoulder caps makes the effect far easier, because removable parts simplify both the inside pass and the masking. A glossy form works but reflects light into the fabric and leaves fringe that is harder to clean. You can also skip the mannequin entirely by using AI.
How do you do the invisible neck (hollow-neck) trick? Mask the garment on the on-mannequin shot, then place your inside-of-neck photo on a layer below it so it shows through the neck opening. Use Edit, Transform, then Warp, pull the top-center anchor point down into a shallow U, and nudge the upper corners outward so the collar reads as rounded. Match the tone with a Curves adjustment and blend the seam with a soft mask.
Can you make the ghost mannequin effect with just a phone? Yes, for most soft goods. Use your phone's manual or pro mode to lock exposure and white balance, mount it on a tripod, and shoot the same two passes. The capture discipline matters more than the sensor, though heavy garments with complex drape are still easier on a dedicated camera.
How long does it take to edit one ghost mannequin image? A simple T-shirt edit takes roughly 10 to 15 minutes, while a layered coat with inner collars and folds can take about double that, according to FixAnyPhoto. Editing time scales with how many openings the effect has to reveal, which is why complex garments cost more. An AI tool compresses this to seconds per image.
How much does ghost mannequin editing cost per image? Outsourced editing runs from about $0.89 for a simple image to $1.79 for a complex one at Path, and professional invisible-mannequin retouching commonly sits between $1.50 and $3 per image at Pixelz. Full-service in-studio shoots start near $52 per image with a roughly $300 order minimum. AI subscription tools work out to a fraction of a dollar per image at volume.
Is the ghost mannequin effect the same as invisible mannequin photography? Yes. Ghost mannequin, invisible mannequin, and the hollow man effect all describe the same technique: photographing a garment on a form, then removing the form in editing so the clothing keeps its 3D worn shape with nothing visible inside it.
WearView Team
WearView Content & Research Team
WearView Team is a group of fashion technology specialists focused on AI fashion models, virtual try-on, and AI product photography for e-commerce brands. We publish in-depth guides, case studies, and practical insights to help fashion businesses improve conversion rates and scale faster using AI.