July 7, 2026•18 min read
How to Create the Ghost Mannequin Effect in Photoshop, Step by Step
A tool-by-tool Photoshop tutorial for the ghost mannequin effect, from cutting out the garment to aligning the inside-collar shot, cleaning the neck joint, and exporting for your store.
Picture of How to Create the Ghost Mannequin Effect in Photoshop, Step by Step article
That floating, hollow look you see on apparel product pages has a name, and it is built in post-production, not in the camera. The ghost mannequin effect in Photoshop takes two photos of the same garment and stitches them into one image where the clothing holds its 3D shape with no visible body inside. Done right, it shows the neckline, the inside of the collar, and the natural drape all at once, which is exactly what a shopper wants to see before they buy.
Most tutorials wave their hands at the hardest part: lining up the inside-collar shot behind the neck so the seam disappears. This guide does not. Below is a numbered, tool-by-tool workflow: the exact tools and shortcuts for each step, a dedicated section on the neck joint, sleeve and hem hollowing, and export settings tuned for ecommerce. At the end, if the 15 to 30 minutes per garment starts to sting, there is an honest look at the AI alternative.
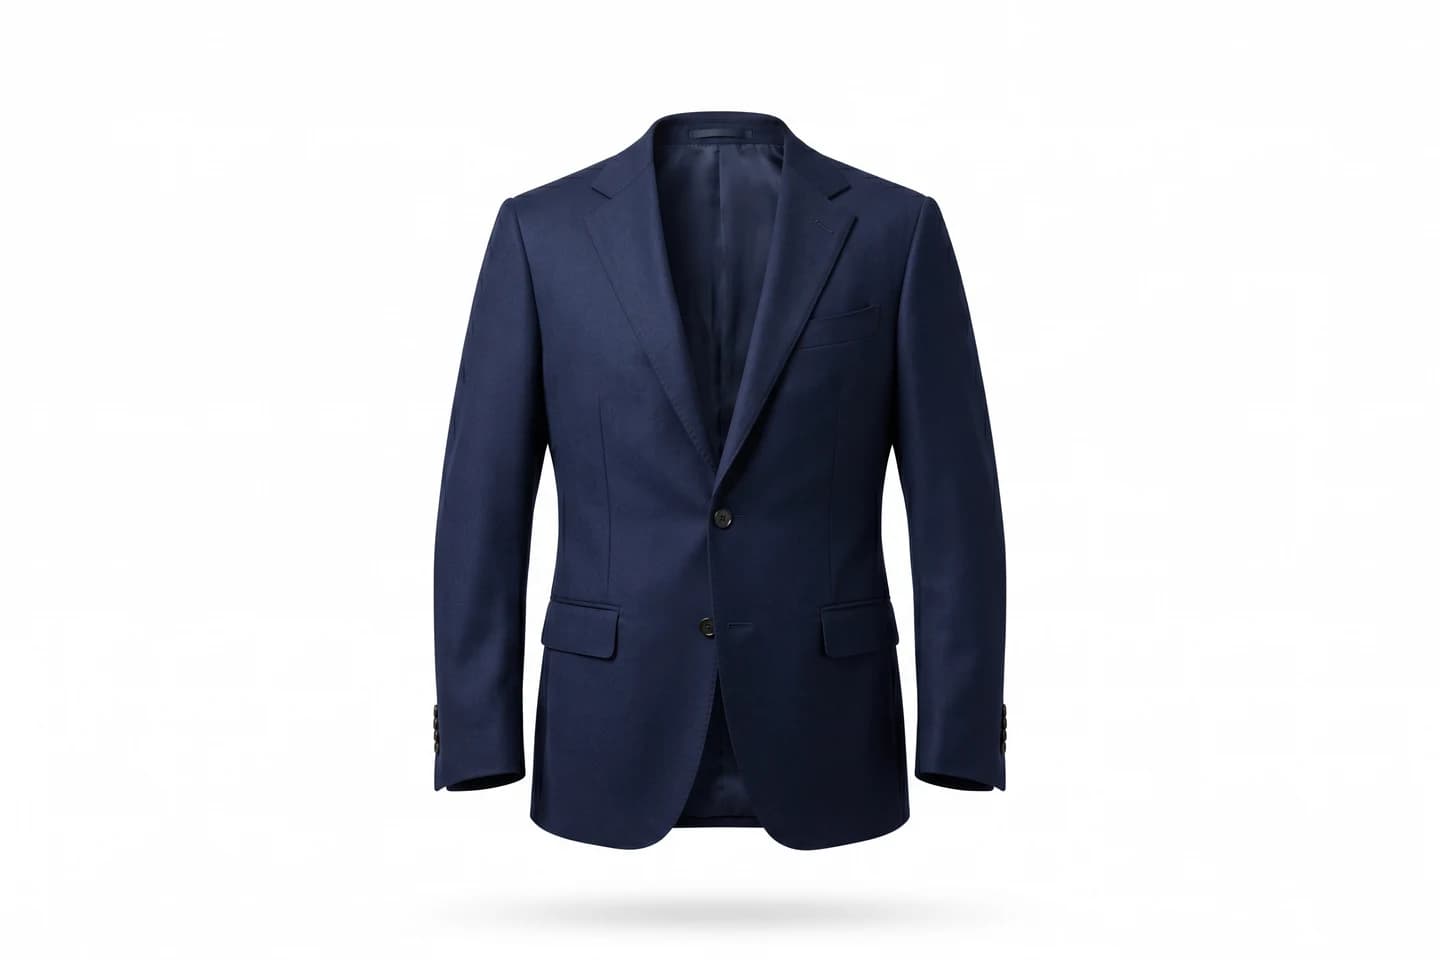
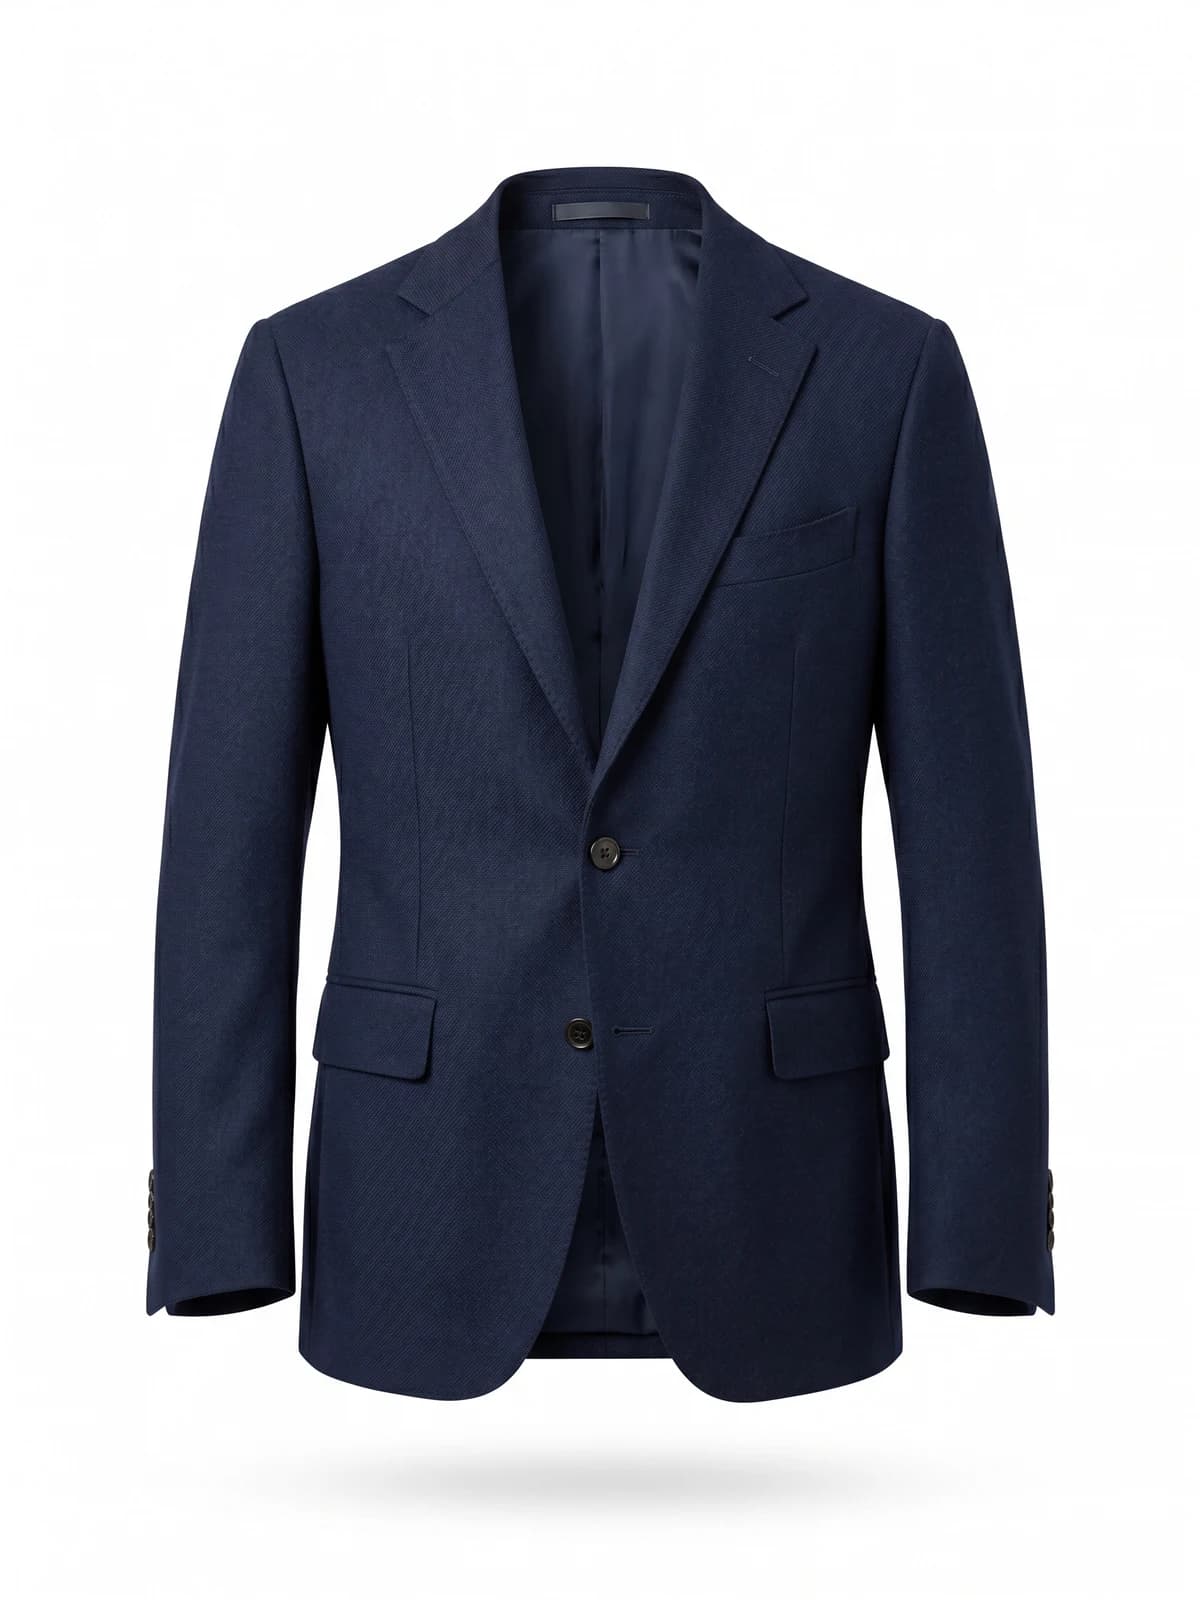
Clean ghost-mannequin shots, instantly
Remove the mannequin and get crisp invisible-model product images that look studio-shot.
What the ghost mannequin effect in Photoshop is (and why you need two photos)
The ghost mannequin effect, also called the invisible mannequin or hollow man effect, is a compositing technique. You shoot a garment on a mannequin so it keeps a body-like shape, then you erase the mannequin in Photoshop so the clothing appears to float. The result reads as a 3D product with real volume, not a flat lay collapsed on a table.
Here is why one photo is never enough. When you remove the mannequin from behind the collar, you expose a hole, and without a second image that hole is just background, which looks broken. So you shoot a second frame:
- The main shot: the full garment on the mannequin, front and center.
- The inside-collar shot: the garment turned so the camera sees the inner back neckline, the label, and the interior fabric behind the collar.
In Photoshop you delete the mannequin from the main shot, then slide the inside-collar shot behind the neckline. Filled with real interior fabric, the neck reads as hollow and dimensional. That two-photo dependency is the whole reason the effect exists as an editing job rather than a one-click filter.
The payoff is worth the work. In a Weebly survey, 75% of shoppers called product images "very influential" in their decision to buy, and 22% had returned an item because it looked different in person than in the photos, per The Good. A clean, dimensional product shot is doing real sales work.
| Shot | What it captures | Its job in the composite |
|---|---|---|
| Main shot | Full garment on the mannequin | The hero layer everything is built on |
| Inside-collar shot | Interior back neck, label, inner fabric | Fills the hole once the mannequin is gone |
| Optional cuff/hem shot | Inside of sleeves or bottom opening | Makes those openings read as hollow 3D |
If you have not shot your two photos yet, the capture side is its own skill. Our walkthrough on ghost mannequin photography without a studio covers pinning, lighting, and getting a clean inside-collar frame at home, so this article stays entirely inside Photoshop.
Before you open Photoshop: the main shot and the inside-collar shot
Editing goes faster when the source files are clean. Check three things before you start.
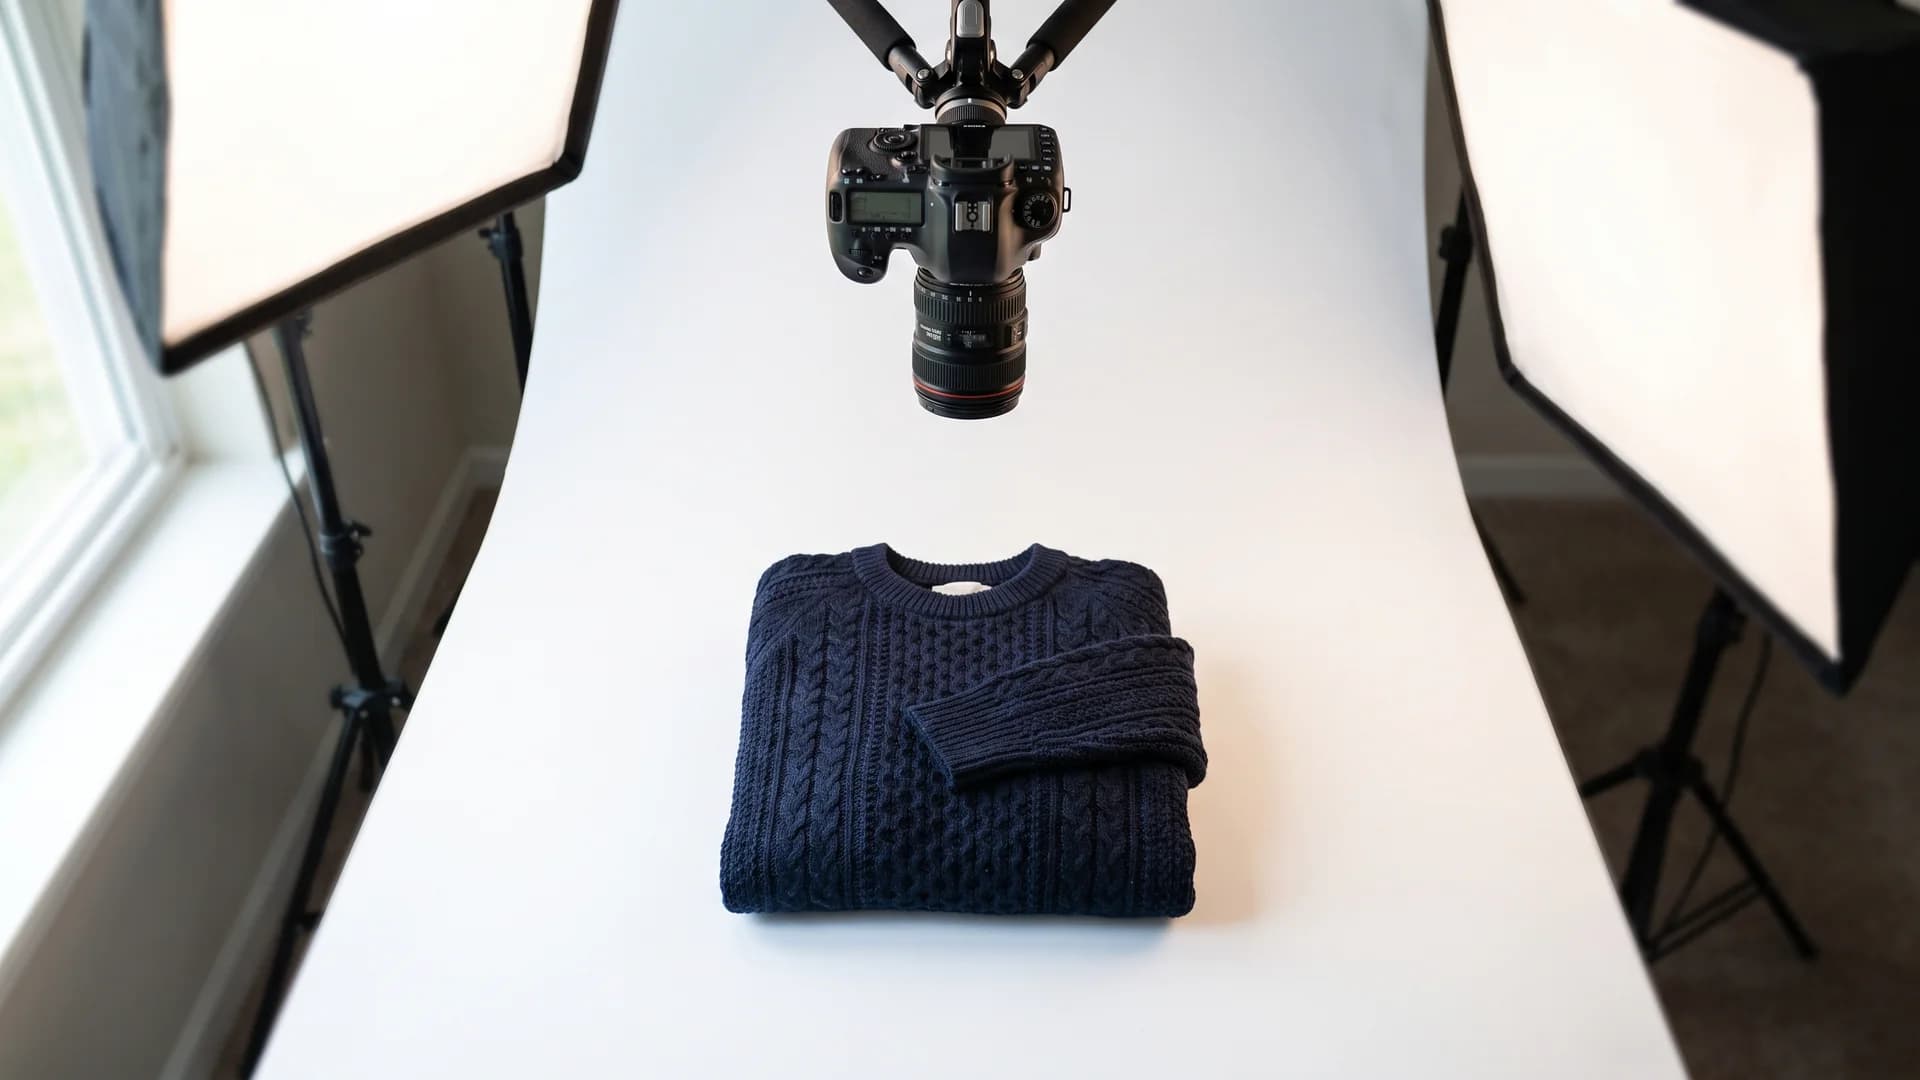
Studio setup for shooting the main shot before the ghost mannequin effect in Photoshop
Consistency between the two frames. Shoot the main shot and the inside-collar shot in the same session, same lighting, and same white balance. If the interior fabric is warmer or darker than the front, you will fight color mismatches later.
A shape-holding form. A mannequin, a foam bust, or a garment pinned over a hidden stand all work. The garment needs body so the shoulders and chest look filled, not draped.
Resolution headroom. Shoot larger than your final export. Marketplaces like Amazon want the longest side at 1,600 pixels or more for zoom, and cropping into a composite eats pixels.
Adobe Photoshop is the tool most editors reach for. Adobe Creative Cloud reached an estimated 41 million paid subscribers by the end of 2025, according to ProDesignTools. The workflow below uses the standard toolset, so any recent version will do.
Step 1: Cut out the garment and delete the mannequin (Pen tool + layer mask)
Open the main shot. Your first job is to isolate the garment from the background and remove the mannequin.
- Duplicate the layer with
CTRL/CMD + Jso you always keep the original untouched underneath. - Grab the Pen tool (
P). Trace a path around the outer edge of the garment. The Pen tool wins over Magic Wand or Quick Selection on curved, defined edges like shoulders, hems, and sleeve seams because it gives you a smooth, editable vector line instead of a jagged pixel selection. - When the path closes, press
CTRL/CMD + ENTERto load it as a selection. - Refine the edge with Select and Mask. Nudge Smooth to about 2 to 3 and Feather to 0.5 pixels so the cutout is crisp but not razor-hard. Use the Refine Edge brush along any fuzzy knit or fur.
- Output the result as a Layer Mask. Now the garment sits on transparency with the background gone.
Next, delete the mannequin that shows through the neck, armholes, and any gaps. On the layer mask, select the Brush tool (B) with black as your foreground color and paint over the mannequin to hide it. For tight interior spots, the Quick Selection tool in Subtract mode knocks out the mannequin without touching the fabric. Zoom to 200% around the collar, since this is the edge your viewer scrutinizes most.
At the end of Step 1 you should have the garment floating on a clean background with a hole where the back of the neck used to be. That hole is what the next step fills.
Step 2: Add the inside-collar shot and position it behind the neckline
Now bring in your second photo.
- Open the inside-collar shot and cut it out with the same Pen tool method from Step 1. You only need the piece of interior fabric that will show through the neck opening, so a rough cutout of the back-neck region is enough.
- Copy it (
CTRL/CMD + C) and paste it into your main document (CTRL/CMD + V). It lands as a new layer. - In the Layers panel, drag this interior layer below the garment layer. The garment now covers most of it, and only the fabric peeking through the neckline shows. This stacking order is the trick that makes the neck look filled.
- Press
CTRL/CMD + Tfor Free Transform. Scale and rotate the interior piece so its fabric lines up with the neck opening. HoldSHIFTwhile dragging a corner to keep proportions, and reposition until the label and inner seam sit where they belong.
Do a rough alignment here and do not obsess yet. The precise blend happens in Step 3. For now, just get the interior layer filling the hole with a little overlap under the garment edge on all sides, so no gaps of background show at the seam.
Step 3: Clean up the neck joint (Warp, Clone Stamp, and Burn)
This is the section other tutorials skip, and it is where a composite either looks real or looks pasted. The neck joint is the seam where the garment's collar meets the interior fabric behind it. Your goal is a smooth transition with no visible line.
Bend the interior fabric to match the collar curve. With the interior layer selected, go to Edit > Transform > Warp. Photoshop drops a grid over the layer. Work anchor by anchor:
- Grab the top-center control point and push it up and back so the interior fabric curves away from the viewer, following the arc of the back collar.
- Pull the two top corner handles slightly inward and down so the sides of the interior tuck behind the shoulder seams.
- Nudge the bottom-center point down a touch so the fabric reads as descending into the garment, not sitting flat like a sticker.
Small moves compound fast in Warp, so adjust in tiny increments and press ENTER to commit when the interior fabric looks like it lives inside the collar.
Hide the seam with the Clone Stamp. Select the Clone Stamp tool (S) at 60 to 80% opacity with a soft brush. ALT/OPTION + click to sample clean fabric just beside the seam, then paint over the hard edge where the garment meets the interior. Clone in short strokes and re-sample often so you do not repeat an obvious texture. This dissolves the line between the two photos.
Add depth with the Burn tool. A real collar casts a soft shadow into the neck opening. Grab the Burn tool (O), set Range to Midtones and Exposure to around 15 to 20%, and gently darken the top inner edge of the neck where the collar would block light. Keep it subtle. Overdone burning looks like a smudge, but a light pass sells the hollow depth.
| Neck-joint problem | Tool to fix it | Setting |
|---|---|---|
| Interior fabric looks flat/pasted | Edit > Transform > Warp | Small anchor pushes, top-center up and back |
| Visible seam line at the collar | Clone Stamp (S) | Soft brush, 60 to 80% opacity, re-sample often |
| No sense of depth inside the neck | Burn tool (O) | Midtones, 15 to 20% exposure, top inner edge only |
| Color mismatch between photos | Hue/Saturation clip | Clip to interior layer, match warmth/brightness |
Spend the most time here. A shopper's eye goes straight to the neckline, so a clean neck joint is what makes the whole ghost mannequin effect look professional rather than homemade.
Step 4: Make sleeve openings and hems read as hollow 3D
If the garment has open sleeves, an open bottom hem, or a front placket, those openings should look hollow too, not sealed off. This step is quick but it separates a flat cutout from a dimensional product.
- Sleeves and cuffs. If you shot a cuff-interior frame, paste and mask a sliver of it behind the opening the same way you did the collar. If not, use the Burn tool to darken the inside edge of the cuff so it recedes.
- Hems and bottom openings. For a top or dress with an open bottom, add a soft gradient shadow along the inside of the hem with a low-opacity Brush tool in dark gray on a Multiply layer, so the garment reads as having an interior cavity.
- Plackets and vents. For a buttoned shirt left slightly open or a back vent on a jacket, darken the gap so it looks like a real opening rather than a painted line.
The rule of thumb: any edge where the eye expects to see into the garment needs either a scrap of interior fabric or a soft shadow. Flat, evenly lit openings are the giveaway that an image was faked.
Step 5: Final color, shadows, and export settings for ecommerce
With the composite built, finish the image and export it correctly. This is the part almost no competitor covers, and it is where product photos win or lose zoom quality and marketplace approval.
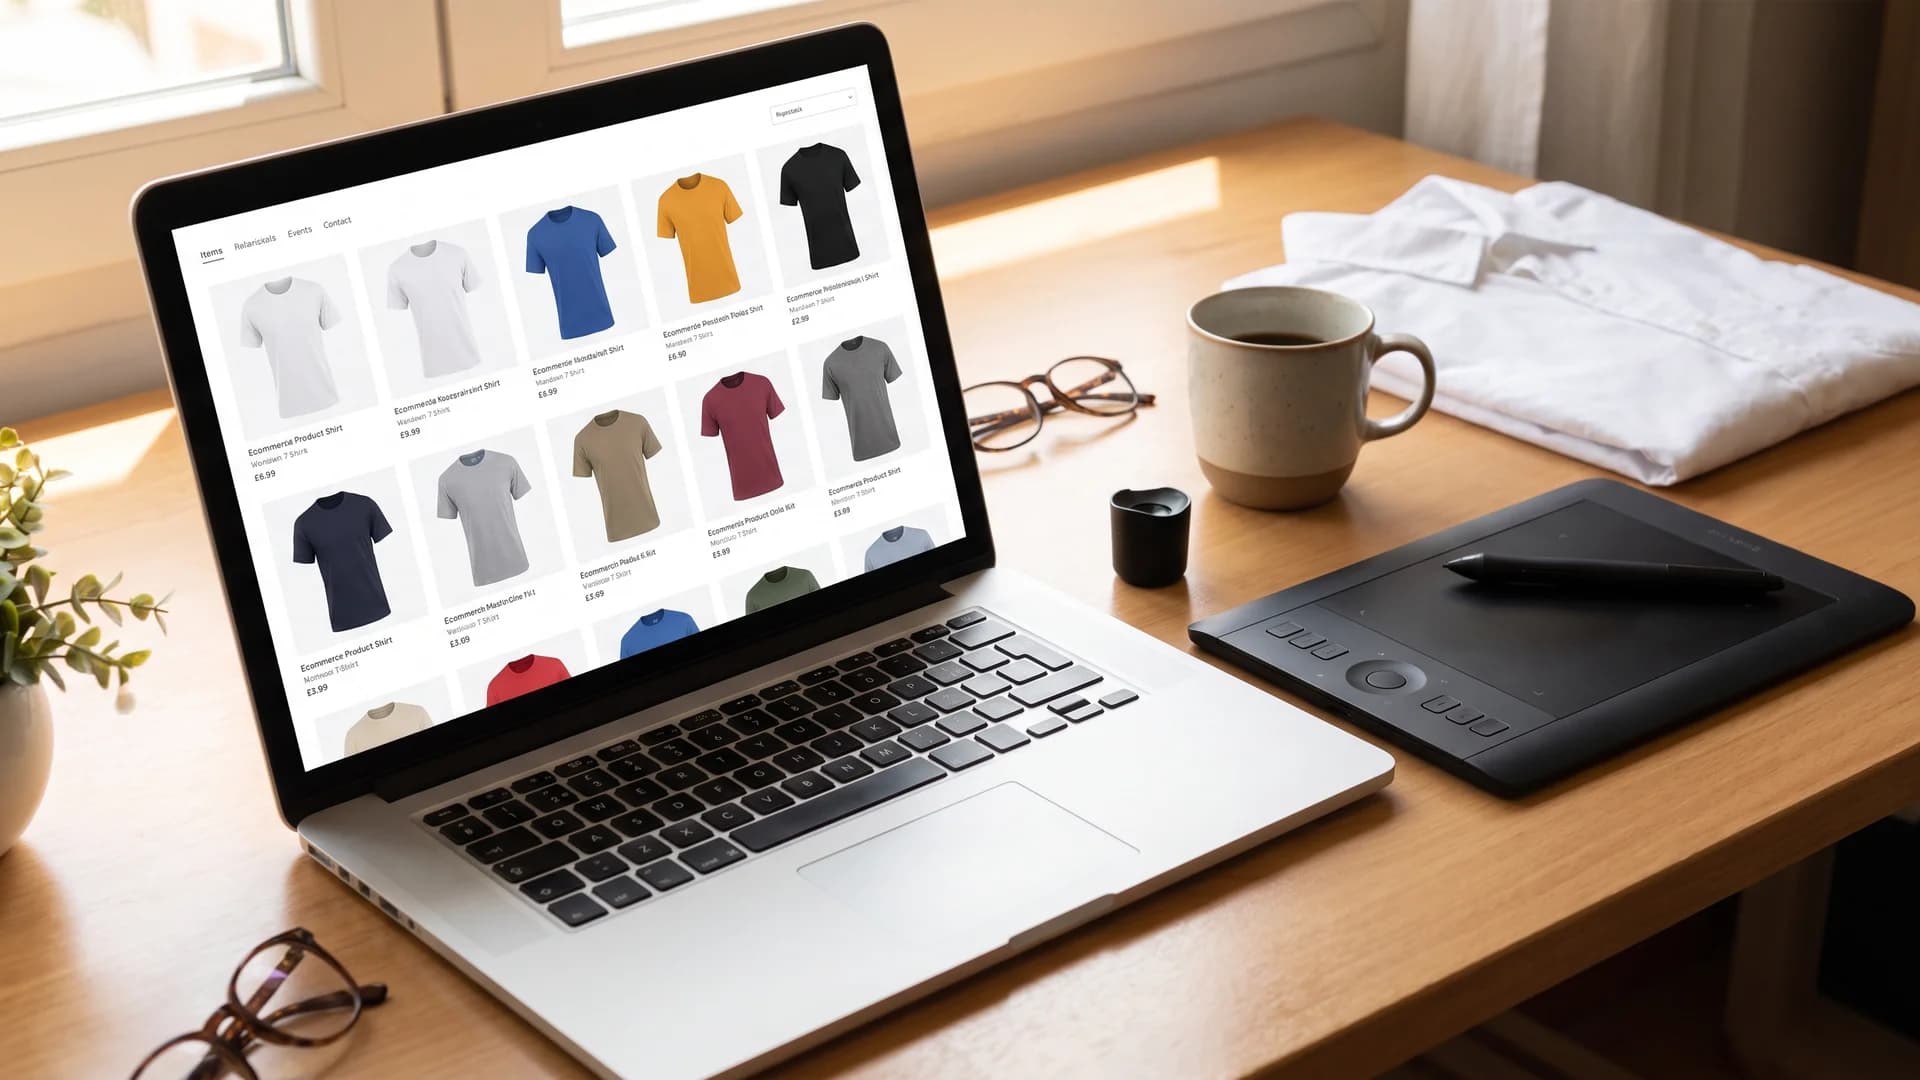
Ecommerce catalog of invisible-mannequin product photos exported from the Photoshop ghost mannequin workflow
Color and shadow finishing. Add a Curves adjustment to match brightness between the garment and interior. Then add a subtle drop shadow under the garment on a separate low-opacity layer so it grounds the product instead of floating in a vacuum. Keep the shadow soft and short for a clean, catalog look.
Color space. Convert to sRGB under Edit > Convert to Profile before you export. Browsers and marketplaces expect sRGB, and a file left in Adobe RGB will look dull or off-color once it hits a product page.
File format. Use the table below.
| Format | Best for | Notes |
|---|---|---|
| JPEG | Final white-background product images | Quality 80 to 90, smaller files, fast page loads |
| PNG-24 | When you need true transparency for a design system | Larger files, use only if the background must stay transparent |
| WebP | Modern stores that support it | Smaller than JPEG at similar quality, check marketplace support |
For most sellers, a flattened JPEG on a pure white background at quality 85 is the right answer. Reserve transparent PNG for cases where your storefront places the product over colored backgrounds.
Dimensions and marketplace specs. Export the longest side at 2,000 pixels for a store you control, which gives shoppers room to zoom. For marketplaces, match their rules: Amazon requires the longest side at a minimum of 1,600 pixels to enable zoom and recommends pure white (RGB 255, 255, 255) for the main image. Keep a master PSD so you can re-export at different sizes without rebuilding.
Consistent output across your whole catalog matters as much as any single image. Match crop, background, and lighting across every SKU so your product grid looks like one shoot, which is the same problem WearView's consistent AI models solve on the model side.
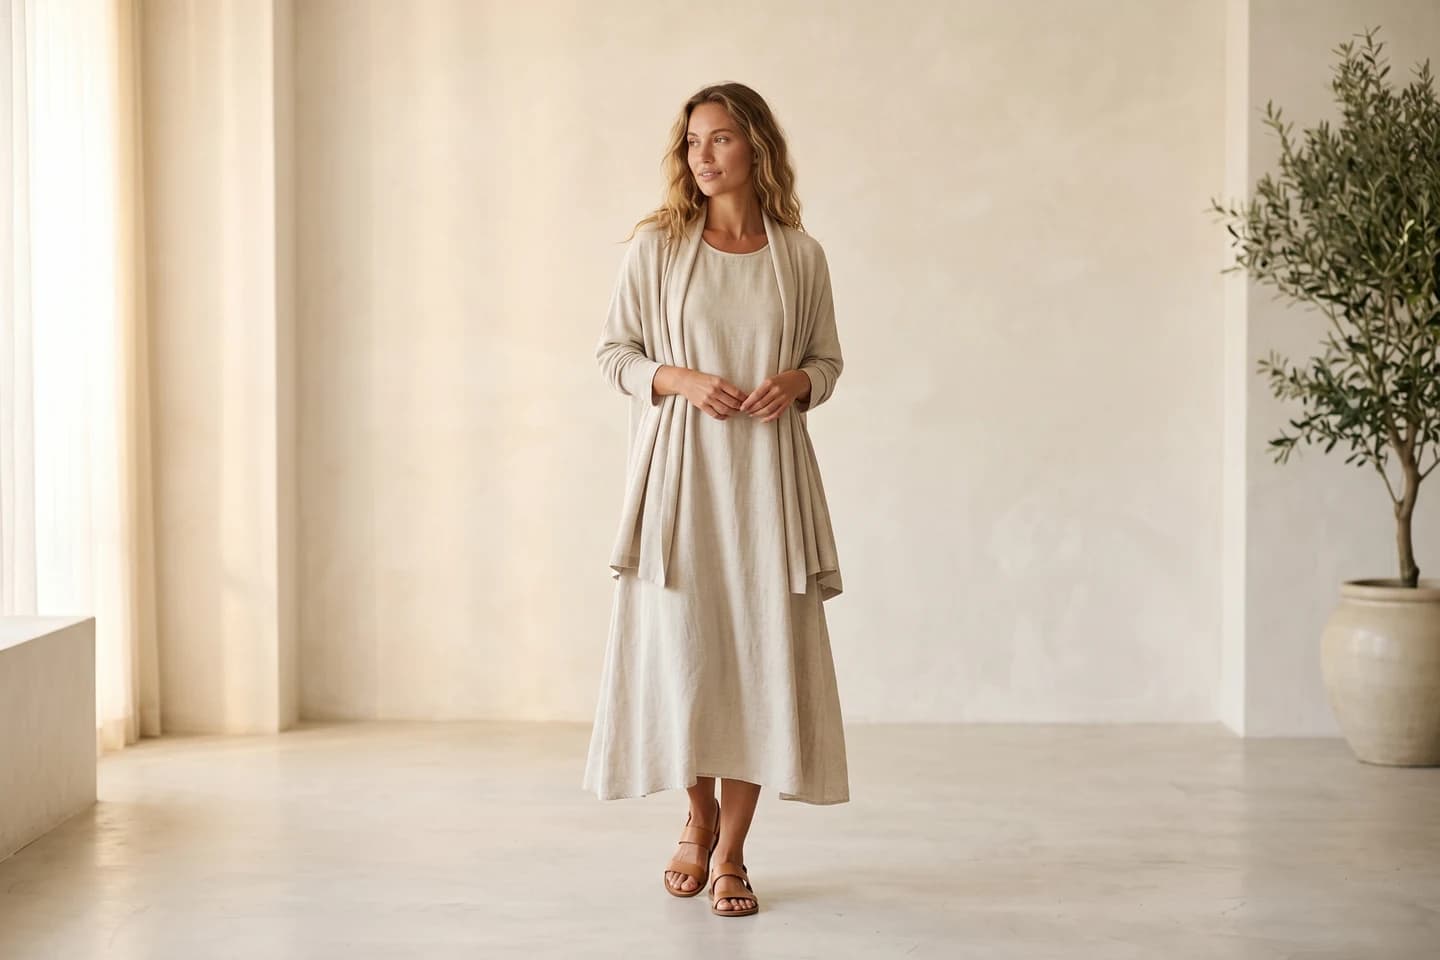

Replace your next photoshoot with AI
Professional on-model fashion photography in seconds, at a fraction of the cost of a studio shoot.
Common mistakes with the ghost mannequin effect in Photoshop (and how to fix them)
Even a careful composite can go wrong in predictable ways. Here are the four most common ones and the fix for each.
White halos around the cutout. A bright fringe traces the garment edge because the selection grabbed a rim of background. Fix it with Layer > Matting > Defringe at 1 pixel, or reselect with a tighter mask.
Mismatched lighting between the two photos. The interior fabric looks like it belongs to a different shot. Clip a Curves or Hue/Saturation adjustment to the interior layer only, and match its brightness and warmth to the front until they read as one garment.
Warped prints or stretched text. When you Warp the interior fabric too aggressively, a logo or label behind the collar can bend unnaturally. Undo, re-warp with smaller anchor moves, and keep any visible print near the flatter center of the grid.
A hard, obvious seam. If the neck joint still shows a line, you rushed the Clone Stamp. Zoom to 300%, sample repeatedly from clean fabric on both sides, and blend in short overlapping strokes at reduced opacity.
Most of these come down to time. Retouchers who do this daily still budget 15 to 30 minutes per garment, and the seam and lighting matches eat the clock.
The faster alternative: AI ghost mannequin without Photoshop
Here is the honest part. The manual workflow above works, but it is slow, and hiring it out is not cheap either. Standard white-background product photography runs roughly $12 to $75 per image, and styled shots with multiple angles run about $50 to $150 per image, per FrameOnce, with apparel compositing adding time on top. Dedicated ghost mannequin services carry real minimums too: Squareshot lists a $300 minimum order for non-members with delivery in eight business days or less.
That math is why a lot of sellers now skip Photoshop entirely and let AI do the compositing. You upload the garment photo, the tool removes the form and fills the neck automatically, and you get a clean invisible-mannequin image in seconds instead of half an hour. Quality varies by tool, so our roundup of the best AI ghost mannequin tools walks through the current options for ecommerce.
WearView takes this further. Its AI ghost mannequin and product to model tools turn a flat-lay or packshot into either a clean invisible-mannequin shot or a full on-model photo in under 15 seconds, with commercial usage rights on every paid plan. Plans start at $29 a month for Lite with 50 credits, $49 for Pro with 200 credits, and $99 for Advanced with 500 credits. For a catalog of any real size, that is a different cost curve than $300 minimums and per-image retouching. See the full toolset at WearView's AI fashion photography platform.
None of this makes Photoshop useless. If you need pixel-level control on a hero image or a tricky garment, the manual method is still the most precise option. For volume, AI is now the faster and cheaper path to the same floating product look.
Key takeaways
- Shoot two photos. The ghost mannequin effect needs a main shot plus an inside-collar shot. The second one fills the neck hole after you delete the mannequin.
- Use the Pen tool for cutouts. It beats Magic Wand on the curved edges of shoulders, hems, and sleeves, and it keeps your selection editable.
- Spend your time on the neck joint. Warp the interior fabric to the collar curve, hide the seam with the Clone Stamp, and add a light Burn shadow for depth. This is what makes the composite look real.
- Export in sRGB. Flatten to JPEG at quality 85 on white for most stores, size the longest side to at least 1,600 pixels for marketplace zoom, and keep a master PSD.
- Weigh the time cost. A clean manual composite is 15 to 30 minutes per garment. For a full catalog, an AI ghost mannequin tool produces the same look in seconds.
Sources: FrameOnce Product Photography Pricing, Squareshot Ghost Mannequin Product Photography, ProDesignTools Creative Cloud Subscribers, The Good Ecommerce Product Images (2026)
FAQ
How do you create the ghost mannequin effect in Photoshop step by step? Cut out the garment with the Pen tool and delete the mannequin using a layer mask. Paste the inside-collar shot on a layer below the garment so it fills the neck opening. Warp the interior fabric to the collar curve, clone out the seam, add a Burn shadow, then export in sRGB.
Which Photoshop tool is best for cutting out clothing, Pen tool or Select and Mask? Use the Pen tool for the main outline because it gives smooth, editable paths on the curved edges of a garment. Then pass the selection through Select and Mask to refine soft or fuzzy edges like knit and fur. The two work together rather than as either/or.
Do you need two photos to make the ghost mannequin effect? Yes, in almost every case. You need the main garment shot plus an inside-collar shot so the back of the neck has real interior fabric to show once the mannequin is removed. Without the second photo, deleting the mannequin leaves an empty hole that looks broken.
How do you align and blend the inside-collar shot in Photoshop?
Place the interior layer below the garment layer, then use Free Transform (CTRL/CMD + T) for a rough fit. Switch to Edit > Transform > Warp and push the anchor points so the fabric curves to follow the collar. Finish by hiding the seam with the Clone Stamp and adding a soft Burn shadow inside the neck.
What are the best export settings for ghost mannequin product photos? Convert to sRGB, then export a flattened JPEG at quality 80 to 90 on a pure white background for most stores. Size the longest side to at least 1,600 pixels so marketplaces like Amazon enable zoom, and keep a master PSD for re-exporting. Use PNG only when you genuinely need transparency.
How long does it take to create a ghost mannequin effect in Photoshop? Expect 15 to 30 minutes per garment once you are comfortable with the workflow. The neck-joint blend and matching lighting between the two photos take the most time. Complex garments with prints or open sleeves push toward the higher end.
Can you do the ghost mannequin effect without Photoshop? Yes. AI ghost mannequin tools remove the form and fill the neck automatically from a single garment photo, producing the invisible-mannequin look in seconds. WearView's product to model and ghost mannequin tools go further and can output a full on-model image in under 15 seconds.
Is the ghost mannequin effect free to make? The technique is free if you already have Photoshop, but Photoshop is a paid subscription and your real cost is time at 15 to 30 minutes per SKU. Outsourced services often start around a $300 minimum, while AI tools charge a smaller monthly fee for high volume.
WearView Team
WearView Content & Research Team
WearView Team is a group of fashion technology specialists focused on AI fashion models, virtual try-on, and AI product photography for e-commerce brands. We publish in-depth guides, case studies, and practical insights to help fashion businesses improve conversion rates and scale faster using AI.