July 11, 2026•15 min read
How to Create Ghost Mannequin Photos Without a Model or Mannequin
No mannequin and no model? You can still get the floating ghost mannequin look. Here are four zero and low-cost routes, from flat-lay editing to an AI tool that outputs a hollow form in seconds, ranked by cost and effort.
Picture of How to Create Ghost Mannequin Photos Without a Model or Mannequin article
You want the filled-out, floating look of a garment worn by an invisible person, but there is no form in your spare room and no model on call. That is where most small sellers get stuck. The good news is that you can produce ghost mannequin photos without a model and without owning any mannequin at all. All you need is the garment, your phone, and one of the four routes below.
The ghost mannequin effect (also called the invisible mannequin or hollow-man look) makes clothing appear worn by a body you cannot see. It works because shoppers buy with their eyes. 77% of online shoppers say image quality directly affects what they purchase, and clear product shots convert around 33% better than low-quality ones, according to Autophoto.
This guide skips the theory and the usual assumption that you already own gear. Every method starts from what you have right now: a flat surface or a hanger, plus a phone. I will rank the routes by cost, effort, and how convincing they look, then show the AI shortcut that does the whole job in seconds.
What the ghost mannequin effect actually needs (and why you don't need a mannequin or model)
A mannequin does three jobs in a normal ghost mannequin shoot. Once you know what those jobs are, you can hand each one to something cheaper or to software.
- Structure: it fills the garment so the shoulders, chest, and sleeves hold a body-like shape instead of collapsing flat.
- A clean edge: it sits against a plain backdrop so the garment can be cut out cleanly.
- The interior peek: it lets the camera see a little of the inner back collar through the neck opening, which is what tricks the eye into reading "hollow, worn body."
You can recreate all three without a form. Stuffing gives you structure. A white sheet or wall gives you the clean edge. And the inner-collar peek can come from a second quick photo, a rolled towel behind the neck, or an AI reconstruction. Here is the swap-out at a glance.
| What a mannequin provides | How to fake it with no form |
|---|---|
| Body structure and shoulder shape | Rolled towels, tissue paper, foam sheets, or cardboard stuffed inside |
| Clean cutout background | White foam board, a bedsheet, or a plain wall |
| Inner back-collar peek | A separate inside-neck photo, a shaped collar insert, or AI fill |
| Even, shadow-free lighting | Window light plus a white bounce card |
The rest of this guide is just four ways to combine those swaps. Start with the one that matches the gear you have.
Route 1: Flat-lay to ghost mannequin (zero equipment, just your garment and a phone)
This is the true no-equipment route, and it is the only method most competing tutorials bother to cover. You shoot the garment as a flat-lay and then rebuild the hollow shape in editing.
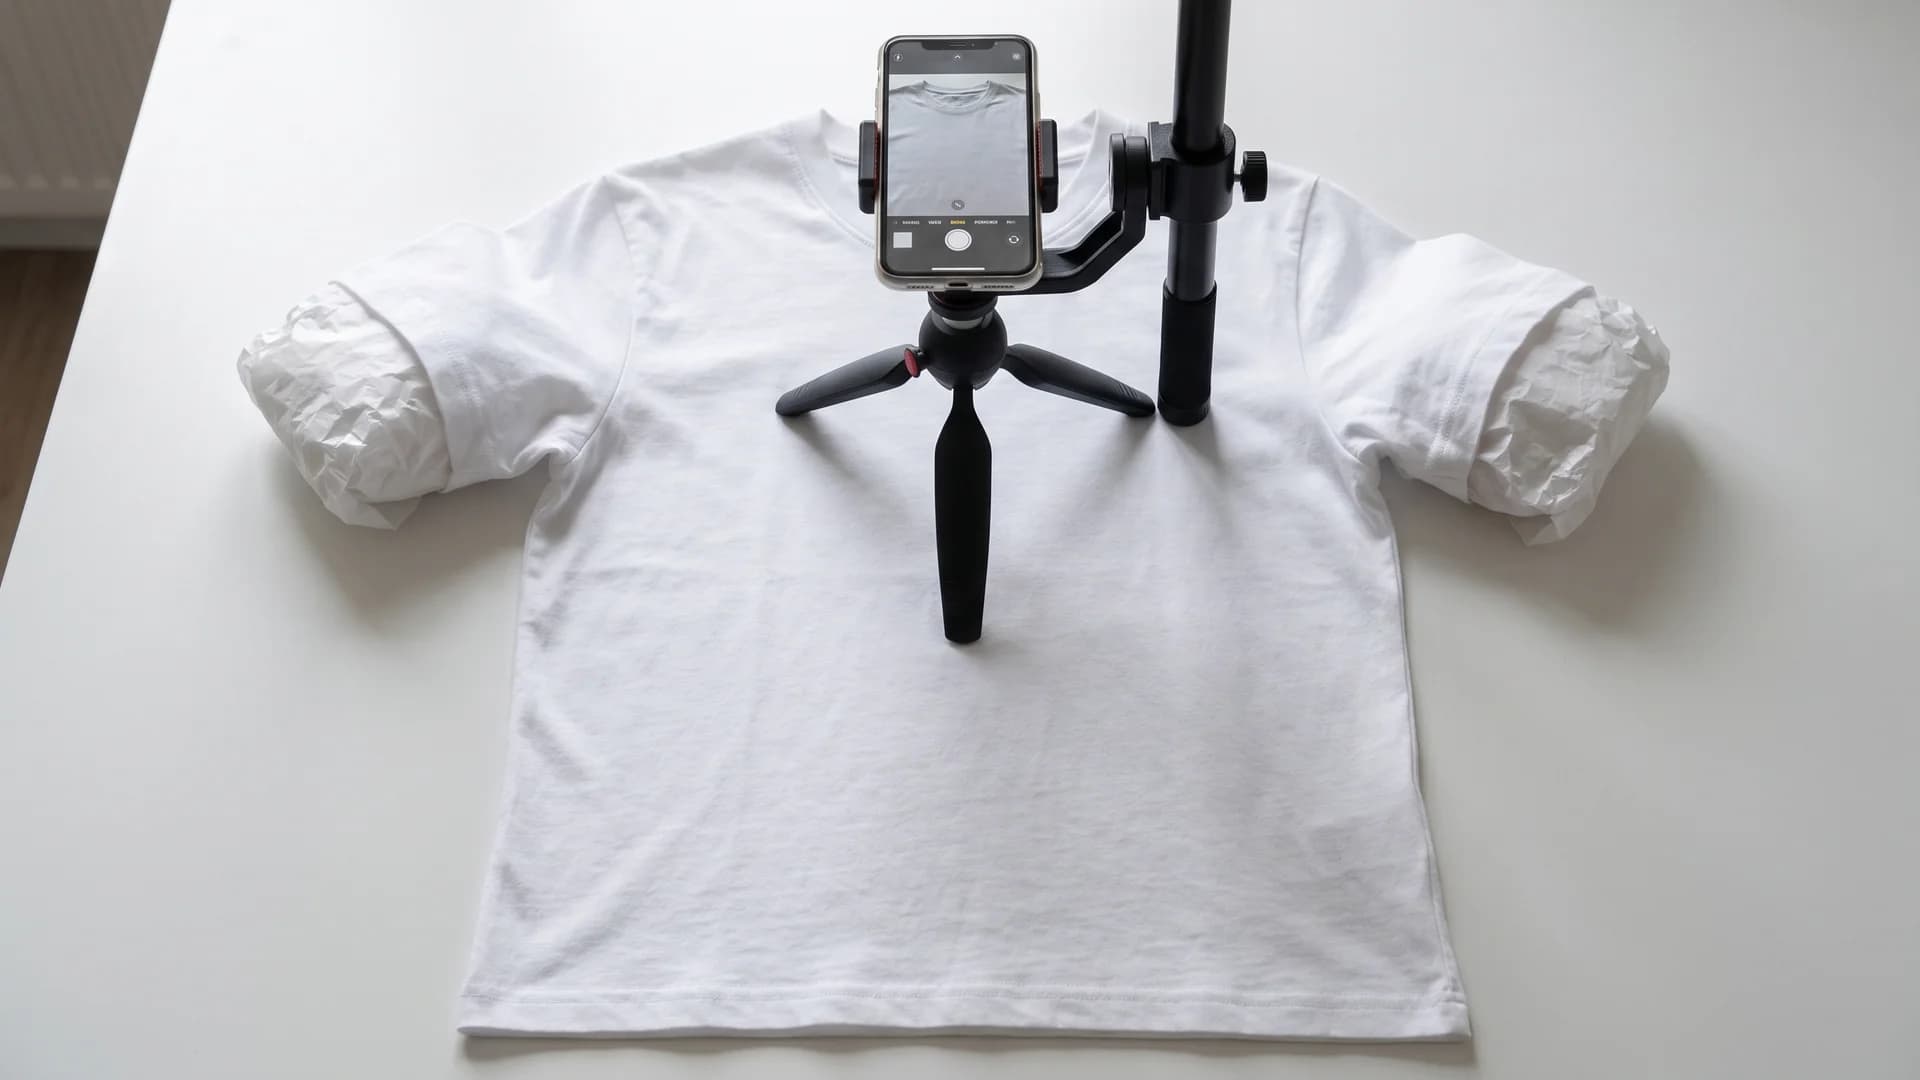
Flat-lay setup for a ghost mannequin photo without a model, a padded t-shirt shot straight down under window light
Here is the process:
- Lay the garment flat on a white surface. Smooth every wrinkle by hand and pull the shoulders square.
- Lightly stuff the sleeves and body with tissue paper so the fabric lifts off the table a few millimeters. This fakes just enough volume to avoid a pancake-flat look.
- Shoot straight down from directly above, phone parallel to the floor, with soft even light from a window.
- Take one extra close photo of the inside back collar, folded up toward the camera. You will paste this into the neck opening later so the shot reads as hollow.
- Remove the background, then composite the collar shot behind the neckline.
The upside: it costs nothing and works today. The catch: a flat-lay reads flat, because there is no real depth. It is best for tops, tees, and lightweight shirts, and weakest for structured jackets or anything with a defined waist. If you never captured that inside-collar shot, jump to the neckline section below, because that is the part people get wrong.
Route 2: The hanger and invisible-thread DIY rig
If the garment hangs well, a hanger plus clear thread gives you more natural drape than a flat-lay, and it is still close to free. This route turns a plain hanger photo into a ghost shot.
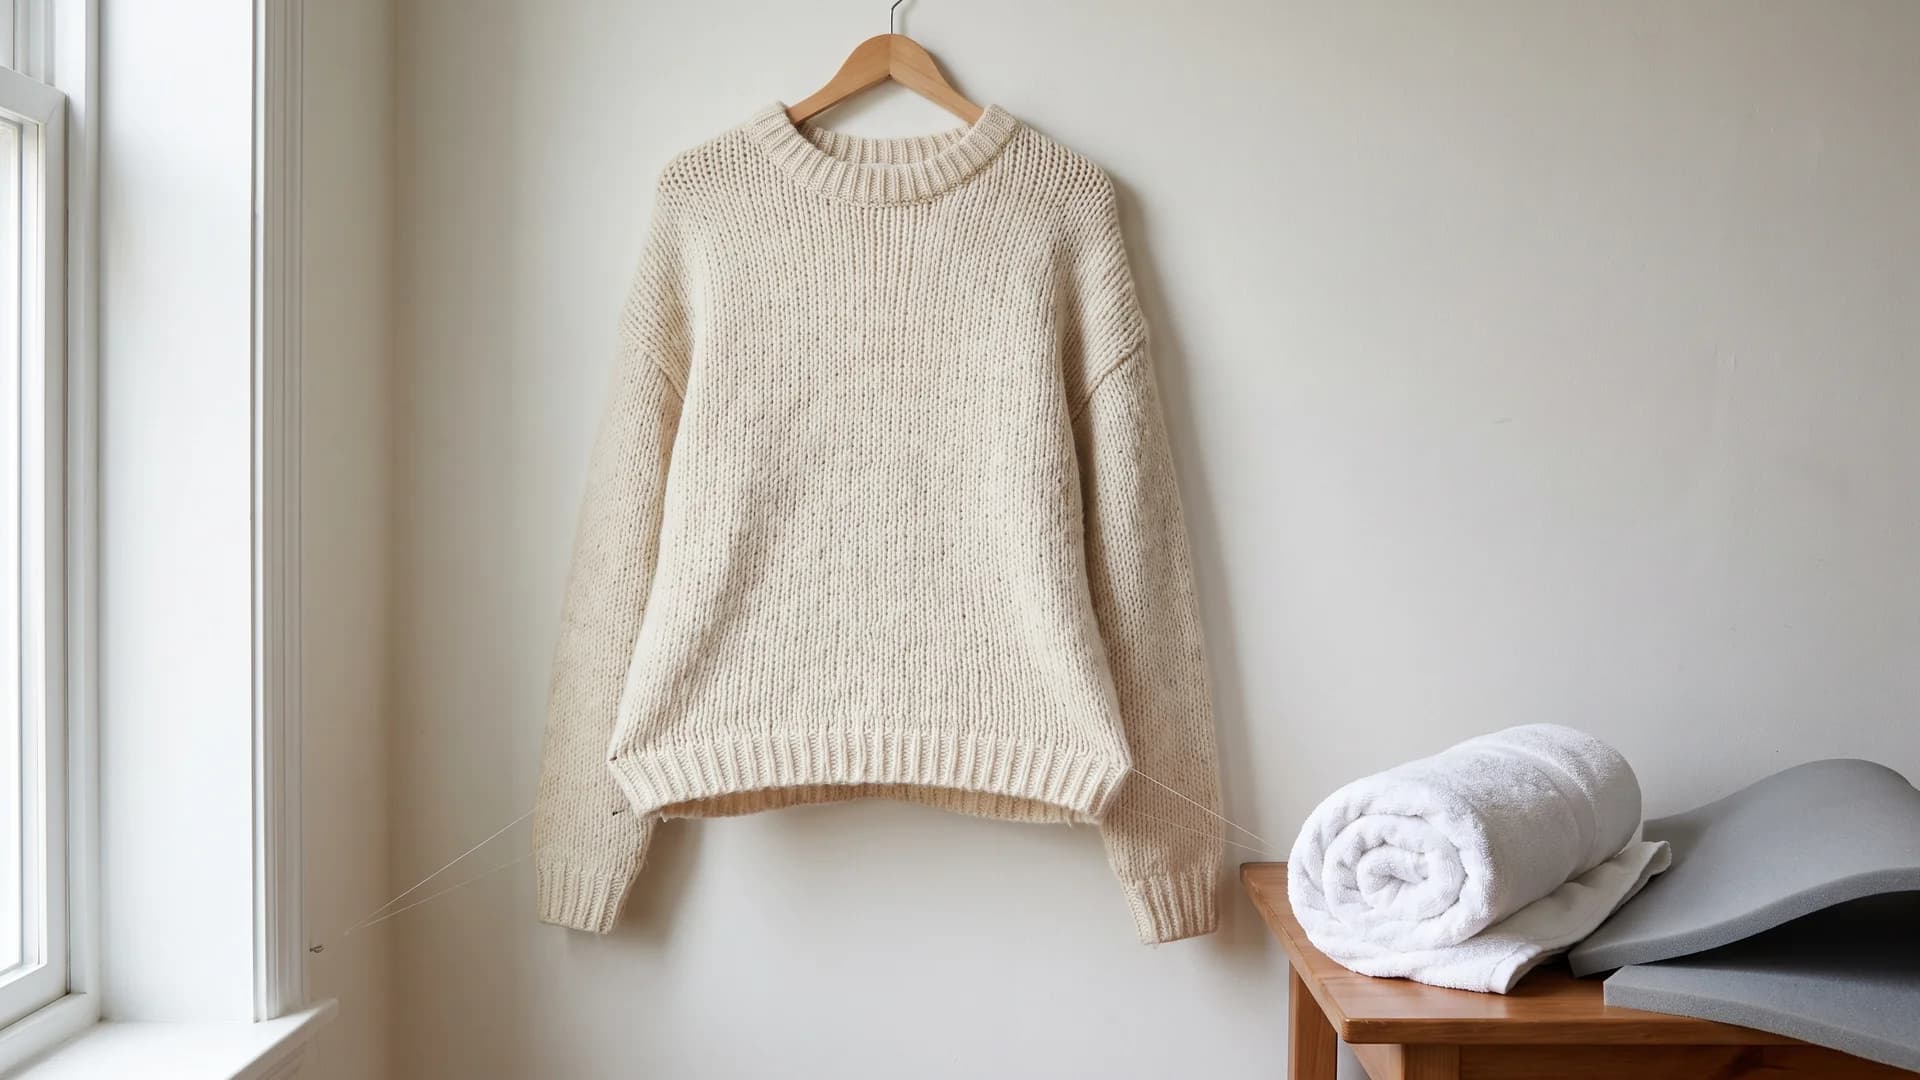
DIY hanger and foam rig for the invisible mannequin effect without a mannequin, a knit sweater pulled into shape with clear thread
- Hang the garment on a slim hanger against a white wall or sheet.
- Use clear fishing line or invisible sewing thread to gently pull the hem, cuffs, or waist into a shape that suggests a body. Tape the thread to the wall out of frame.
- Button or clip the front so the chest fills out.
- Shoot straight on, keeping the camera level with the garment's middle.
- In editing, remove the hanger, the hook bump at the collar, and the threads, then drop in the inner-collar peek.
Fishing line costs a few dollars and disappears against a plain background, so retouching is fast. Thin knits and blouses respond best because they drape. Stiff fabrics fight the thread and can look pinched, so keep the tension light.
Route 3: Foam inserts and rolled-towel forms for structure on a budget
When a garment needs real body, build a throwaway form inside it. This is the closest you get to a mannequin's structure for almost no money, and it beats both a flat-lay and a hanger for jackets, sweaters, and dresses.
Things that work as inserts:
- Rolled bath towels for the torso and shoulders
- Tissue paper or bubble wrap to pad sleeves and cuffs
- A foam sheet or cardboard cut into a shoulder shape
- A curved strip of cardboard behind the neck to lift the collar and create that hollow-neck arc
Stand the stuffed garment upright if it can support itself, or lay it down and shoot from above like a flat-lay with volume. The goal is a rounded, lived-in shape, not a rigid one. Shoot against white, then cut out the background and edit away any towel or foam that peeks through the neck or cuffs. If you want a full home-studio walkthrough that uses a form, our guide to ghost mannequin photography without a studio covers lighting and backdrop setups in more depth.
Route 4: Ghost mannequin photos without a model, generated by AI (flat lay in, hollow form out in seconds)
The three routes above all end in manual editing. The AI route skips the rig and most of the retouching. You upload a single flat-lay or hanger photo, and the tool outputs either a clean hollow ghost form or a full on-model shot. AI ghost mannequin generators advertise results from one upload in roughly 15 to 60 seconds, versus the manual multi-shot compositing every other method needs, per Photoroom.
Two things make this the fastest path for sellers with no gear:
- No form to buy or build. The model shape is generated, so there is nothing to stuff, hang, or thread.
- The neckline is reconstructed for you. The tool rebuilds the inner collar, which is the single hardest part to fake by hand when you have no interior shot.
WearView handles both outputs. Its AI ghost mannequin tool removes the need for a physical form and returns a crisp invisible-model image, while product to model takes the same flat-lay and puts the garment on a realistic AI model instead, all in under 15 seconds. If you are on the fence between a hollow form and an on-model shot for your listings, you can generate both from the one photo and A/B test them.
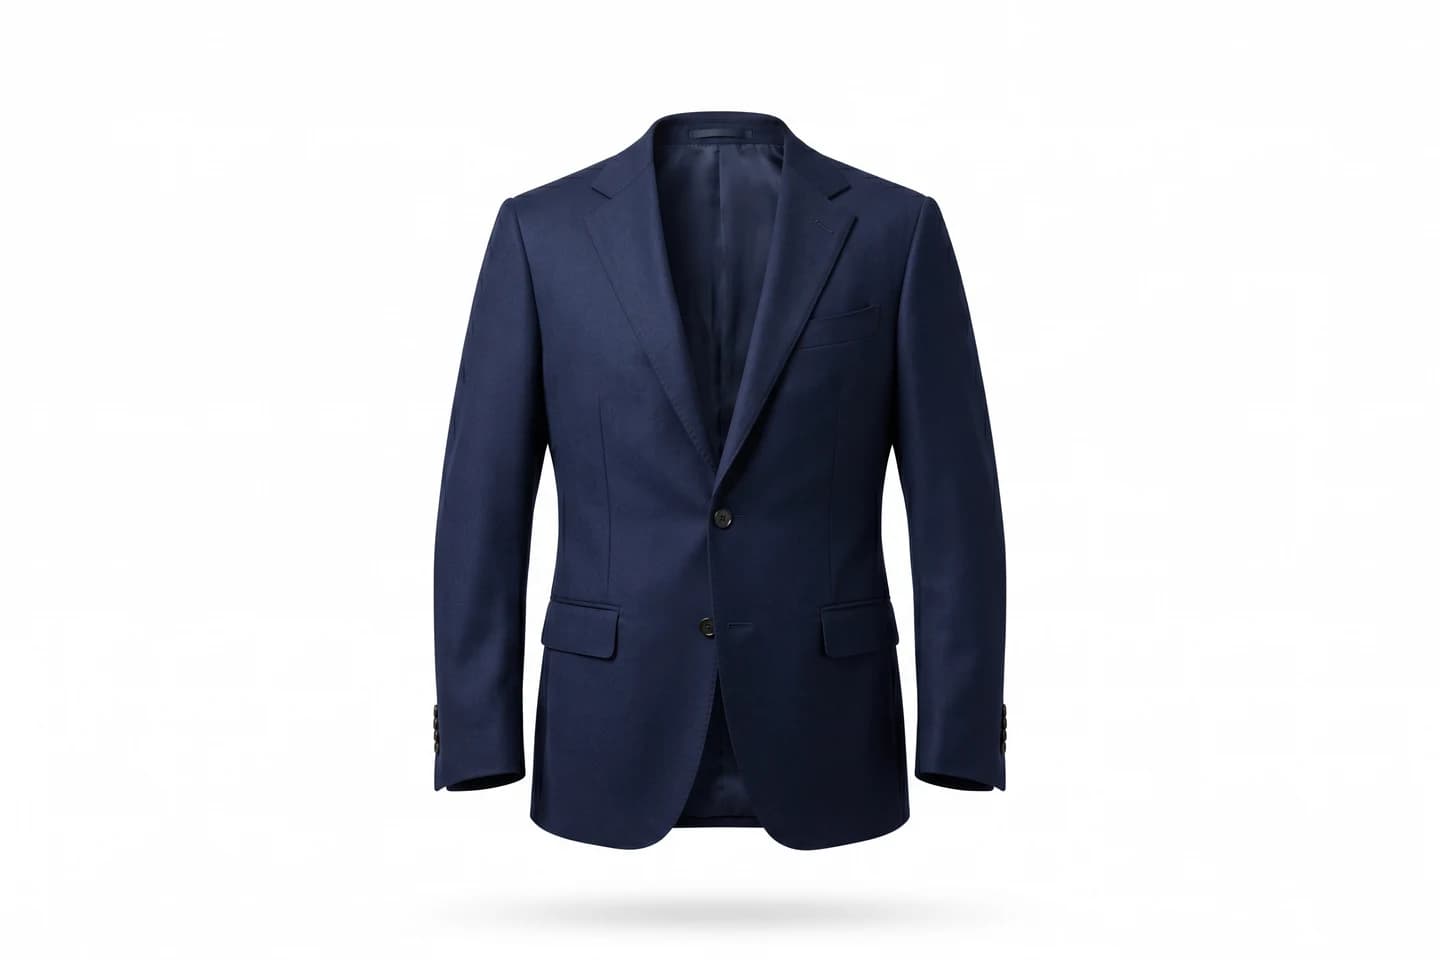
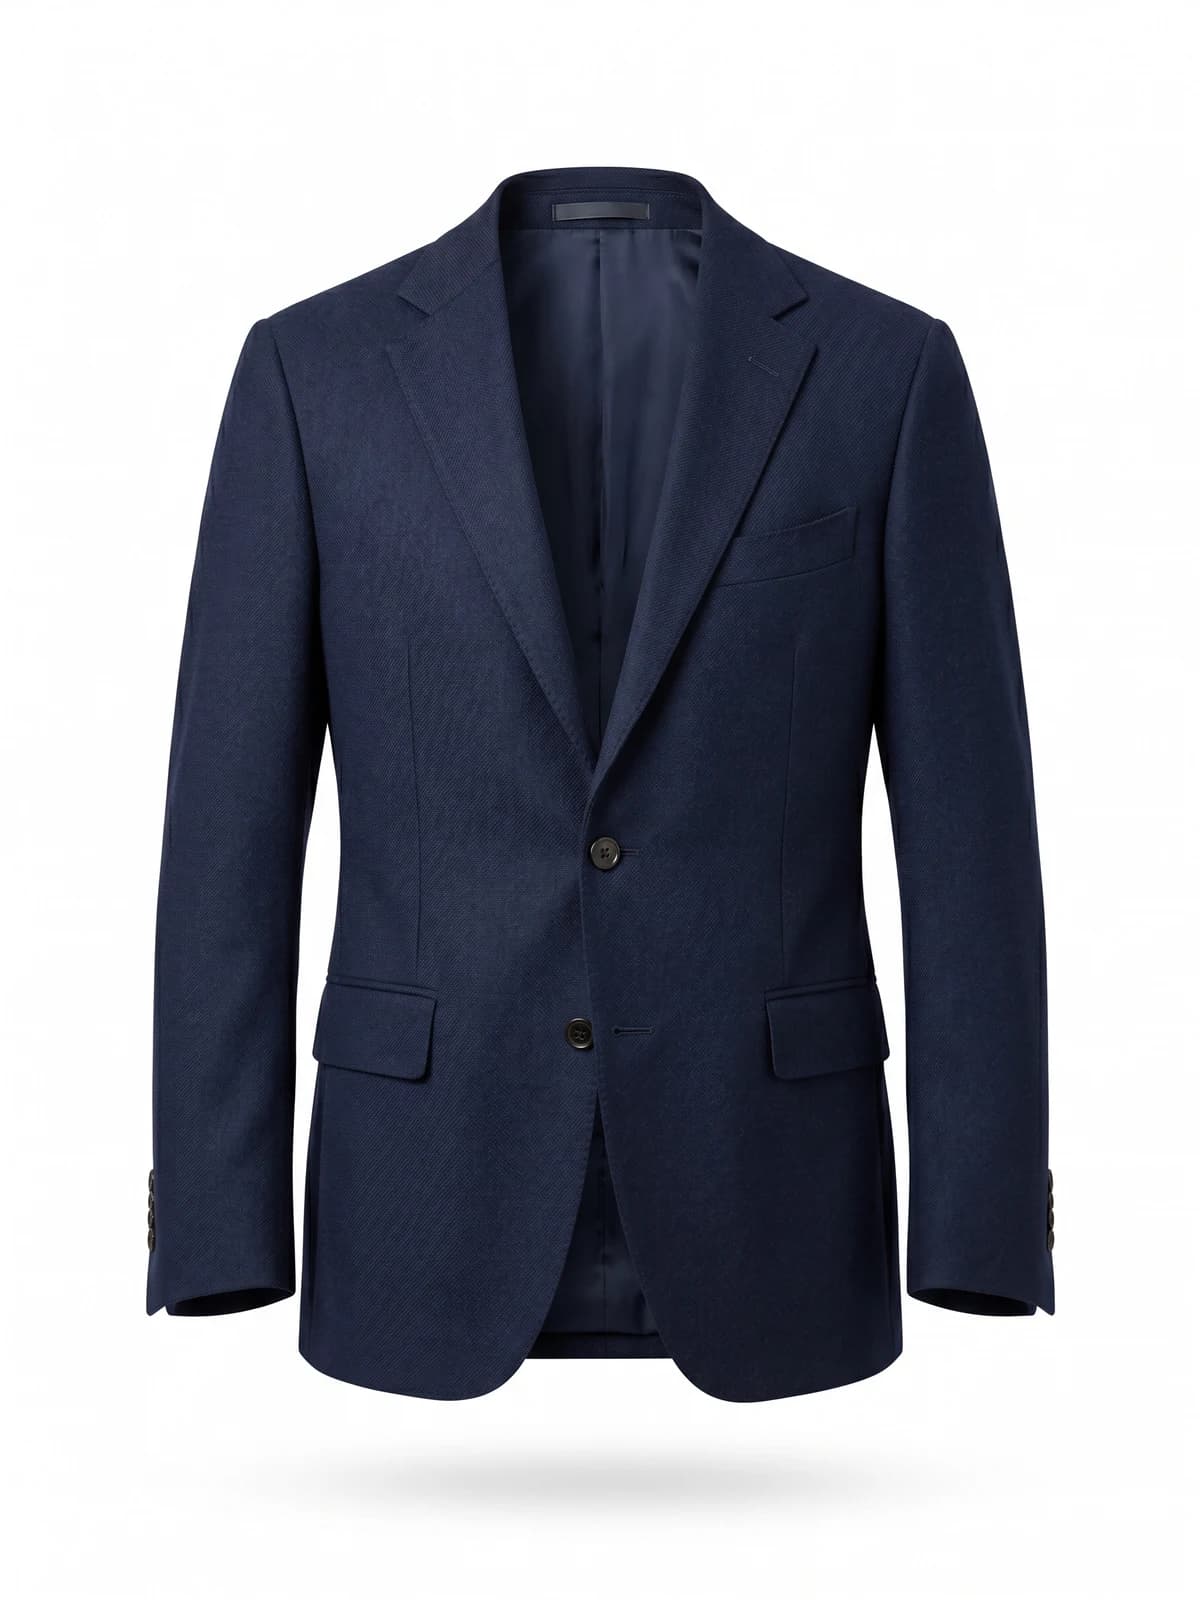
Clean ghost-mannequin shots, instantly
Remove the mannequin and get crisp invisible-model product images that look studio-shot.
Solving the hardest part: rebuilding the neckline and inner collar without an interior shot
The neck opening is what separates a believable ghost shot from a garment that looks stuck to a wall. A real worn top shows a sliver of the inside back collar through the neck hole. If you never photographed the inside, you have three ways out.
- Shoot the interior now. Even after the fact, you can fold the collar of the physical garment up toward the camera, snap it on white, and paste it into the neckline. Two minutes of work.
- Borrow the shape from the flat-lay. Duplicate the back-neck area of your existing photo, darken it slightly to suggest depth, and mask it into the opening. It fools most buyers at listing size.
- Let AI reconstruct it. This is why the AI route wins for people with zero source material. The model infers the inner collar, the hollow, and the shadow that should fall inside the neck, so you never need a second photo.
A full manual walkthrough of the two-shot compositing technique captures an outer exposure of the garment and an inner exposure of the collar, then merges them. This post stays focused on the no-form framing, so I will not re-teach the whole Photoshop composite here.
DIY vs editing service vs AI: cost, time, and quality compared
Most sellers eventually weigh three options: edit it yourself, ship the photos to a clipping-path service, or run them through AI. The trade-off is money against time. Manual editing services price ghost mannequin retouching roughly between $0.39 and $3 per image, with volume tiers starting around $0.39 to $0.89 each, according to Clipping Path Source. Path Edits lists professional ghost mannequin editing starting at 89 cents per image, which is a fair benchmark for what the per-image outsourced route costs. AI tools trade that per-image fee for a flat subscription and near-instant turnaround.
| Method | Cost per image | Time per image | Gear needed | Best for |
|---|---|---|---|---|
| DIY flat-lay + your own editing | $0 (your time) | 20 to 60 min | Phone only | One-off listings, tight budgets |
| Hanger or foam rig + your editing | Under $5 total | 15 to 45 min | Hanger, thread, towels | Structured garments |
| Clipping-path editing service | $0.39 to $3 | 12 to 48 hr turnaround | You still shoot the source | Bulk catalogs, hands-off |
| AI ghost mannequin or product-to-model | Subscription, no per-image fee | 15 to 60 sec | Phone only | Speed, volume, no gear |
WearView's paid plans start at $29 a month for the Lite tier (50 credits), with Pro at $49 (200 credits) and Advanced at $99 (500 credits). There is no free tier, but at those volumes the effective per-image cost undercuts most manual editing services once you pass a handful of products, and you skip the 12-to-48-hour service turnaround entirely.
Common mistakes that make ghost mannequin photos without a model look fake (and how to fix them)
A no-mannequin ghost shot goes wrong in a handful of predictable ways. Watch for these.
- A dead-flat neckline. The most common tell. Fix it with an interior-collar peek or an AI fill so the neck reads as hollow, not sealed.
- Shadows going the wrong direction. If your composited collar is lit from the left but the garment is lit from the right, the eye notices. Keep one light direction across every element.
- Wrinkles you didn't steam out. Software can smooth some creasing, but deep folds cast shadows that look like damage. Steam or press before you shoot.
- A mismatched cutout edge. Harsh, jagged background removal around the shoulders screams "edited." Zoom in and clean the mask, or use a tool that handles fine edges like knit fuzz and lace.
- Inconsistent scale and framing across a catalog. If one top fills the frame and the next floats small, your product page looks messy. Shoot every garment at the same distance and crop to a fixed ratio.
Fixing the last one by hand is tedious. Keeping one look across every listing is exactly where AI helps, since you set the framing and lighting once and reuse it across the whole catalog.
How to shoot source photos that AI and editors can actually use
Every route above is only as good as the photo you feed it. Whether the next step is your own editing, a service, or AI, the source shot needs the same things.
- Flat, even light. Shoot near a large window on an overcast day, or bounce light off a white card. Avoid direct sun and hard shadows.
- A plain, high-contrast background. White foam board or a clean sheet makes the cutout painless. Keep the garment from blending into the backdrop.
- Fill the frame. Get close enough that the garment takes up most of the shot, but leave a small margin so nothing is clipped.
- Square, level angle. Shoot dead-on or straight down. Tilt distorts the shape and makes later alignment harder.
- Grab the inside collar. One extra photo of the folded inner neck saves you the biggest headache in editing.
Nail those and any tool can do its job. If you want to see how the same flat-lay can become a full on-model image rather than a hollow form, WearView's virtual try-on and product-to-model tools both start from one garment photo, and you can read more about the platform at WearView.
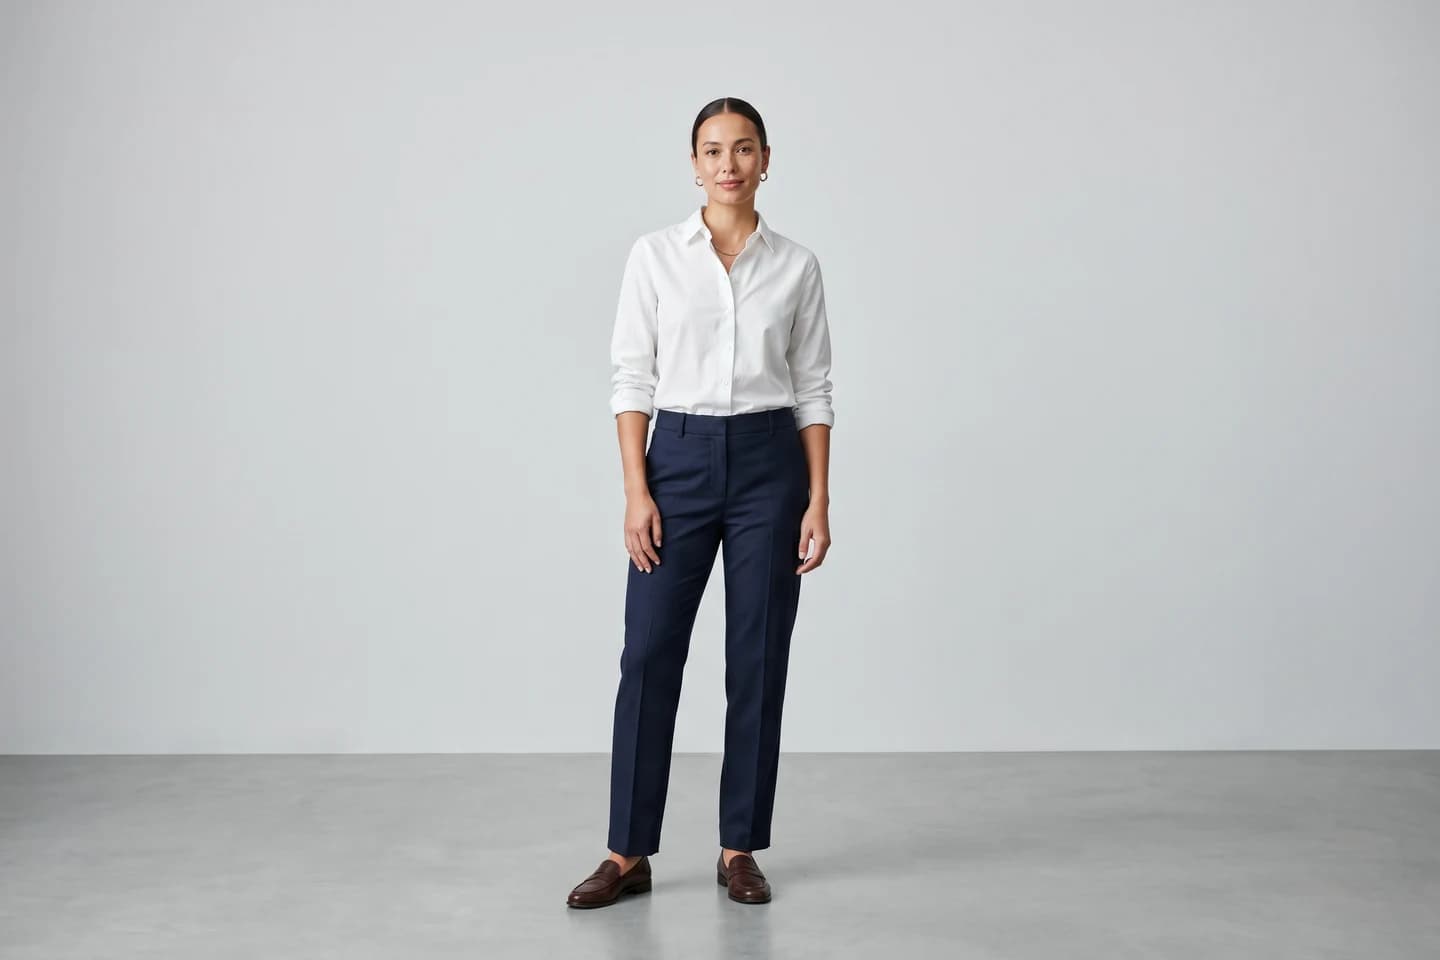
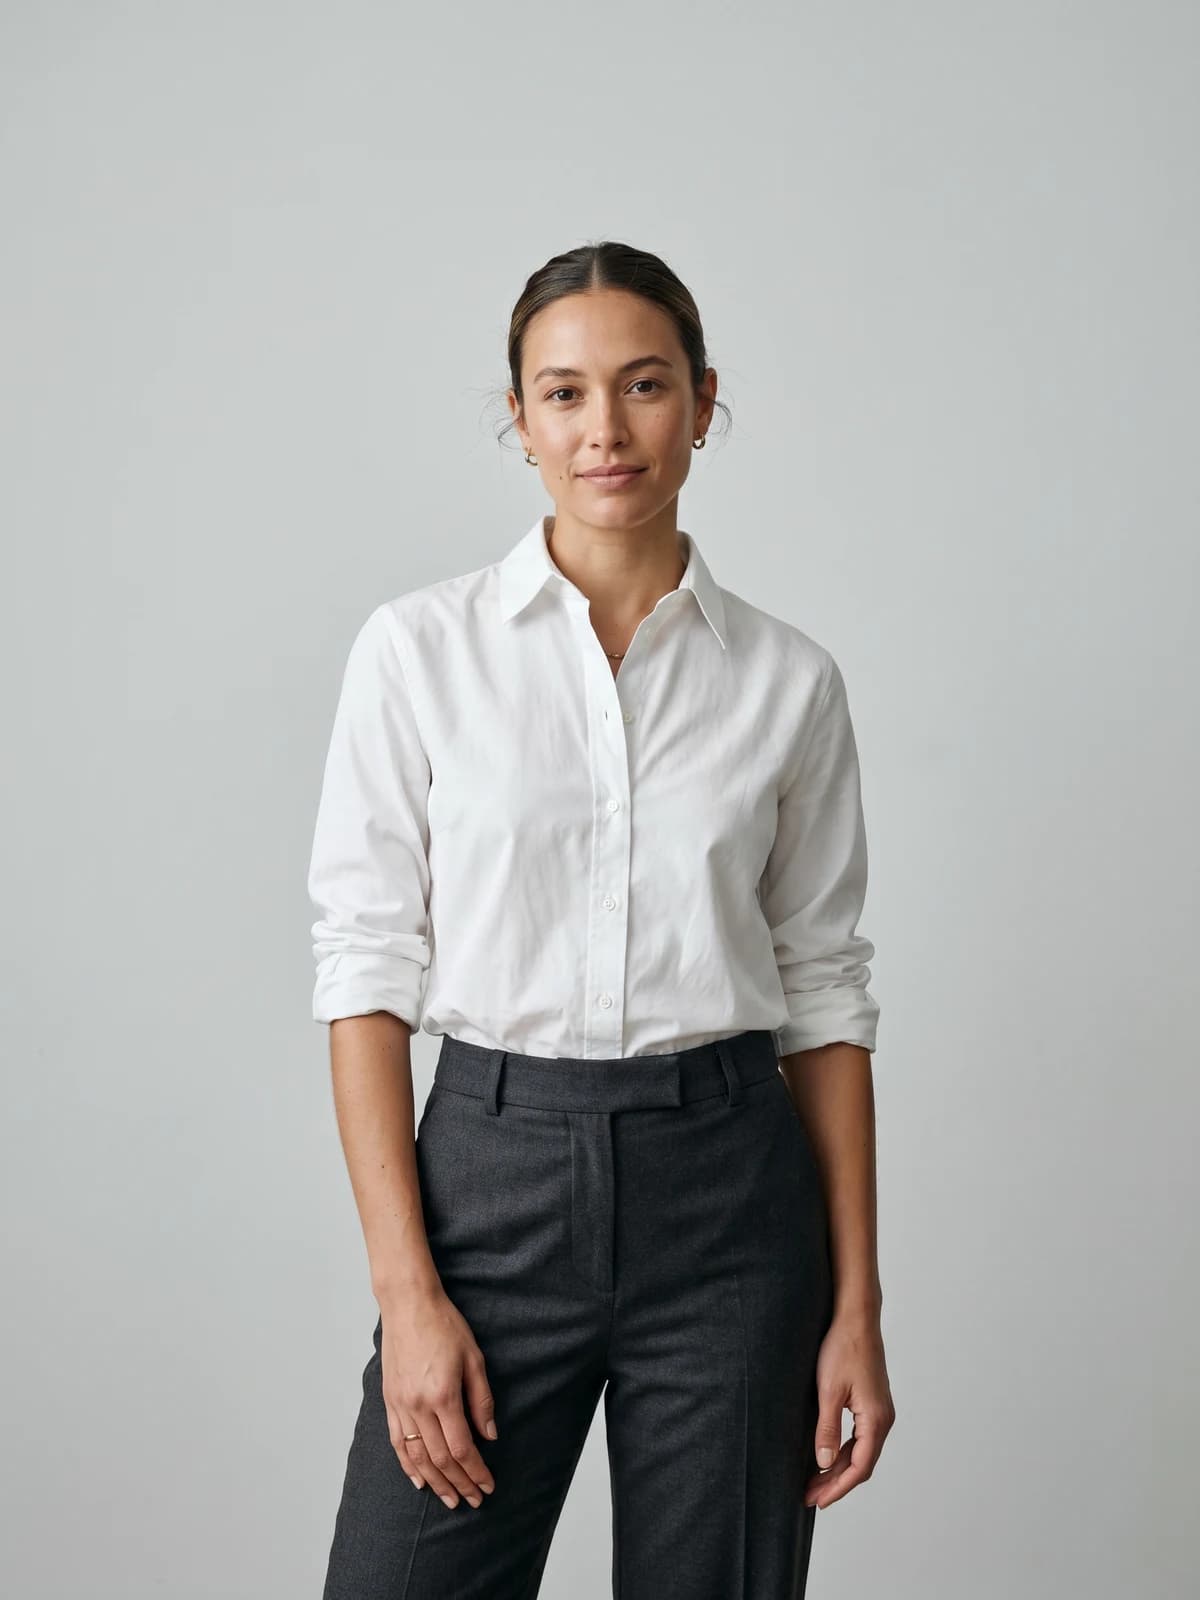
Turn flat-lays into on-model photos
Drop in a flat-lay or product shot and get professional on-model photography ready for your store.
Key takeaways
- You do not need a mannequin or a model. Structure, a clean edge, and the inner-collar peek are the only things a form provides, and each can be faked with stuffing, a white backdrop, and one extra photo or an AI fill.
- Pick the route by your garment. Flat-lay for light tops, hanger and thread for drapey knits, foam and towel forms for structured pieces.
- The neckline is the make-or-break detail. If you have no interior shot, borrow the collar from your flat-lay or let AI reconstruct it.
- Run the math before outsourcing. Editing services charge $0.39 to $3 per image with a 12-to-48-hour wait, while AI trades that for a subscription and a 15-to-60-second turnaround.
- Feed every method a clean source. Even light, a plain background, a filled frame, and a square angle make the difference no matter which route you choose.
Sources: Autophoto, Clipping Path Source, Path Edits, Photoroom, Hello Edits (2026)
FAQ
Can you create the ghost mannequin effect without a mannequin? Yes. The effect only needs body structure, a clean background, and a visible inner collar, and all three can be faked with stuffing, a white sheet, and either an interior photo or AI reconstruction. Sellers do this every day with nothing but a garment and a phone.
How do you get the ghost mannequin look without a model? A model is never required for a ghost shot, because the whole point is an empty, invisible form. Shoot the garment as a flat-lay or on a hanger, rebuild the hollow neck in editing, or upload it to an AI ghost mannequin tool that generates the form for you.
Can you make a ghost mannequin photo from a flat lay? Yes, and it is the most common no-equipment method. Lay the garment flat, stuff it lightly for volume, shoot straight down, remove the background, and composite an inner-collar shot into the neckline. AI tools can also turn a single flat-lay into a hollow form or an on-model image in seconds.
Do you need Photoshop to do the ghost mannequin effect? No. Photoshop is one option for the manual composite, but AI tools produce the hollow-form look from a single upload without any editing skill. Free and low-cost background removers also handle the cutout step if you prefer to assemble the shot yourself.
How do you fake the hollow neck without an interior collar shot? Fold the physical garment's back collar up toward the camera and photograph it now, even after the main shot, then paste it in. If the garment is gone, duplicate and darken the back-neck area of your existing photo, or let an AI tool infer the inner collar and shadow for you.
Is AI or a clipping-path editing service cheaper for ghost mannequin photos? Editing services charge roughly $0.39 to $3 per image, so cost scales with volume, and you wait 12 to 48 hours. AI charges a flat subscription with no per-image fee and returns results in under a minute, which usually wins once you pass a handful of products.
What's the best DIY rig for ghost mannequin photos at home? For structured garments like jackets and sweaters, a rolled-towel and foam-insert form gives the most body. For drapey knits and blouses, a hanger with clear fishing line works better. For light tops, a stuffed flat-lay is fastest and needs no rig at all.
How long does it take to make one ghost mannequin image? By hand, expect 15 to 60 minutes per image including the shoot and the edit. A clipping-path service takes 12 to 48 hours to return your files. An AI ghost mannequin generator produces the image in roughly 15 to 60 seconds from a single upload.
WearView Team
WearView Content & Research Team
WearView Team is a group of fashion technology specialists focused on AI fashion models, virtual try-on, and AI product photography for e-commerce brands. We publish in-depth guides, case studies, and practical insights to help fashion businesses improve conversion rates and scale faster using AI.