November 17, 2026•13 min read
How to Photograph Clothing on a Mannequin (2026 Guide)
A mannequin gives every garment the same shape, in the same spot, under the same light. This guide walks through the setup, the camera settings, how to fit and style each piece, the shots to take and how to remove the mannequin afterwards.
Picture of How to Photograph Clothing on a Mannequin (2026 Guide) article
If you want to know how to photograph clothing on a mannequin, the short version is this: fit the garment so it looks worn, light it evenly from both sides, lock the camera on a tripod at chest height, and shoot the same set of angles for every piece. The mannequin does the job a model would do for shape, without the booking, and it holds still for as long as you need.
That repeatability is why mannequin photography is the default for catalogs. Every product sits in the same place, at the same scale, under the same light, so a category page reads as one shoot even when the photos were taken months apart.
This guide covers the mannequin to buy, the studio setup, camera settings, styling, the shot list, and the edit that removes the mannequin afterwards. It also covers where AI now takes over part of the work.
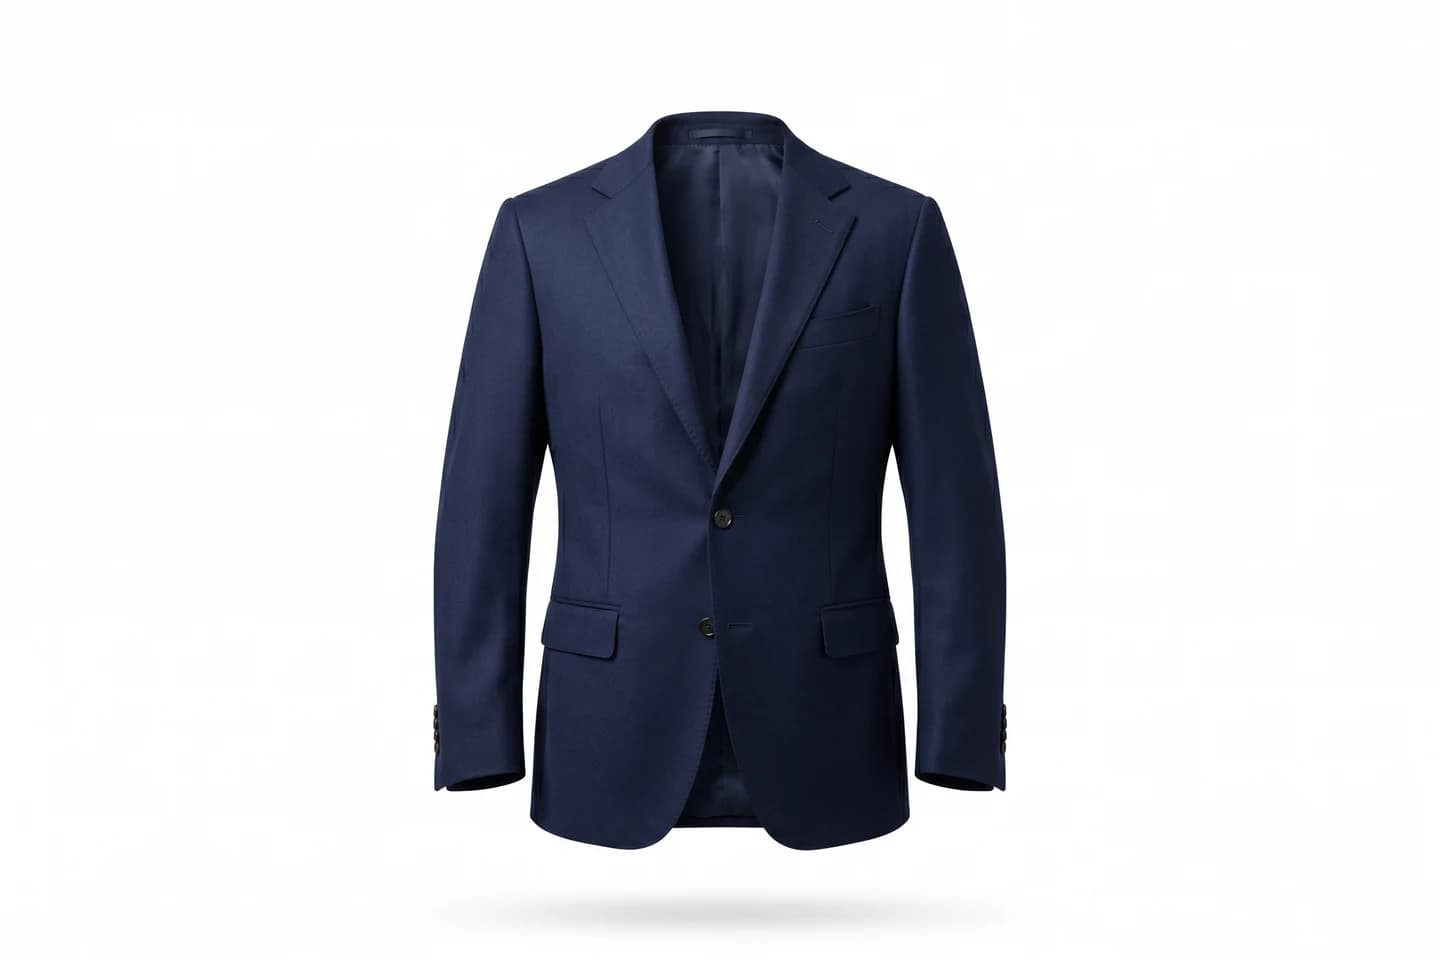
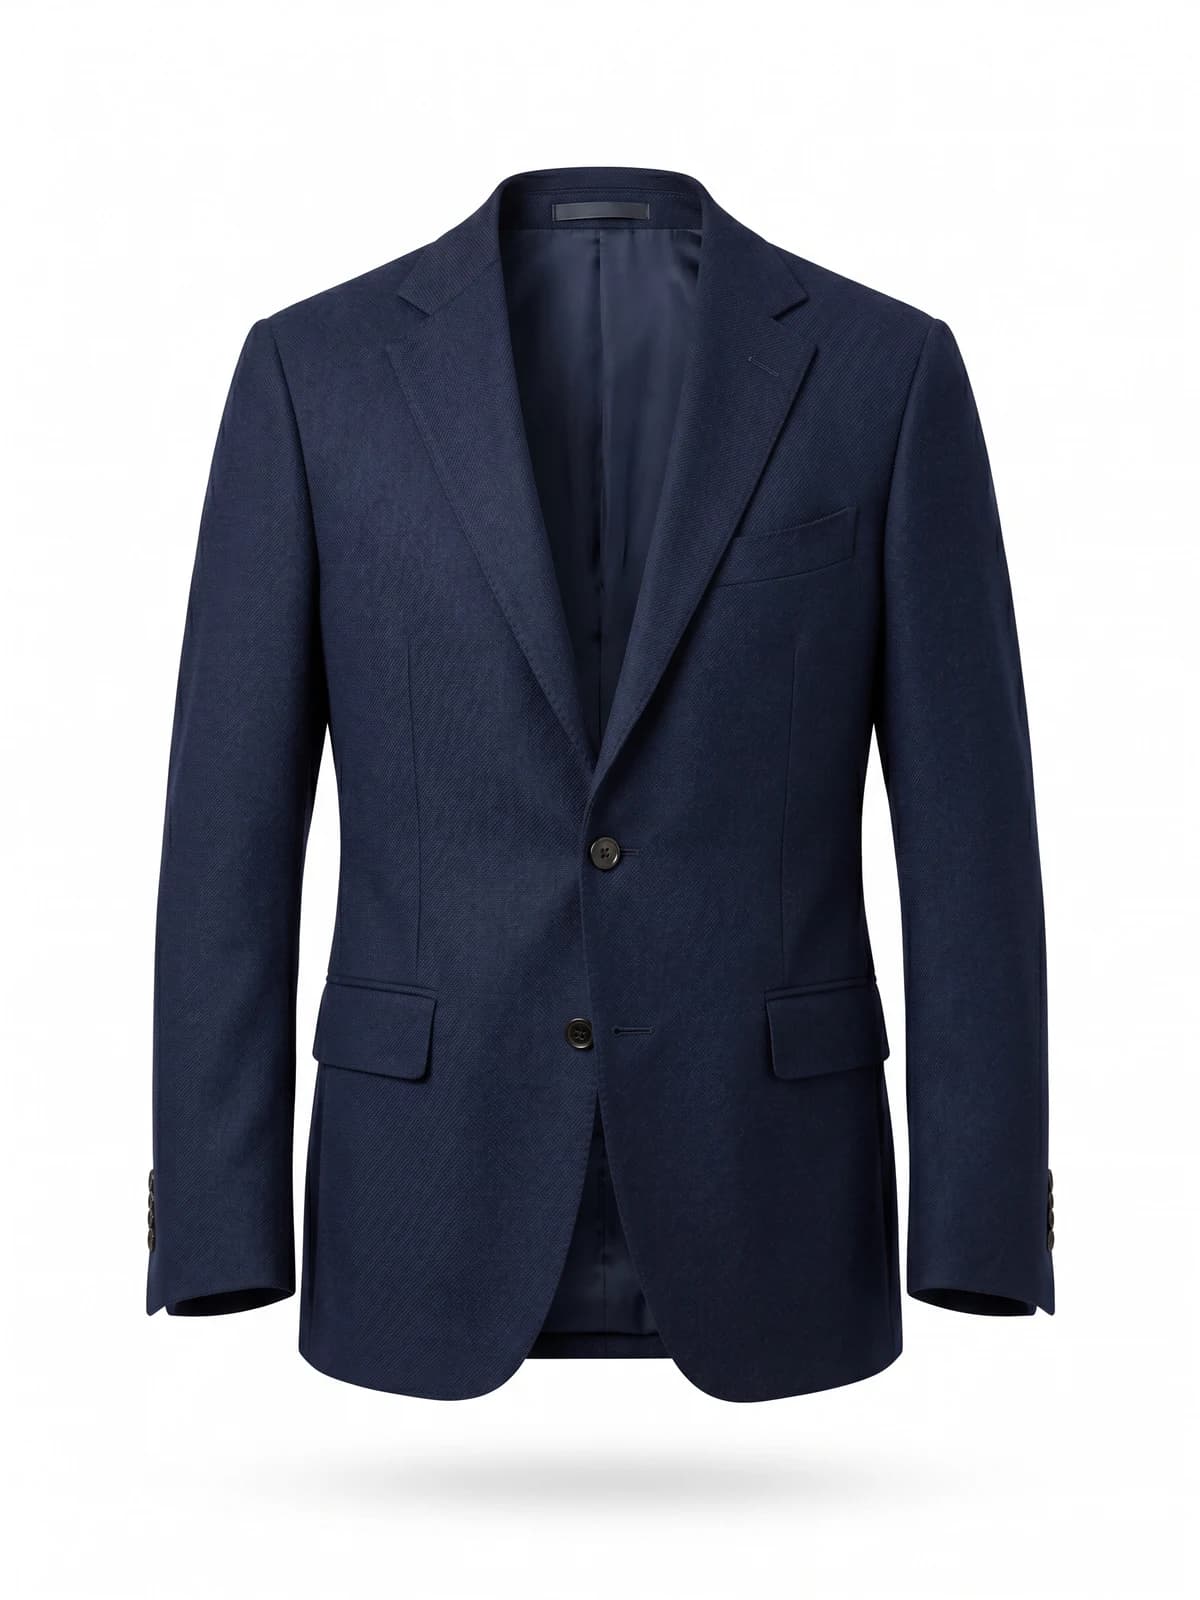
Clean ghost-mannequin shots, instantly
Remove the mannequin and get crisp invisible-model product images that look studio-shot.
What you need for a mannequin photoshoot
You can run a mannequin photoshoot in a spare room. The kit is short:
- A mannequin that fits your sample size (more on choosing one below)
- A camera and a tripod. A recent phone works if it is locked on a tripod
- Two lights with softboxes or umbrellas, or a large window and a white reflector
- A white or light grey backdrop, paper or fabric, wide enough to fill the frame
- A styling kit: steamer, lint roller, clips, pins, tissue paper, double-sided tape
- Tape for the floor, to mark where everything stands
Budget varies a lot. Squareshot puts quality ghost mannequins at $200 to $800 and a lighting kit at $500 to $2,000. Shopify's guide estimates a full do-it-yourself kit at about $5,000 when you buy the camera, lighting and backdrops new.
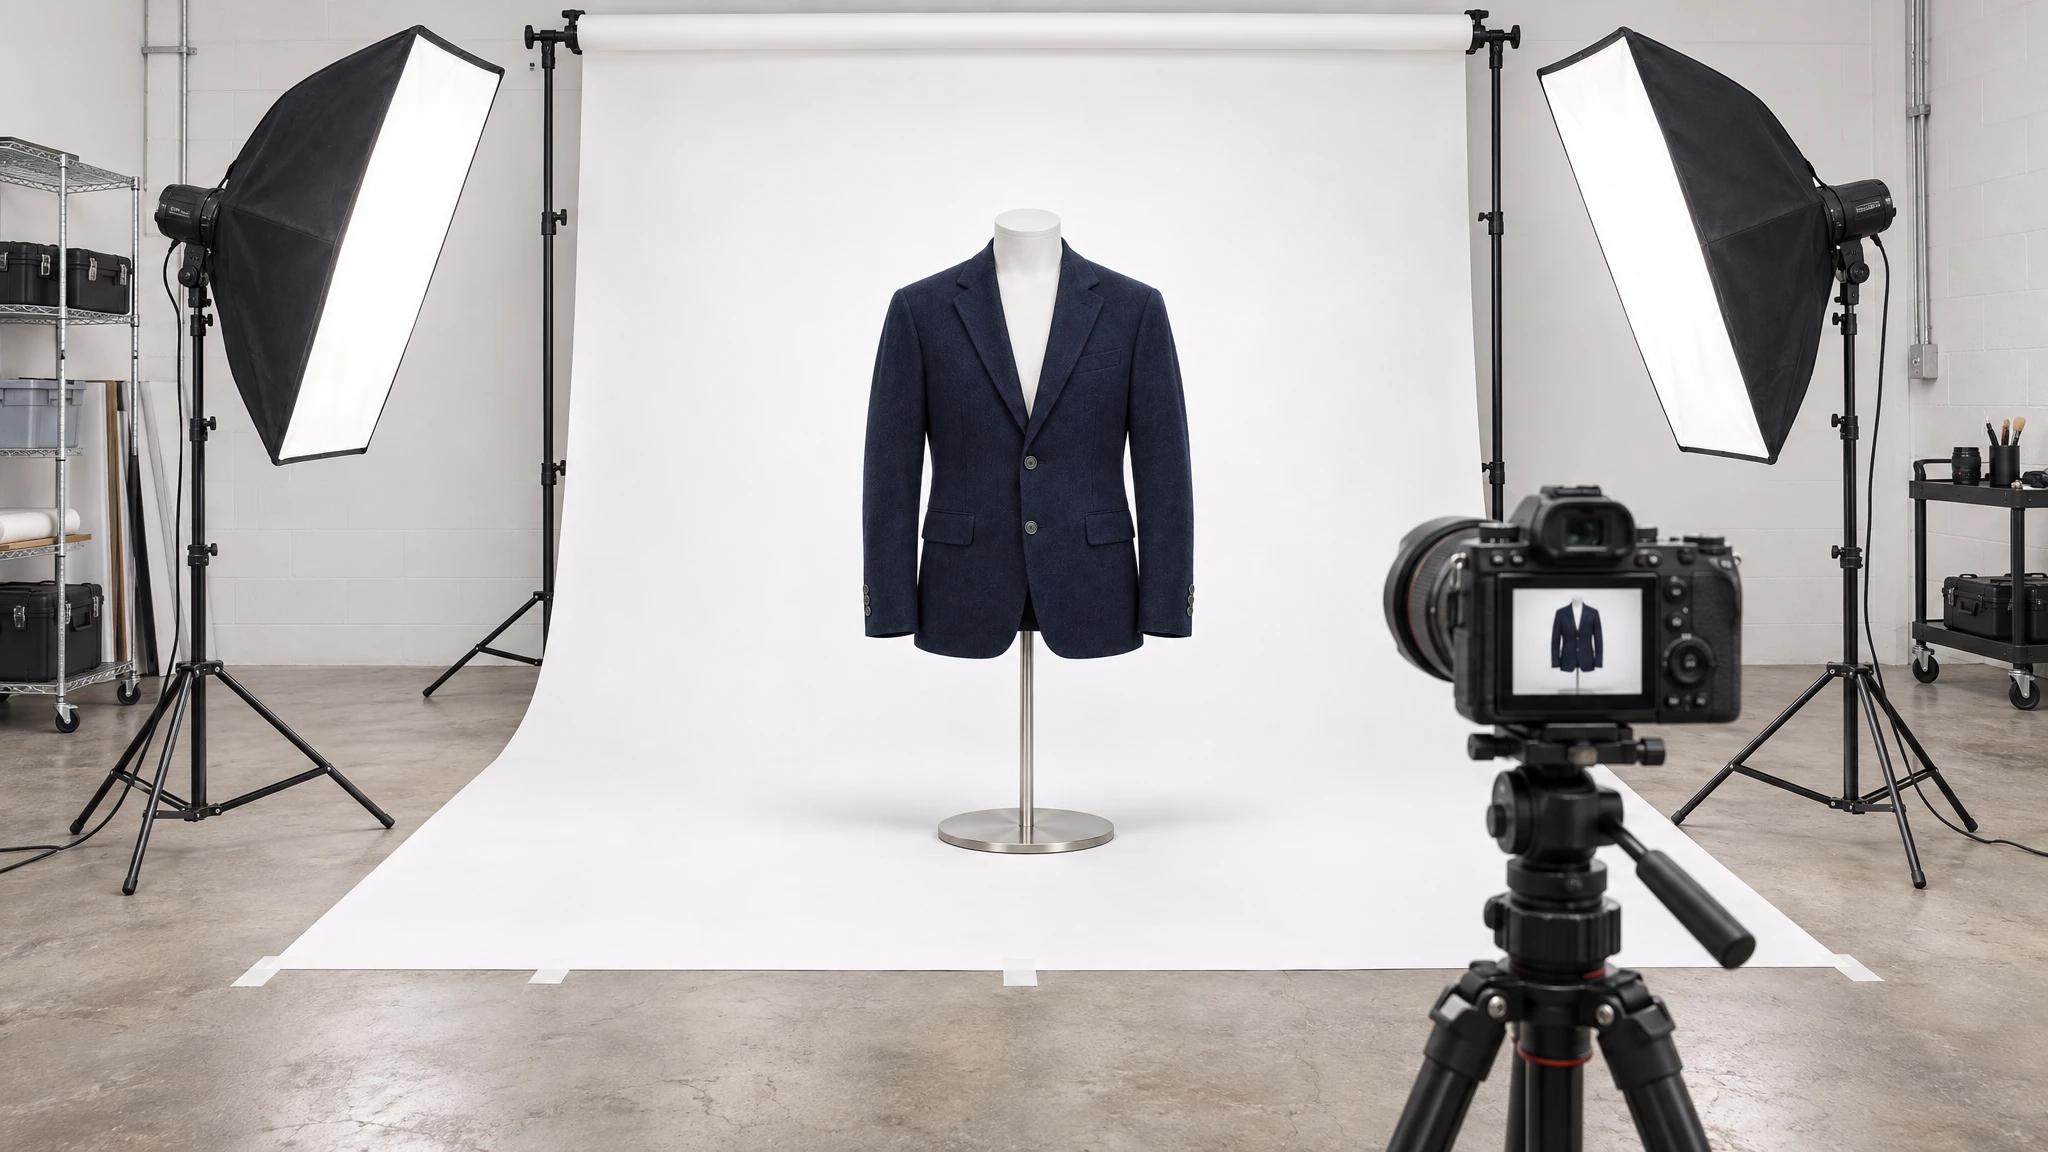
A mannequin photography setup with two softboxes, a white backdrop and a camera on a tripod
Step 1: Choose the right mannequin
The mannequin decides how the garment hangs, so choose it before anything else.
- Go matte. BigCommerce notes that white matte mannequins are non-reflective and blend into a white background, which makes them easier to edit out.
- Match your sample size. PhotoRobot's selection guide warns against a mannequin that is too large. A stretched garment looks wrong, and a loose one needs heavy pinning.
- Pick the form for the product. A t-shirt only needs a torso. A fitted dress may call for a full body. Trousers need legs.
- Get removable parts if you plan to remove the mannequin. Modular ghost mannequins have removable pieces at the neck, arms, chest and legs, so nothing shows inside a collar or a sleeveless armhole.
If you are still buying, WearView's roundup of the best mannequins for clothing photography compares the common types.
Step 2: Set up the background and lights
Place the mannequin a step or two in front of a white or light grey backdrop. Shopify suggests off-white or grey for light garments, because a white shirt disappears against a pure white wall.
For the lights, the simplest reliable setup is two:
- Two lights, one on each side. BigCommerce describes two studio lights with umbrellas spaced evenly on either side of the product. Squareshot places the key and fill at 45 degrees, at equal distance and power.
- Move them to the sides for shape. Orbitvu points out that lights placed straight in front flatten the garment, while lights moved to the sides add volume.
- Cover the full length. Long strip softboxes or large LED panels light a dress from collar to hem.
- No lights yet? Use a large window and a foam-board reflector on the opposite side, as Pixelz recommends.
Once it looks right, mark the positions of the mannequin, the lights and the tripod on the floor with tape. This one habit is what keeps next month's photos matching this month's.
Step 3: Dial in the camera settings
Put the camera on a tripod and leave it there. Sources differ slightly on the numbers, so treat these as starting ranges.
| Setting | Starting point | Why |
|---|---|---|
| Aperture | f/8 to f/11 | Keeps the whole garment sharp, front to back |
| ISO | 100 to 200 on a tripod, never above about 640 | Higher values add noise |
| Shutter speed | Around 1/125 with studio lights | The tripod removes camera shake |
| Camera height | Level with the chest for tops, the hip for bottoms | Too high or too low makes the garment look tapered |
| White balance | Manual, set once | Stops color drifting between shots |
| File format | RAW, exported to sRGB | More room to correct, and colors that display correctly online |
Two more habits help. Use a 2-second timer or a remote so pressing the shutter does not move the camera. And do not change the zoom between products, or the scale of your catalog will drift.
Step 4: Prepare and fit the garment
Most of the quality in a mannequin photo comes from this step, not from the camera.
- Steam it and roll it. Creases and lint are the slowest things to fix later.
- Dress the mannequin and center the garment. Check that the shoulders, placket and hem are level.
- Take in the slack at the back. PhotoRobot recommends clips in a vertical line down the center of the side you are not photographing, with pins hidden inside the fabric.
- Fill the sleeves. Tissue or crêpe paper gives flat sleeves some shape.
- Tidy the small things. Double-sided tape holds cuffs and collars in place. Tuck or tape away hang tags and care labels.
Then step back and compare left to right. Symmetry is what makes a garment look well made.
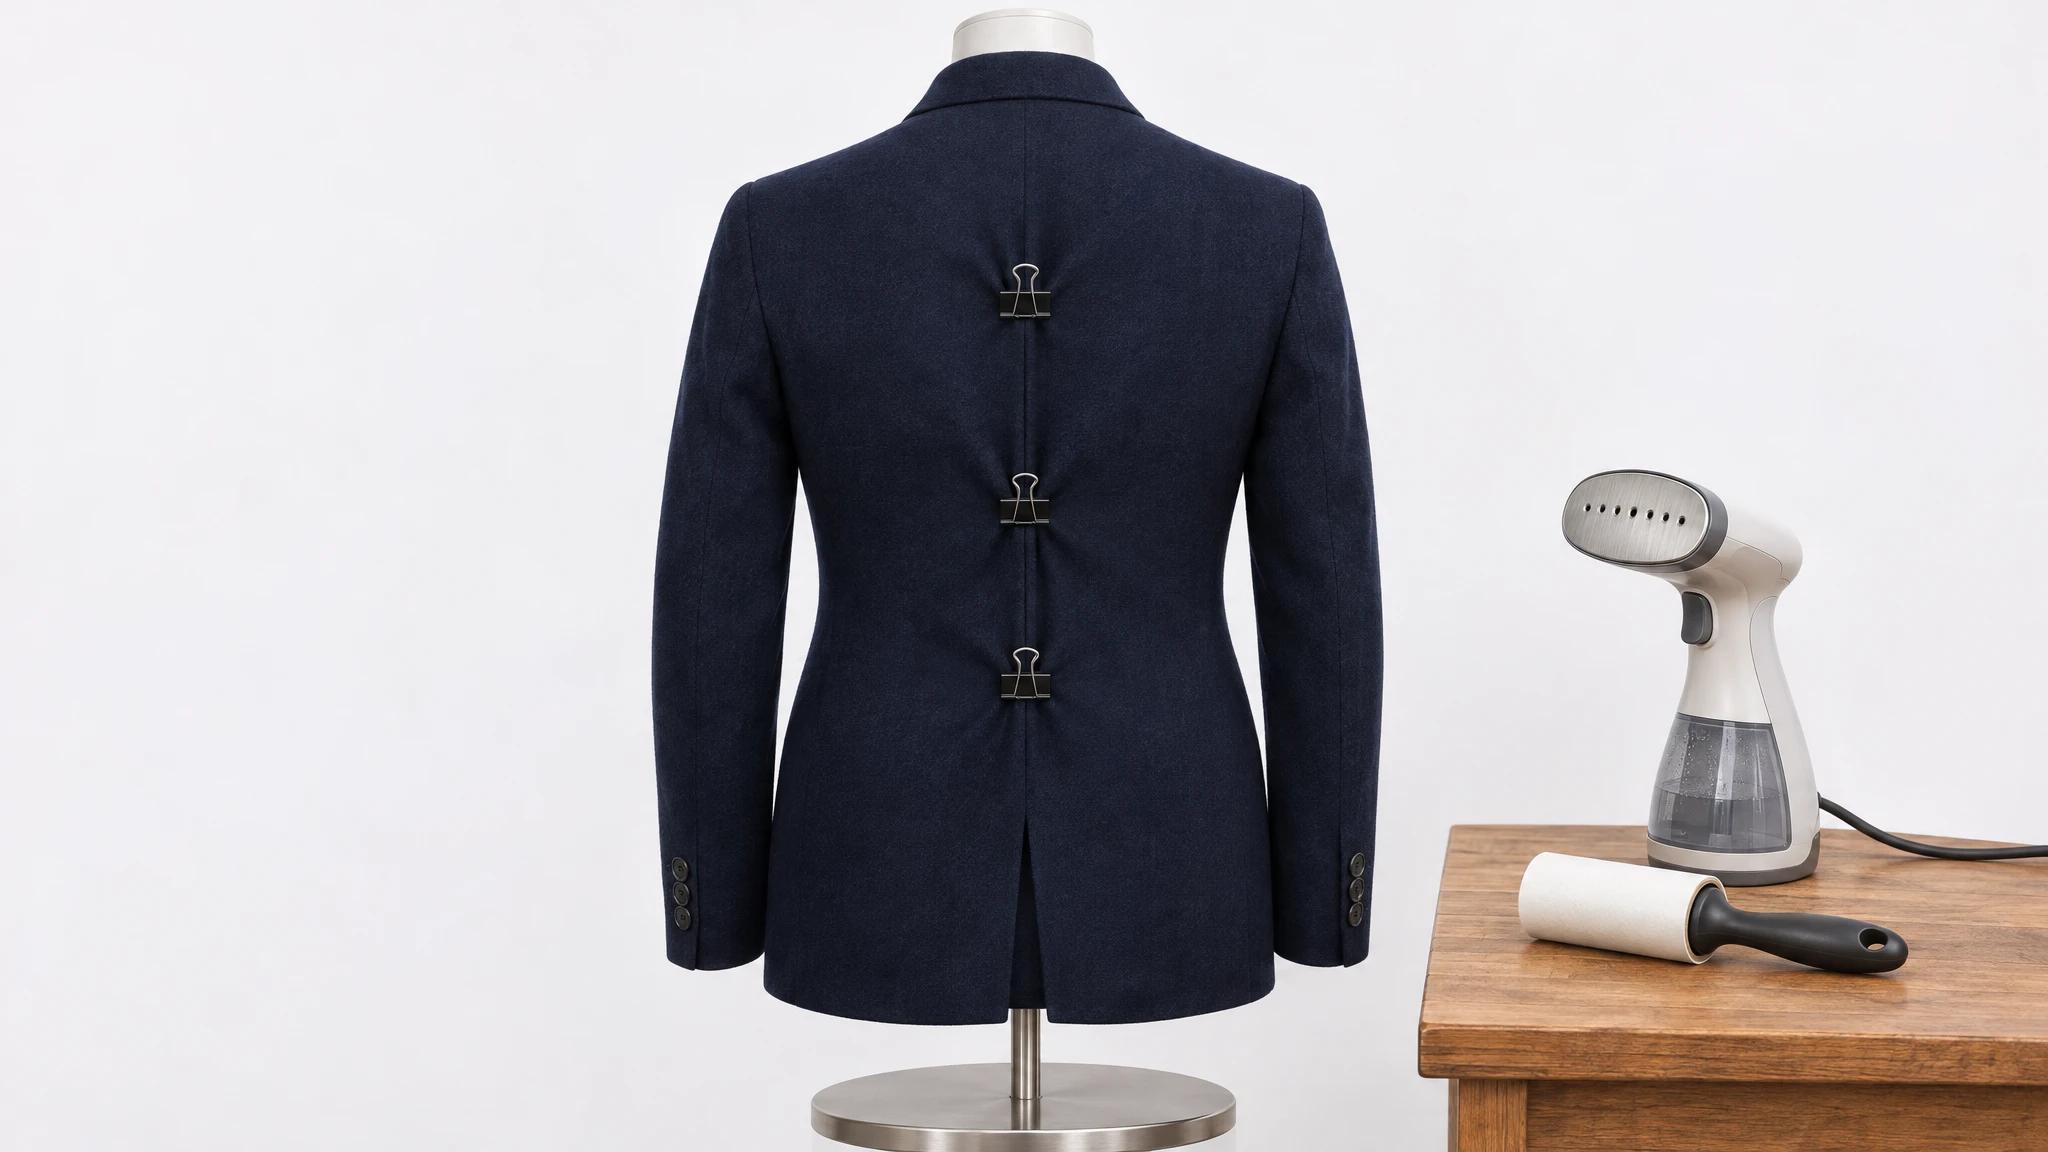
Clips down the back of a blazer on a mannequin to fit the garment for a product photo
Step 5: Shoot the same shot list for every garment
Decide the angles once and repeat them for every product. A standard set for mannequin photography for ecommerce is:
- Front, straight on
- Back, with the mannequin turned, not the camera moved
- Side, when the cut or the pockets matter
- Details: fabric, collar, buttons, zips, prints, labels
Pixelz recommends at least 3 images per product and preferably 5 to 10. When you turn the mannequin, re-clip the garment on the side that is now hidden.
If you plan to remove the mannequin, you need one extra picture: the inside of the garment. BigCommerce's method is to lay the piece on foam board with the top open so the inner back is clearly visible, or to photograph it inside out. Path, an editing service, lists how many photos a ghost mannequin edit needs:
| Garment | Photos needed for the edit |
|---|---|
| T-shirt | 2 |
| Shirt or blouse | 3 |
| Hoodie or jacket | 3 to 4 |
| Dress | 2 to 3 |
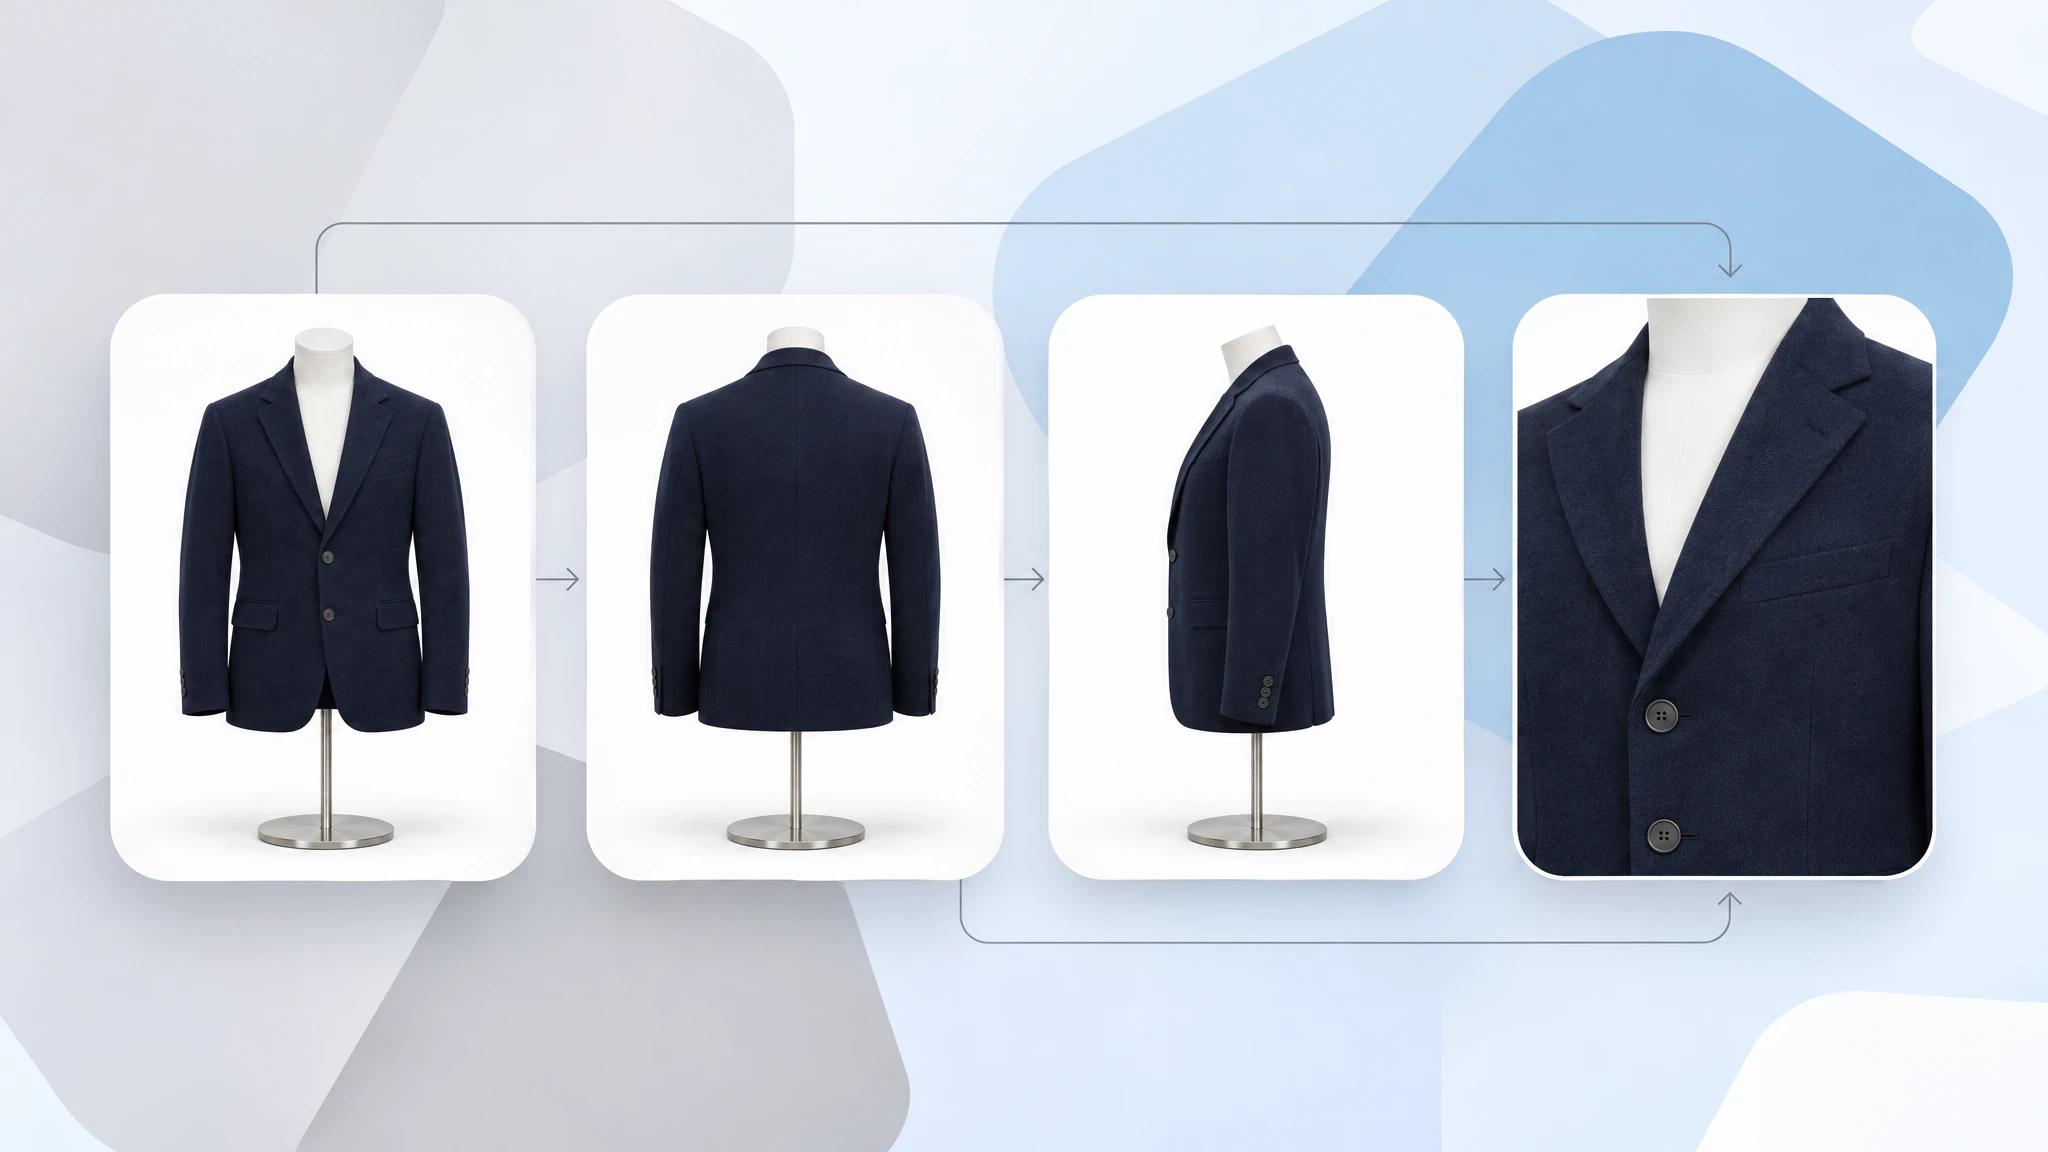
The mannequin photography shot list: front, back, side and detail views of the same blazer
Step 6: Edit, crop and remove the mannequin
Editing has three jobs: correct the color, crop every image the same way, and, if you want the ghost mannequin look, take the mannequin out.
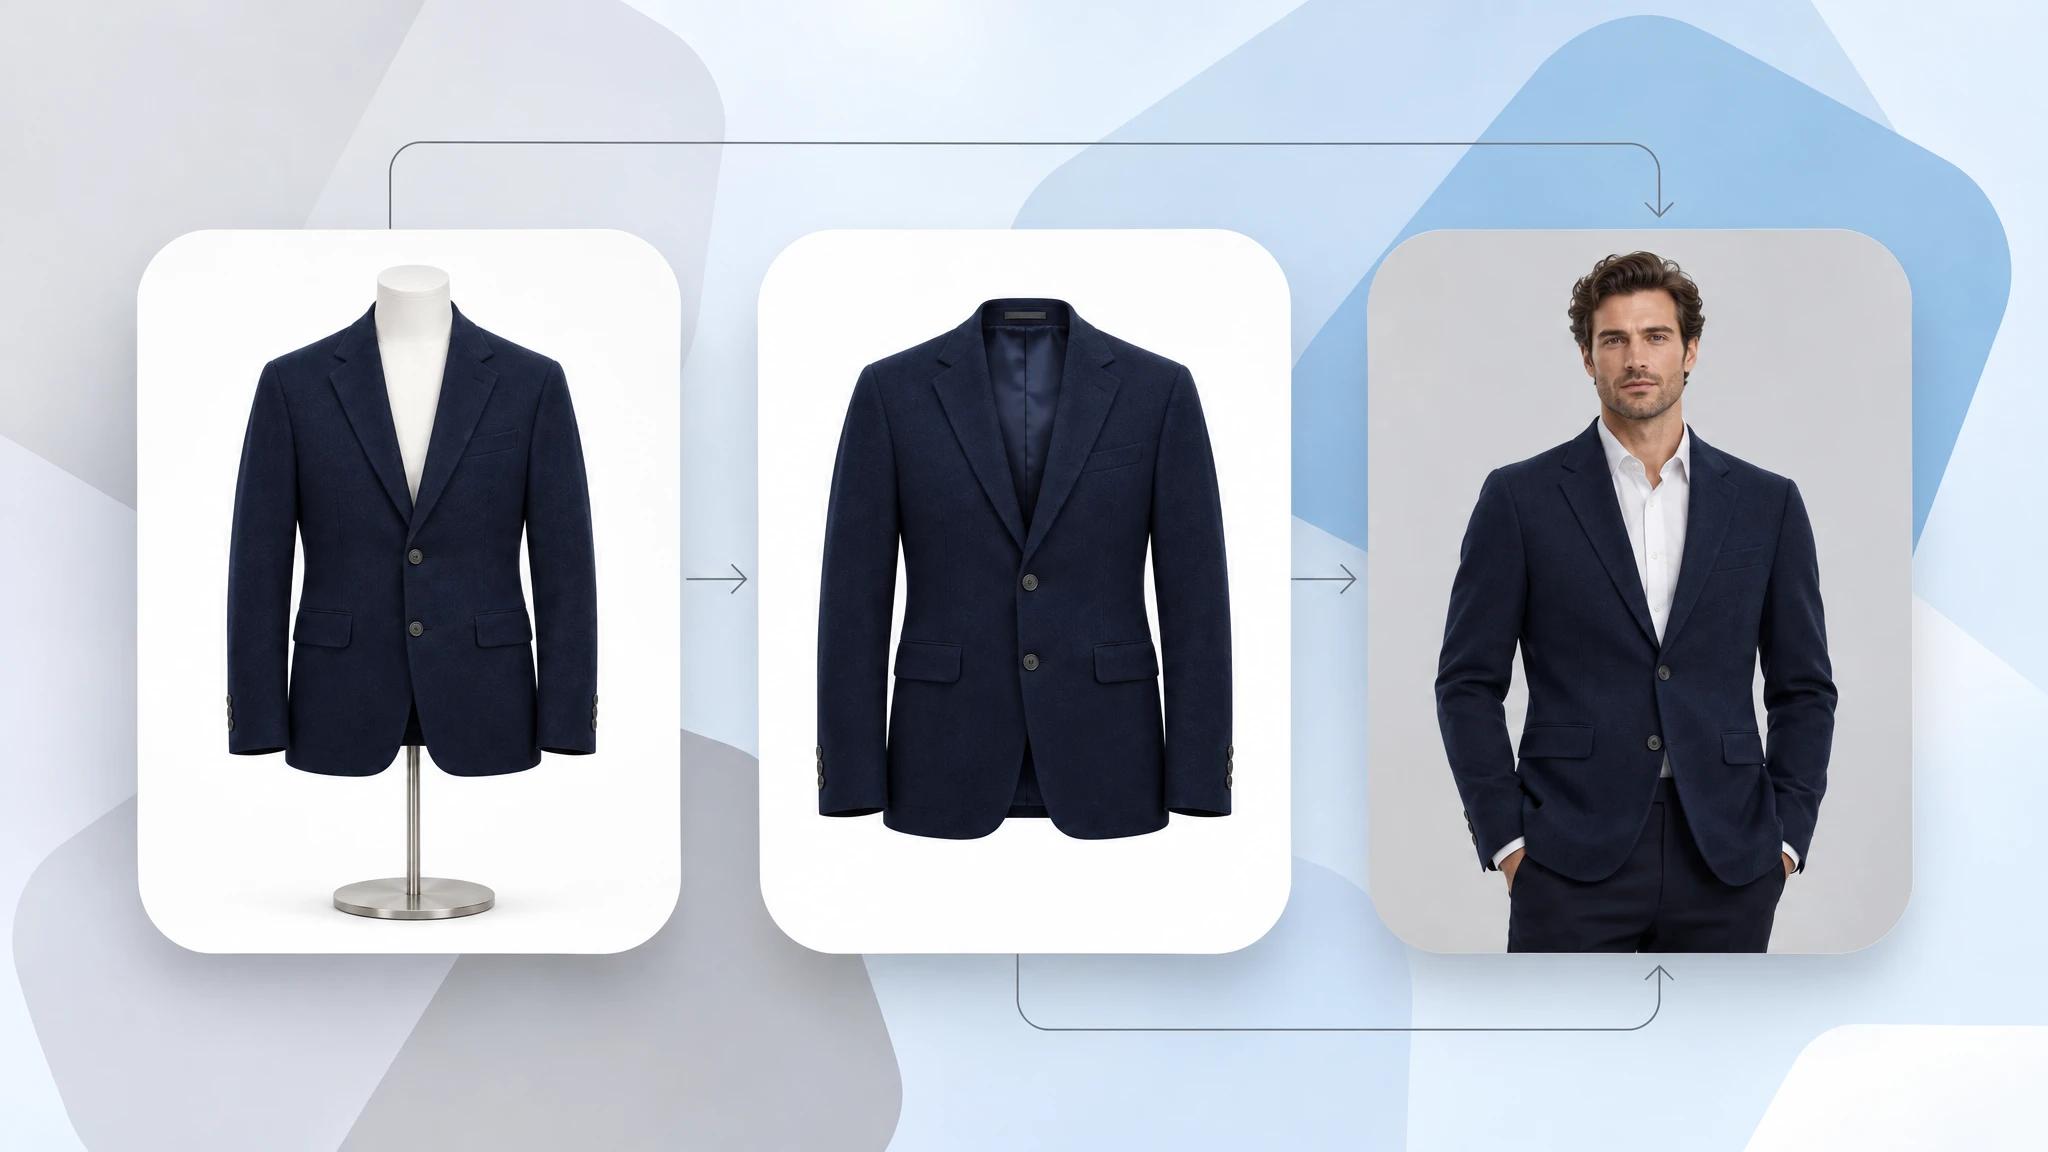
A mannequin photo of a blazer turned into a ghost mannequin image and an on-model photo
Color and crop. Shoot a color-checker card at the start of the session and correct against it. Crop product images identically, as Pixelz puts it, so garments line up on a category page. Squareshot suggests square (1:1) or slightly vertical (4:5) formats.
Marketplace sizes. Shopify accepts images up to 5000 x 5000 px and says 2048 x 2048 px usually displays best for square images. Amazon's guidance is a pure white background (RGB 255, 255, 255) with the product filling 85% or more of the frame.
Removing the mannequin by hand. The classic method, as BigCommerce describes it, is a composite:
- Add a white background layer
- Select the garment in the mannequin photo and refine the mask
- Do the same for the inner photo
- Place the inner photo beneath the main one, keeping only the neckline area between the shoulders
- Add a soft shadow between the two layers
Squareshot estimates 15 to 30 minutes to shoot and 20 to 45 minutes to edit each garment this way. WearView's tutorial on the ghost mannequin effect in Photoshop walks through the layers.
Outsourcing it. Editing services charge per image. Path lists $0.89 for a simple ghost mannequin and $1.79 for a complex one. Retouching Labs puts the average at $10 to $50 per image depending on complexity.
Letting AI do it. An AI ghost mannequin tool takes the mannequin photo and returns the garment alone, holding its shape, with the inside of the collar rebuilt. In WearView's Ghost Mannequin studio you upload a front and a back photo (sides are optional), pick the backdrop, and each view takes about 45 seconds. A run holds up to 50 garments, so the inner-collar photo and the compositing step both go away.
Common mannequin photography mistakes
| Mistake | What it causes | Fix |
|---|---|---|
| Skipping the steamer | Creases that take longer to retouch than to steam | Steam every piece before it goes on the form |
| Camera too high or too low | The garment looks tapered | Level with the chest for tops, the hip for bottoms |
| Lights straight in front | A flat garment with no shape | Move the lights to the sides |
| Moving the tripod or zoom | Products at different scales | Tape the floor, lock the zoom |
| A loose fit on the form | The garment looks a size too big | Clip and pin on the hidden side |
| No inner-collar photo | The editor has to rebuild the neck by guessing | Shoot the inside, or use a tool that rebuilds it |
| Auto white balance | Colors that shift from shot to shot | Set white balance manually once |
When a mannequin is not enough
A mannequin shows shape and construction well. It does not show how a garment moves, how it sits on different bodies, or how it looks styled. That is why many product pages pair a mannequin or ghost mannequin shot with on-model photos.
You do not need a second shoot for that. The same mannequin photo can be the starting point for an on-model image: you replace the mannequin with a model, choose the poses, and the garment is shown worn. For the product page, that gives you a clean product shot and a worn shot from one photo session.
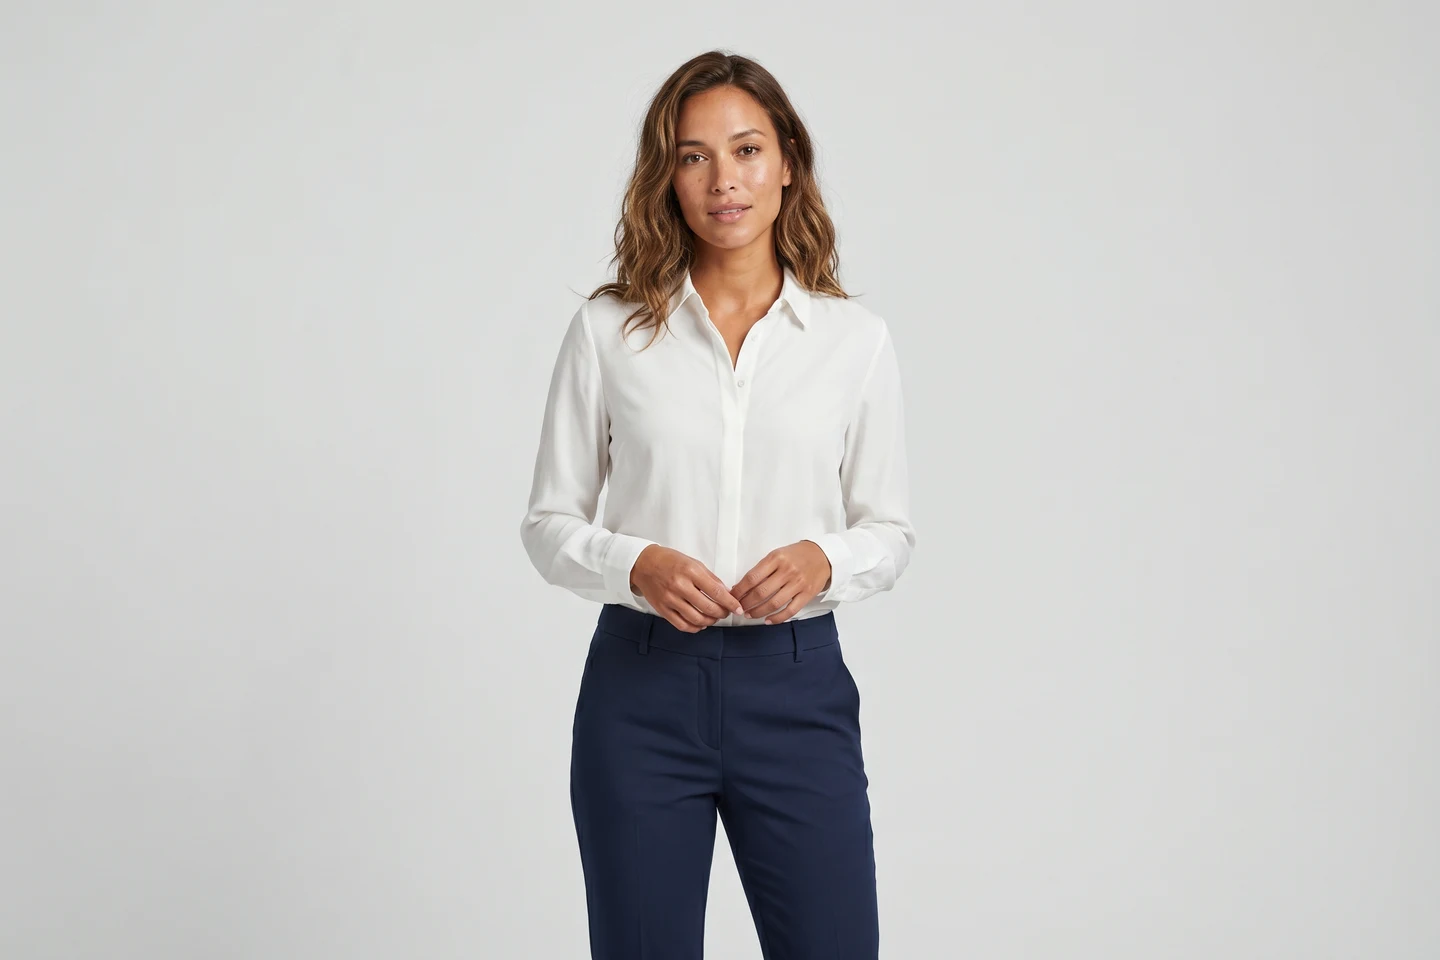
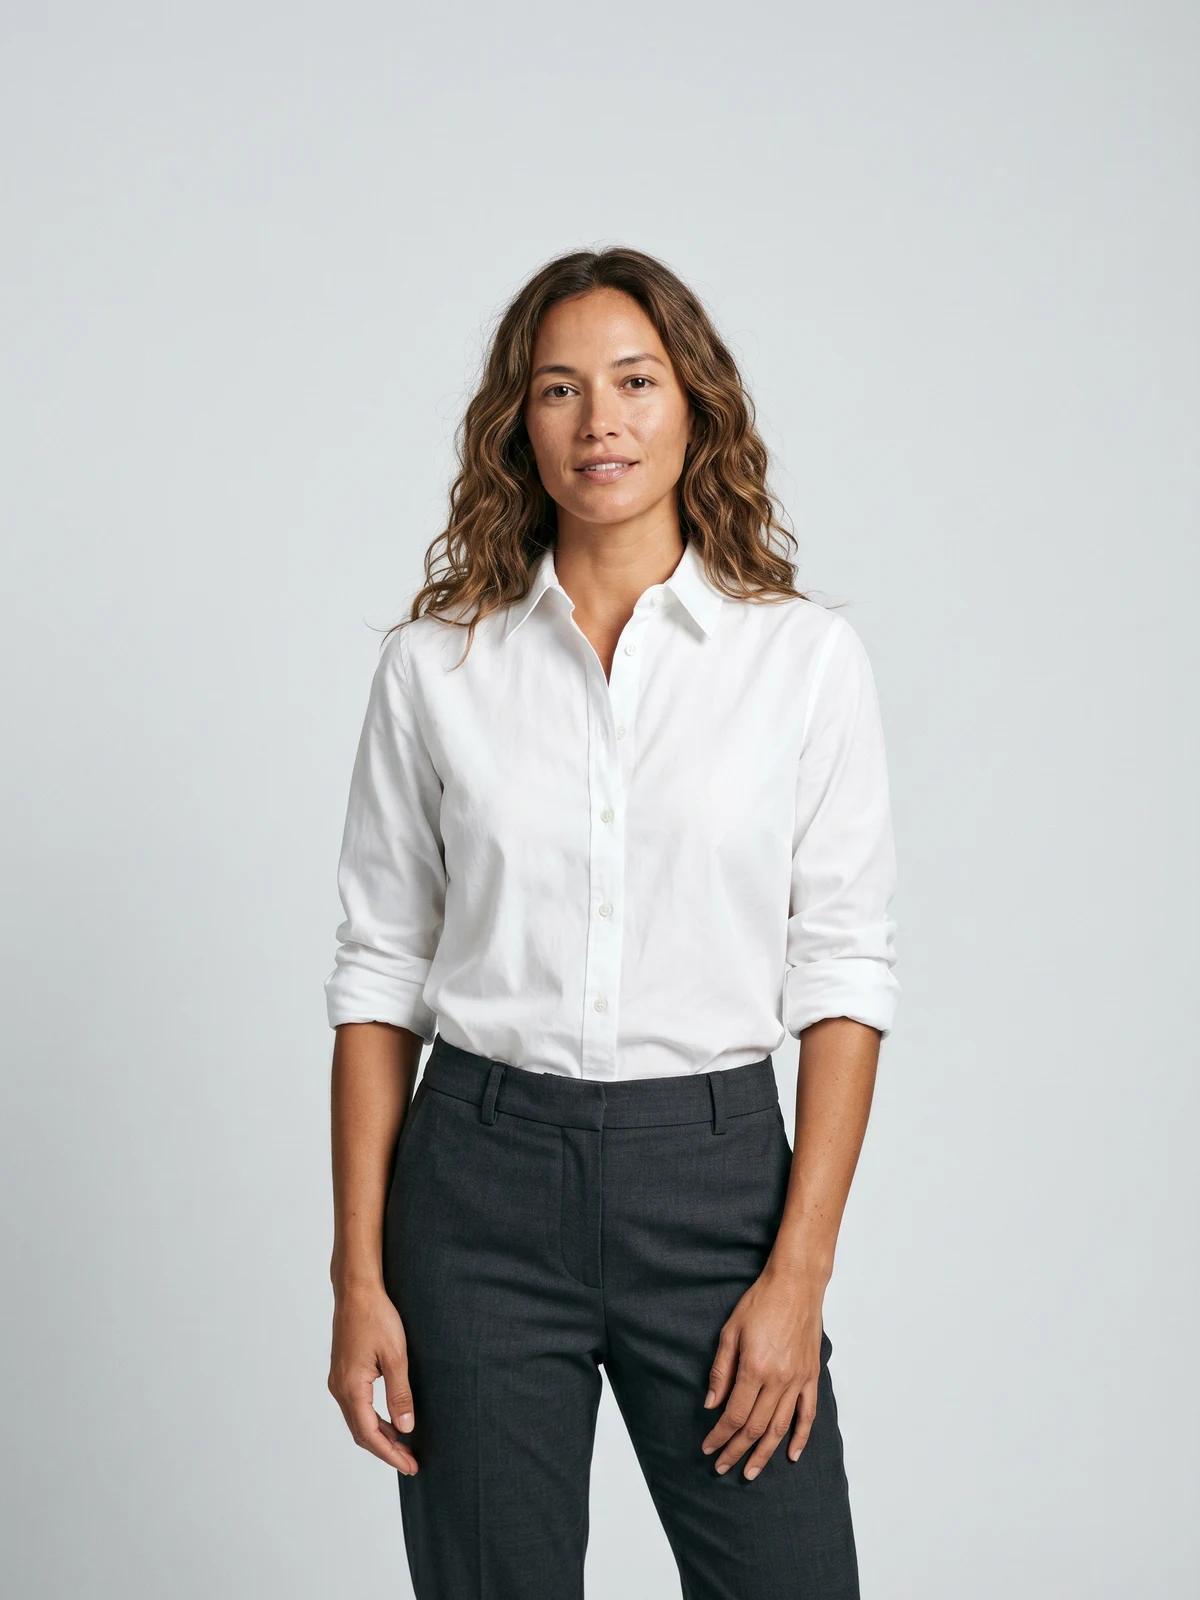
On-model photography for every listing
Upload a flat garment photo and get clean, catalogue-ready shots of the piece worn on a real-looking body.
Key takeaways
- Fit before you shoot. Steaming, clipping and stuffing the sleeves do more for the photo than any camera setting.
- Lock everything down. Tripod, taped floor positions, manual exposure and manual white balance keep a catalog consistent.
- Repeat one shot list. Front, back, side and details, in the same order, for every garment.
- Plan the edit before the shoot. If the mannequin will be removed by hand, you need the inner photo. If AI will remove it, you only need clean front and back photos.
- Add worn shots without a second shoot. The mannequin photos you already have can become on-model images with AI generated models for fashion.
FAQ
How do you photograph clothing on a mannequin? Fit the garment on a matte mannequin, light it evenly from both sides, and put the camera on a tripod at chest height. Shoot the front, back, side and details at f/8 to f/11 and a low ISO, then crop every image the same way.
What is mannequin photography? Mannequin photography is product photography where the garment is shown on a mannequin or dress form instead of a model or a flat surface. It gives clothing a worn, three-dimensional shape and keeps every product consistent across a catalog.
What kind of mannequin is best for clothing photography? A matte white mannequin in your sample size. If you plan to remove it in editing, choose a modular ghost mannequin with removable neck, arm and chest pieces so no part of it shows inside the garment.
What camera settings should I use for mannequin photography? Start at f/8 to f/11, ISO 100 to 200 and around 1/125 with studio lights, on a tripod. Set white balance manually and keep the camera level with the chest for tops or the hip for bottoms.
How many photos do I need per garment? At least three, and ideally five to ten: front, back, side and close-ups of the details. A ghost mannequin edit done by hand also needs a photo of the inside of the garment.
How do I remove the mannequin from a product photo? By hand, you combine the mannequin photo with a photo of the garment's inside in an image editor and mask out the mannequin. Editing services do this per image, and AI tools now do it from the front and back photos alone in under a minute a view.
Can I use mannequin photos on Amazon and Shopify? Shopify sets no rule on how the garment is displayed and recommends 2048 x 2048 px for square images. Amazon asks for a pure white background with the product filling 85% or more of the frame, so check its current style guide for your category before you upload. A ghost mannequin image, with the mannequin removed, is the safer choice for a main image.
Is mannequin photography cheaper than using a model? Yes. A mannequin is a one-time purchase and needs no booking, so the cost per garment is mostly your time. Many brands shoot on a mannequin and then add on-model images with AI instead of running a separate model shoot.
WearView Team
WearView Content & Research Team
WearView Team is a group of fashion technology specialists focused on AI fashion models, virtual try-on, and AI product photography for e-commerce brands. We publish in-depth guides, case studies, and practical insights to help fashion businesses improve conversion rates and scale faster using AI.