March 3, 2026•19 min read
Your Complete Tech Pack Example From Sketch to Production
Transform your designs into reality with this complete tech pack example. Learn how to create flawless, production-ready documents that save you time and money.

Your Complete Tech Pack Example From Sketch to Production
If there's one document that can make or break your fashion production, it's the tech pack example. It’s the universal language that translates your creative vision into a physical product, making sure every stitch, measurement, and fabric choice is executed exactly as you planned.
What a Tech Pack Is and Why It's Your Blueprint for Success
Think of a tech pack as the master instruction manual for your garment. It's an absolutely essential document that lays out every single detail for your factory, taking the guesswork out of production and saving you from a world of expensive mistakes. Without a solid tech pack, you’re essentially asking your manufacturer to interpret your design, and that's a recipe for misaligned samples and wasted money.
A well-made tech pack is also a key piece of efficient Ecommerce supply chain management. I’ve seen it firsthand. I once worked with a startup that was hesitant to spend time creating a detailed pack for their first run. After we talked through the risks, they put in the effort. That one decision saved them what could have easily been thousands in re-sampling fees because the factory nailed the first sample.
The True Cost of a Bad Tech Pack
Leaving details to chance has a real financial impact. In the e-commerce world, where US sales are expected to reach $1.19 trillion in 2026, vague tech packs are a major contributor to product returns—costing the industry an estimated 15-20% of sales, or roughly $50 billion a year.
But there's good news. New AI platforms are completely changing how we approach this. By feeding tech pack data into these systems, brands are now creating marketing assets with up to 99% visual accuracy before a single garment is even made.
This move toward smarter, data-driven documentation pays off big. A 2025 survey of 500 fashion labels found that 67% of brands using automated tech pack tools cut their time-to-market in half, from an average of 90 days down to just 45. It just proves that a great tech pack is more than a document; it's a strategic investment.
A great tech pack isn't an expense; it’s an investment in accuracy, speed, and brand integrity. It’s the difference between a smooth production run and a cycle of endless, costly revisions.
Key Benefits of a Professional Tech Pack
At its core, a detailed tech pack is your insurance policy during manufacturing. It creates clarity and holds everyone accountable, making sure your vision comes to life just as you imagined it. If you're curious about how technology is pushing the industry forward, our guide on the best AI tools for fashion brands is a great resource.
Here’s what a good tech pack really does for you:
- Takes the Guesswork Out: It gives your factory exact specifications, so they build what you designed, not their interpretation of it.
- Keeps Everything Consistent: It’s your guarantee that every single piece, from the first sample to the final production run, is identical.
- Protects Your Bottom Line: It dramatically cuts down on the need for expensive re-sampling and helps minimize material waste.
- Gets You to Market Faster: A clear blueprint means quick sample approvals and a shorter production timeline.
Deconstructing a Complete Tech Pack Example
Theory is one thing, but the best way to really get your head around a tech pack is to tear one apart, page by page. So let's do just that. We'll use a classic zip-up hoodie to walk through every critical section, showing you what goes into it and, more importantly, why each detail can make or break your production run.
Think of your tech pack as the one and only blueprint for your product. It’s the single source of truth that translates your design into a physical garment, guiding your factory through every step.
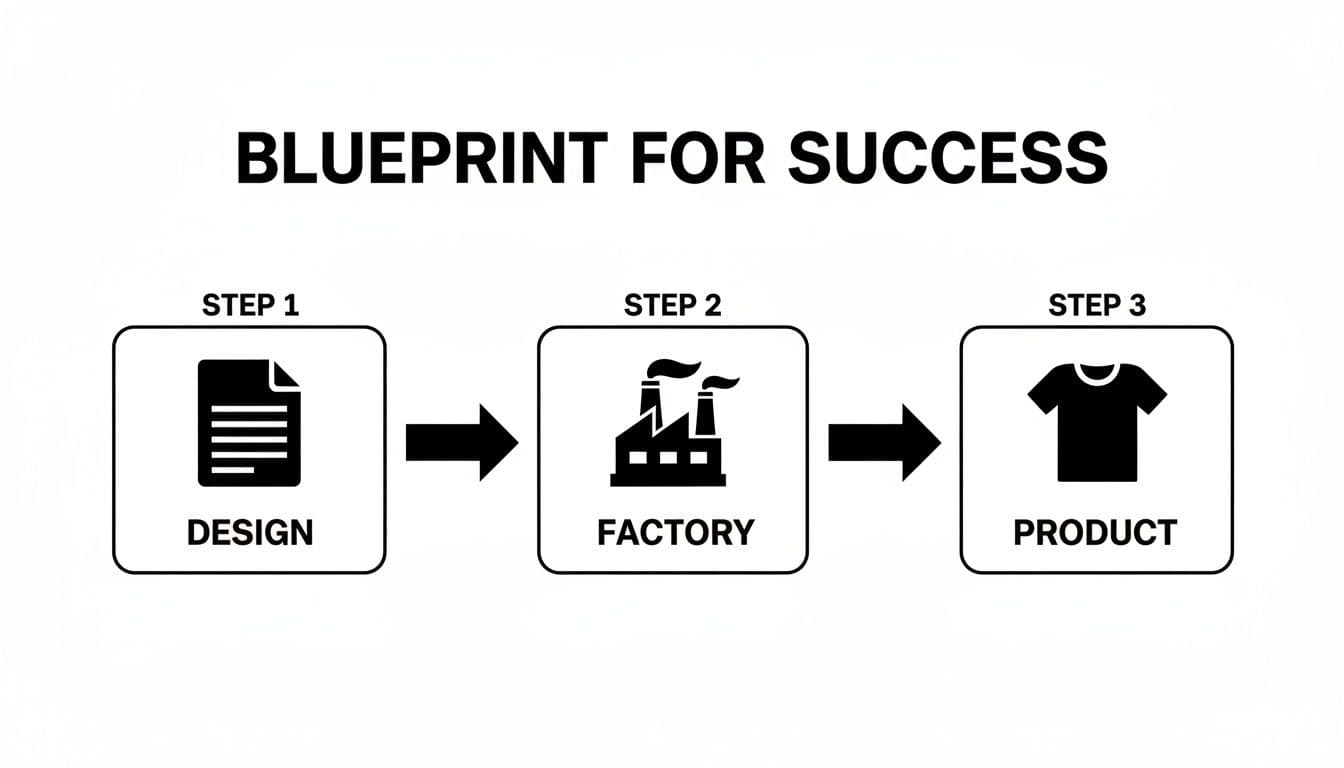
A success blueprint flowchart showing three steps: design, factory production, and final product.
Without this document, you're leaving your vision—and your money—up to chance. Let's break down the pages that prevent that from happening.
The Cover Page and Technical Sketches
First up is the Cover Page. This is your project’s identity at a glance. It should have a clean rendering of the finished garment, along with the most basic, high-level info: style name ("Classic Zip Hoodie"), your unique style number (e.g., HZ-2024-01), brand, and the season. It’s what a busy factory manager looks at to immediately know which garment they're dealing with.
Right after that, you get to the Technical Sketches, which are almost always called "flats" in the business. These aren't supposed to be beautiful, artistic drawings. They are precise, flat, two-dimensional blueprints of your hoodie's front, back, and sometimes side views. For our hoodie, this is where every seam, the exact zipper path, pocket shape, and hood construction are laid bare.
Every line on a flat means something. Specific callouts, using lines and arrows, point out the critical details and remove any room for interpretation.
- Pocket Callout: "Kangaroo pocket with 1/4" double-needle topstitch." This tells the factory exactly how to finish that pocket edge. Without it, you might get a single stitch that looks cheap and isn't as durable.
- Zipper Callout: "YKK #5 Vislon zipper, color-matched to body fabric." You're specifying the exact brand, size, and type. This prevents them from substituting a flimsy, no-name zipper that breaks after three wears.
- Hood Seam Callout: "Center hood seam, flatlock stitch for comfort." This single instruction ensures the seam lies flat and doesn't chafe the wearer's head—a small detail that massively impacts comfort and perceived quality.
The whole point is to leave nothing to the imagination.
The Bill of Materials (BOM)
Next is the Bill of Materials (BOM), which is basically the ingredient list for your hoodie. It’s an itemized spreadsheet of every single physical thing needed to assemble one garment. If you miss even one item here, you can guarantee production delays and a headache.
A proper BOM for our hoodie would look something like this:
| Component | Supplier/Code | Description | Placement | Qty Per Garment |
|---|---|---|---|---|
| Main Body Fabric | Fabricorp | 320 GSM Fleece, 80% Cotton / 20% Poly | Body, Sleeves, Hood | ~1.5 yards |
| Rib Trim | Fabricorp | 2x2 Rib, 95% Cotton / 5% Spandex | Cuffs, Hem Band | ~0.25 yards |
| Zipper | YKK / #5 Vislon | 26" length, color-matched to Pantone 19-4005 | Center Front | 1 pc |
| Drawcord | TrimSource Inc. | 1/2" flat cotton, knotted ends | Hood | 1 pc |
| Woven Brand Label | Label Makers Co. | 5cm x 2cm damask | Inside Neck | 1 pc |
| Care/Size Label | Label Makers Co. | Printed satin | Left Side Seam | 1 pc |
This isn't just picky—it's essential. Forgetting to specify the drawcord material or the exact Pantone for the zipper leaves the decision up to the factory. And when they have to guess, they’ll almost always optimize for their own cost and convenience, not your brand's quality standards.
I’ve learned this the hard way: a great tech pack anticipates questions. If a detail can be misinterpreted, it will be. Your job is to close every one of those loopholes before it costs you time and money.
This is also where new tools can give you an edge. While technical flats are non-negotiable for construction, you can add another layer of clarity with photorealistic mockups. For instance, including an AI-generated image from a tool like WearView can show the factory exactly how that 320 GSM fleece is supposed to drape on the body. It gives them an unmistakable visual target for the final look and feel.
Getting Your Bill of Materials and Spec Sheet Right
If your technical sketches are the design blueprint, then your Bill of Materials and Graded Spec Sheet are the hardcore data that brings it to life. This is where the details that make or break your product live. Getting these two documents perfect is absolutely critical for getting accurate quotes from factories and ensuring your production run is consistent.
Let's dig into what it takes to build them, using a simple t-shirt as our tech pack example.
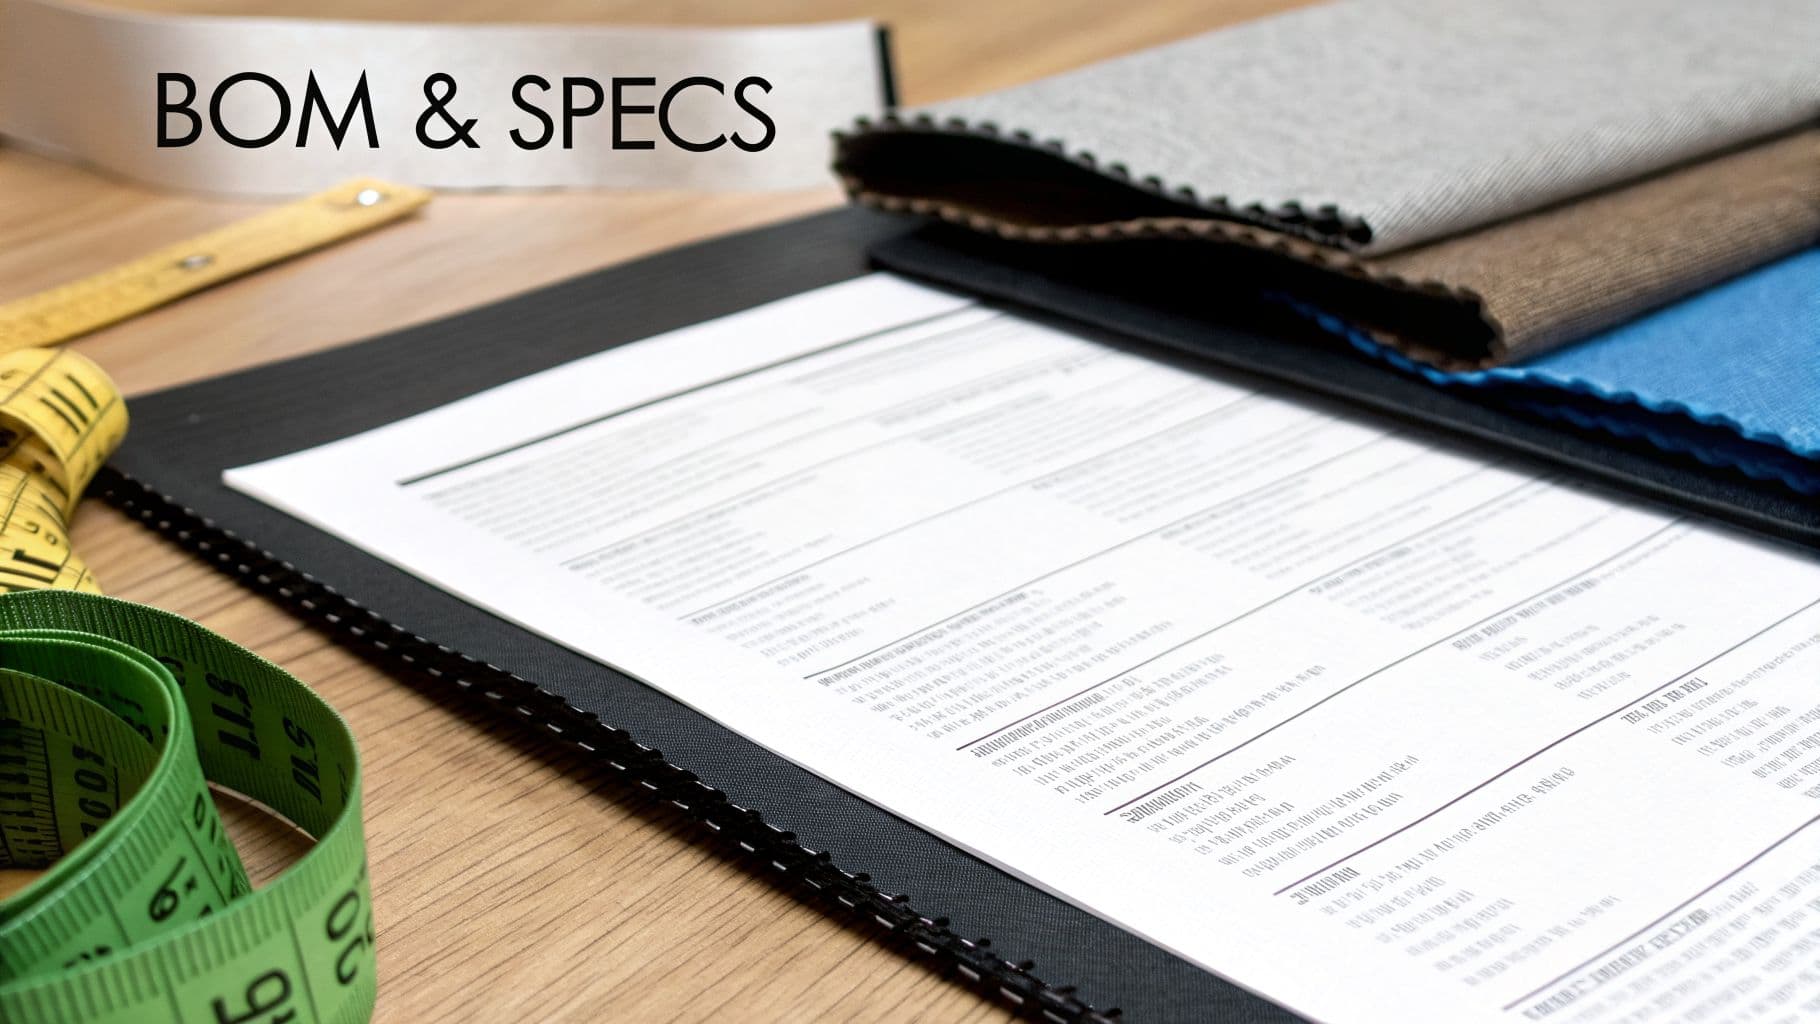
Close-up of a 'BOM & SPECS' document, fabric swatches, and measuring tapes on a wooden desk.
The Bill of Materials, or BOM, is essentially a complete shopping list for one single garment. It details every last scrap of material needed to build your product. If you forget something here, it's not just a missing ingredient—it's a production delay or a compromise on your quality.
Building a Bulletproof Bill of Materials
Your BOM needs to be painstakingly detailed. I'm talking about listing everything from the main body fabric down to the specific thread and the tiny care label. The whole point is to leave zero room for a factory to guess or substitute something cheaper or more convenient.
For a basic t-shirt, your BOM must specify:
- Main Fabric: Go beyond just "cotton." List the composition (e.g., 100% Pima Cotton), weight (e.g., 180 GSM), and if you have one, the exact supplier and article number.
- Ribbing: Detail the rib for the neckband, including its own composition (e.g., 95% Cotton / 5% Elastane) and structure (e.g., 1x1 rib).
- Labels: Break down every label—brand, size, and care. Note their material (woven damask, printed satin), exact dimensions, and where they go.
- Thread: Yes, even the thread! You need to specify the thread material (like polyester) and a color code (e.g., Gutermann color #123) that matches your fabric perfectly.
A vague BOM is a costly mistake waiting to happen. "Use blue thread" will get you any old blue thread the factory has lying around. "Use Gutermann Mara 120, Pantone 19-4052 TCX" ensures you get the exact color and quality you intended. This isn't nitpicking; it's brand protection.
Being this specific from the get-go helps your factory give you a precise cost per garment and start sourcing the right materials immediately. A vague fabric description can easily cause weeks of delays and endless email chains.
Demystifying the Graded Spec Sheet
Now for the other side of the coin: the Graded Spec Sheet. This is the measurement chart that dictates the exact dimensions for your garment across your entire size range. It's the technical instruction manual for the factory's pattern maker and is what defines the fit of your product.
For brands looking to really nail this part, exploring the best apps for clothing design can offer some powerful tools for visualizing specs and fit.
First, you have to define your Points of Measure (POMs). These are standardized locations on a garment used to ensure everyone is measuring from the same place.
For our t-shirt, some classic POMs would be:
- Chest Width: Measured 1" below the armhole, from side seam to side seam.
- Body Length: Measured from the High Point Shoulder (HPS) straight down to the bottom hem.
- Sleeve Length: Measured from the shoulder seam down to the sleeve opening.
- Shoulder Width: Measured straight across, from one shoulder seam to the other.
You start by setting the measurements for your sample size (which is typically a Medium). From there, you apply your grade rules—these are the fixed amounts each measurement changes by as you go up or down a size. For instance, the chest width might grow by 2 inches when going from a Medium to a Large.
Applying these rules across all sizes gives you the full graded spec. A simplified version for our t-shirt might look like this:
| Point of Measure (POM) | S | M (Sample) | L | XL | Grade Rule |
|---|---|---|---|---|---|
| Chest Width | 19" | 20" | 22" | 24" | +/- 1"-2" |
| Body Length (HPS) | 28" | 29" | 30" | 31" | +/- 1" |
| Sleeve Length | 7.5" | 8" | 8.5" | 9" | +/- 0.5" |
A well-executed spec sheet is your guarantee that a customer buying a Large today gets the exact same fit as someone who buys one six months from now. That consistency is what builds a loyal following.
Nailing the Final Details: Construction, Colorways, and Labeling
This is where a good design becomes a great, sellable product. The final touches—how a garment is stitched, the different colors it comes in, and the branding that gives it an identity—are all communicated in this section of your tech pack.
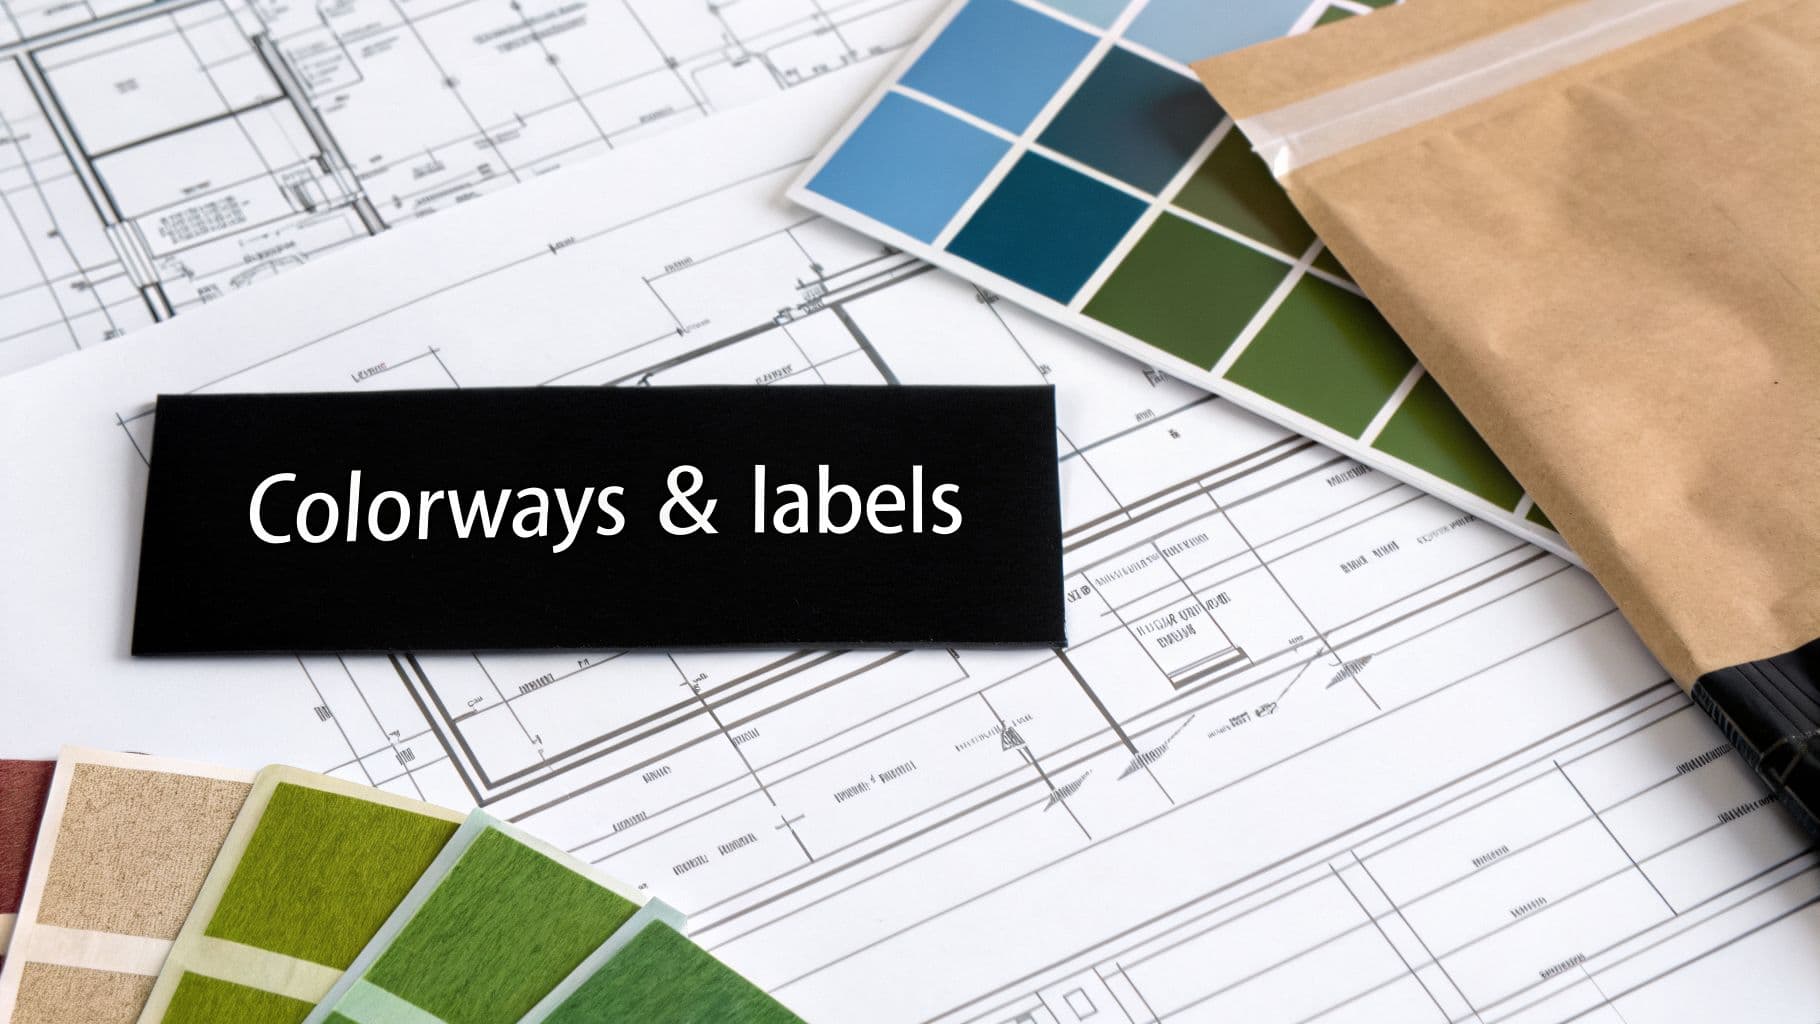
Design table with blueprints, color swatches, and a black label reading 'Colorways & labels'.
Getting these instructions crystal clear is the difference between a durable, beautifully finished piece and something that looks sloppy or falls apart after one wash. Let's dig into how to specify these crucial details.
Specifying Construction and Stitching
Now it’s time to get microscopic. You need to map out exactly how your garment should be sewn together using clear diagrams, often called "construction callouts." Vague instructions like "sew seams here" are a surefire way to get a sample that looks nothing like your vision.
You have to be explicit. Use industry-standard terms and annotate your flat sketches with specifics like:
- Stitch Types: Don't just say "stitch." Specify if you need a flatlock stitch for smooth, next-to-skin comfort on activewear or a sturdy overlock stitch on an internal seam.
- Seam Finishes: How should the factory finish the raw fabric edges? Should they be bound, serged, or maybe enclosed with a clean French seam for that high-end feel?
- Hems and Cuffs: Be precise. Instead of "hem the bottom," write "1-inch double-needle topstitched hem." Detail how cuffs are constructed, too.
- Functional Details: Note the exact placement and type of buttonholes, or call out where you need bar tacks for reinforcement on high-stress areas like pocket corners.
Here’s how I think about it: if a stitch affects the garment's look, feel, or durability, you must define it in the tech pack. Never assume the factory knows what you want. Every detail you add is a quality control check you've done in advance.
Managing Colorways and Labels
Most designs don’t come in just one color. You can handle this without creating a dozen separate tech packs by using a dedicated colorway page. This is basically a master sheet where you list every color variation, like "Heather Grey," "Navy," and "Forest Green."
For each color, you must include its official Pantone TCX code. This is the universal language for color in the apparel industry and ensures you get the exact shade you want, no matter who supplies the fabric.
Your labels are just as important for branding and legal compliance. This section needs to include:
- Brand Label: A mockup with exact dimensions, material (e.g., woven damask), and precise placement instructions ("centered, 1 inch below the neck ribbing").
- Care & Content Label: This has to include the material (like printed satin), all legally required info (fiber content, country of origin), and where it goes ("on the wearer's left side seam, 4 inches up from the hem").
For the 'Labeling' part of your tech pack, precision is everything. Understanding the best practices for attaching sew-on clothing tags can give you great insight into creating a professional, long-lasting finish. You can also check out our guide on clothing and branding to see how all these small elements work together to tell your brand’s story.
As sustainability becomes less of a choice and more of a requirement, tech packs are evolving. By 2026, an estimated 80% of major brands will require materials like polyester to have a minimum of 50% recycled content to comply with new regulations. We're also seeing tech packs that include plans for IoT-enabled labels, which help with supply chain tracking. You can discover more about how AI transforms fashion design and manufacturing on FashionInsta.ai.
Common Mistakes and Pro Tips for Flawless Tech Packs
There's no better teacher than experience, but let's be honest—in fashion, experience often comes with a hefty price tag. After reviewing thousands of tech packs, I’ve seen the same handful of mistakes trip up even the most talented designers, leading to blown budgets and disappointing samples.
If there's one piece of advice I can give, it's this: stop using vague, subjective language. Notes like "make it feel softer" or "give it a more relaxed fit" might make sense in your head, but they are completely useless to a factory. It's guesswork, and that kind of ambiguity almost guarantees you'll get a sample back that you hate.
You have to translate your creative vision into concrete, measurable instructions.
Instead of: "Make the fabric softer."
Try this: "Use a 100% Pima cotton jersey with a carbon-brushed finish for a softer hand feel."
Instead of: "I want a looser, more relaxed fit."
Try this: "Increase the chest measurement grade rule to +/- 2 inches per size and use a drop-shoulder pattern."
Making this shift from subjective feelings to objective specs is what separates an amateur instruction from a professional tech pack.
Pro Tips Straight From the Playbook
Avoiding common errors is half the battle. The other half is building smart systems that make your process faster and more consistent. These are the non-negotiable habits I've seen in every successful design team.
Build a Library of Reusable Components
First off, stop building every tech pack from scratch. You're wasting precious time. If you frequently use a specific ribbed cuff, a certain kangaroo pocket style, or the same care label placement, save those pages as templates. This simple step not only saves hours of work but also locks in your brand's construction details, ensuring consistency from one season to the next.
Get Your Naming Convention Right—From Day One
Next, establish a consistent file naming system before you do anything else. A shared folder filled with files named "hoodie_tech_pack_final_v2.pdf" is a recipe for disaster. A clear, logical system like [StyleNumber]_[StyleName]_[Version]_[Date].pdf (for example, HZ-2024-01_ClassicHoodie_v3_2024-10-26.pdf) is non-negotiable. It keeps your team and your factory on the same page and prevents someone from accidentally sending an old version into production.
Make Your Factory a True Partner
Finally, don't just email your tech pack and hope for the best. That document is the start of a conversation, not the end of one. Treat your factory manager as a partner in the process. Ask them to review your tech pack and flag any potential production issues before a single yard of fabric is cut.
A huge part of this partnership is using visuals that leave no room for error. This is where you can bring in photorealistic mockups from tools like WearView. Adding these images gives your factory an unambiguous visual target to hit. It clarifies fit, drape, and texture in a way sketches alone never could, drastically cutting down on the back-and-forth of physical sampling.
This kind of proactive collaboration, combined with a rock-solid document, is what turns your tech pack from a simple set of instructions into a powerful tool for getting your product made right the first time.
Common Questions About Building a Tech Pack
When you're putting together your first tech pack, you’re bound to have questions. It’s a detailed process, and it’s totally normal to feel a bit overwhelmed. Let's walk through some of the most common things that trip people up so you can build your next tech pack with confidence.
How Much Detail Is Too Much?
Honestly, you can almost never be too detailed. A mistake I see a lot of new designers make is assuming the factory will just "know" what they mean. You have to operate as if they know nothing about your design.
Every single stitch, measurement, and piece of fabric needs to be spelled out. This is your best defense against misunderstandings. But, the real trick is keeping all that detail organized. Use clear headings, specific callouts on your sketches, and easy-to-read tables. If a detail affects the final look, fit, quality, or function of the garment, it absolutely belongs in your tech pack example.
Can I Use AI Images in My Tech Pack?
Yes, and you should. While your black-and-white technical flats are non-negotiable for construction, adding photorealistic AI images can be a massive help. They bring your design to life, showing exactly how a fabric should drape or how the garment is intended to fit on the body.
Think of it this way: AI-generated visuals give your manufacturer a crystal-clear picture of the final product you're envisioning. It’s a simple step that can seriously cut down on back-and-forth emails and slow sample approvals.
Spec Sheet vs. Tech Pack: What Is the Difference?
This one's a classic point of confusion. A spec sheet is just one small piece of the puzzle. It’s the part that focuses on the numbers—specifically, the garment's measurements for your base sample size and the "graded" measurements for all the other sizes in your range.
The tech pack is the whole book, not just a single chapter. It includes the spec sheet plus everything else your factory needs:
- Technical sketches (flats)
- The Bill of Materials (BOM)
- Construction notes (like stitch types and seam finishes)
- Colorway details
- Labeling and packaging instructions
Basically, the tech pack is the complete master blueprint for your product.
Do I Need a Different Tech Pack for Each Color?
No, definitely not! You don't need to start from scratch for every new color. A well-made tech pack is built to handle multiple colorways within the same document.
You'll just have a dedicated section, often in your BOM or on a separate page, that lists out each color variation. You'll specify the official Pantone code for the color and note which materials (main fabric, lining, thread, etc.) apply to that specific version of the garment. It keeps everything neat and tied to one master document.
Stop wasting time and money on photo shoots. With WearView, you can upload your garment photos and instantly generate unlimited, on-brand model images ready for your website, social media, and ads. See how WearView can transform your fashion content.

WearView Team
WearView Content & Research Team
WearView Team is a group of fashion technology specialists focused on AI fashion models, virtual try-on, and AI product photography for e-commerce brands. We publish in-depth guides, case studies, and practical insights to help fashion businesses improve conversion rates and scale faster using AI.