January 20, 2026•22 min read
How to Photograph Jewelry Like a Pro for Stunning Results
Discover how to photograph jewelry with our guide. Get pro tips on lighting, camera settings, and editing to create brilliant images that sell.
How to Photograph Jewelry Like a Pro for Stunning Results
Getting your jewelry photography right comes down to three things: controlling your light, keeping your camera steady, and nailing a super-sharp focus. You don’t need a fancy studio to create professional, e-commerce-ready images. Honestly, the right techniques make all the difference, separating amateur shots from photos that actually move product.
The Blueprint for Brilliant Jewelry Photography
Photographing jewelry is tough. You’re dealing with tiny, super reflective objects, and every little detail matters—from the facets of a gemstone to the texture of the metal. Your goal is to show off the piece’s true beauty without distracting glares or blur, creating images that make customers feel confident enough to click "buy."
Great jewelry photography isn’t an accident; it’s the result of a deliberate, repeatable setup. Think of it as a blueprint for getting high-quality results every single time.
The Three Pillars of Success
To build a solid foundation for your photos, you need to get these three areas right:
- Mastering Light: Soft, diffused light is non-negotiable. It wraps around the jewelry, minimizing harsh reflections and bringing out the sparkle without creating ugly bright spots.
- Ensuring Stability: The tiniest shake can ruin a macro shot. A sturdy tripod and a remote shutter are your best friends here, completely eliminating camera shake for perfectly crisp images.
- Achieving Sharp Focus: Your camera settings are what separate a sharp, detailed piece from a blurry mess. Using the right aperture and focusing techniques will keep the entire piece looking tack-sharp.
A classic mistake I see all the time is people dropping a ton of money on a high-end camera before they've even thought about lighting. A simple, well-lit setup with an entry-level camera—or even your phone—will always beat an expensive camera in a poorly lit room.
To give you a quick overview, here are the absolute essentials and what they do for you.
Essential Elements for Professional Jewelry Photos
A quick look at the core components and their roles in creating high-quality jewelry images.
| Element | What It Achieves | Accessible Starting Tool |
|---|---|---|
| Diffused Light | Softens shadows and eliminates harsh glare on metal and gems. | A window with a white sheet over it, or a basic softbox kit. |
| Stable Surface | Prevents any and all camera shake for perfectly crisp images. | A simple, sturdy tripod (even a small tabletop one works). |
| Macro Lens/Mode | Captures the tiny, intricate details that make jewelry special. | The macro mode on your smartphone or a dedicated macro lens. |
| Clean Background | Keeps the focus entirely on the product without distractions. | A roll of white or gray paper, or a piece of acrylic. |
These elements work together to form the foundation of every great shot.
From Technical Setup to Sales
At the end of the day, every photo on your site has a job to do. High-quality images don't just show a product; they communicate its value, craftsmanship, and why someone needs to own it. This is a fundamental principle in creating e-commerce photography that sells, where your visuals are doing almost all of the heavy lifting.
The techniques we'll cover here are directly applicable to all kinds of product photography. If you want a broader look at setting up your shots, our guide on how to shoot product photos has some great additional tips.
By following this blueprint, you can build a simple yet incredibly effective workflow. This approach will help you produce stunning, consistent photos that elevate your brand, whether you’re a new seller on a shoestring budget or an established business aiming for that next level. The next sections will break down each of these components with actionable steps to get you there.
Choosing Your Photography Gear
Picking the right gear is the first real step in learning how to photograph jewelry, but don't let it intimidate you. It’s way less complicated (and expensive) than you might think. Honestly, the best camera is often the one you already have—as long as you know how to back it up with the right lighting and support.
Your first big decision is whether to go with a dedicated camera or your smartphone. This choice will pretty much dictate everything else you buy.
For anyone serious about e-commerce, a DSLR or mirrorless camera is going to give you the most control and the highest quality images. The real magic of these cameras is the ability to swap lenses and manually dial in your settings. Nailing things like aperture and ISO is what separates an amateur shot from a professional one.
That said, modern smartphones have ridiculously good cameras. With a few smart accessories, your phone can be a powerful, budget-friendly tool to get your online store looking slick from day one.
Camera vs. Smartphone: A Practical Comparison
The single biggest advantage of a DSLR or mirrorless camera is using interchangeable lenses. For jewelry photography, where the tiniest details are everything, this flexibility is a complete game-changer.
A smartphone, on the other hand, wins on convenience and cost. The learning curve isn't nearly as steep, and you can get amazing results without a huge upfront investment. The trade-off is that you'll need to rely on some add-ons and apps to get the kind of manual control that comes standard on a dedicated camera.
The Power of a Dedicated Macro Lens
If you do go the camera route, a dedicated macro lens is the single best investment you can make. Period. A macro lens is built specifically for extreme close-ups, letting you capture a true 1:1 life-size image of your jewelry right on the camera's sensor.
- Why it's essential: It’s how you capture those jaw-dropping details—the delicate engravings, the facets of a gemstone, the intricate metalwork. A standard lens just can't see them with the same clarity.
- Popular choices: A 100mm f/2.8 macro lens is the industry standard for a reason. This focal length gives you a comfortable working distance from the jewelry, so you’re not casting shadows all over your shot.
For all the smartphone shooters out there, you can get a similar effect with a high-quality clip-on macro lens. These little gadgets are affordable and attach right over your phone’s camera, letting you get incredibly close to capture those all-important details. Pro tip: download an app that unlocks manual controls. It’ll give you DSLR-like command over focus and exposure right from your phone.
One of the biggest mistakes I see is people using their camera's digital zoom to get closer. Digital zoom just crops and blows up the image, which absolutely destroys the quality. You end up with a pixelated, unprofessional mess. A real macro lens is always the right move.
Essential Support Gear for Maximum Sharpness
It doesn't matter if you're using a top-of-the-line camera or the latest iPhone—stability is non-negotiable. Even the tiniest wobble or vibration during the shot will cause motion blur, making your photos completely unusable for your store.
This is where a good tripod becomes your best friend. A tripod eliminates camera shake, which means you can use slower shutter speeds and lower ISO settings to get incredibly clean, crisp, and noise-free images. Even a cheap little tabletop tripod will make a world of difference.
To take it one step further, pair your tripod with a remote shutter release or just use your camera’s self-timer. This lets you snap the picture without ever touching the camera, avoiding that subtle shake that happens when you press the shutter button. This simple, inexpensive tool ensures every single shot is as sharp as it can possibly be. Building a stable setup is a core part of any good e-commerce photo studio workflow because it guarantees consistent, high-quality results time and time again.
Creating the Perfect Lighting Environment
If there’s one secret I’ve learned shooting jewelry over the years, it’s this: lighting is everything. You can have the best camera money can buy, but if your lighting is bad, your photos will be bad. It's that simple.
Jewelry is a nightmare to light properly. It’s tiny, it’s shiny, and it reflects absolutely everything. Any direct, harsh light source will just create a distracting, blown-out glare, completely killing the detail of the piece.
Your goal isn't just to make the jewelry visible; it's to sculpt it with light. You need a setup that wraps gently around the piece, defining its facets, showing off the texture of the metal, and letting the gems sparkle without creating those ugly white "hot spots."
Why Soft, Diffused Light Is Non-Negotiable
A bare lightbulb or your camera's pop-up flash is your absolute worst enemy here. This kind of direct light creates sharp, ugly shadows and specular highlights—those blindingly bright spots that obliterate any delicate detail on a metal band or a gemstone.
Soft, diffused light is the complete opposite. It’s scattered, coming from a larger area rather than a single point.
Think about the difference between a bright, sunny day and a lightly overcast one. The sun creates hard, defined shadows. On an overcast day, the clouds act like a massive natural softbox, scattering the sunlight and creating soft, flattering light with barely-there shadows. That’s exactly the effect we’re going for.
This diagram shows the basic gear you'll need to control your shooting environment and get those professional-looking shots.
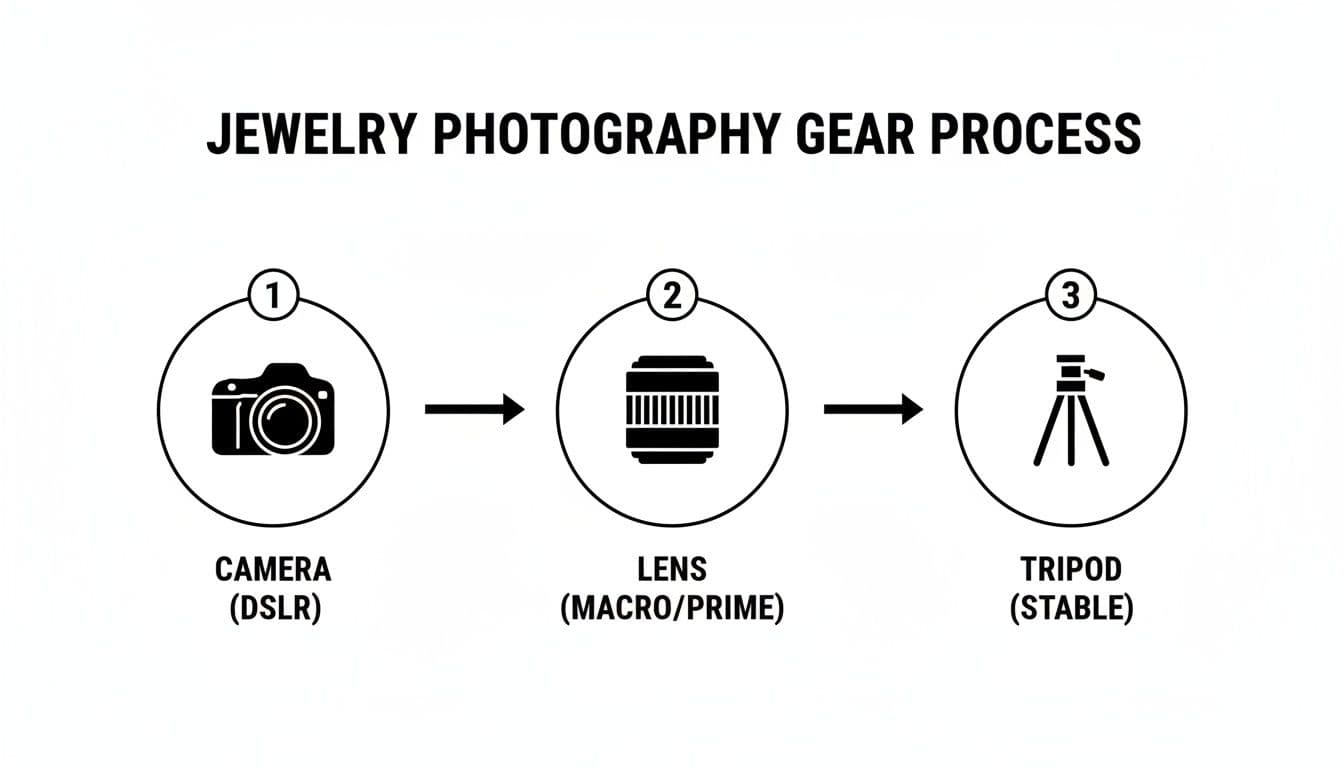
Diagram showing the essential gear for jewelry photography: camera, lens, and stable tripod.
As you can see, your camera, lens, and a sturdy tripod are the foundation. They work as a single system to capture crisp, professional images.
Building Your Ideal Lighting Setup
The good news is you don’t need a Hollywood budget to create beautiful, soft light. Whether you're starting out with a DIY approach or are ready to invest in a more professional kit, the principles are the same.
The DIY Light Tent: A light tent (or lightbox) is the easiest and cheapest way to get started. It’s basically a cube made of translucent white fabric that surrounds your product. You shine your lights through the fabric walls, which instantly diffuses the light and bathes your jewelry in a soft, even glow from multiple sides. You can buy these for next to nothing or even build one yourself with a cardboard box and some white tissue paper.
The Two-Softbox Arrangement: For more control, a two-light setup using softboxes is the professional standard. A softbox is just a light source mounted inside a fabric box with a diffusing panel on the front. This setup gives you total command over the direction and power of your light.
Pro Tip: Position one softbox at a 45-degree angle to your piece—this is your "key light." Place the other on the opposite side as your "fill light," and dial its power down a bit. This classic setup gives you balanced light but still creates subtle shadows that give the jewelry dimension and shape.
Getting the light just right is what separates amateur shots from professional ones. In a pro setup, you'd aim for diffused light using two softboxes at 45° and 135° angles. A good starting point is setting the key light for an aperture of f/11 (for good depth of field) and the fill light two stops lower to gently soften shadows. This approach can capture sparkle with up to 95% accuracy. It's critical to avoid direct flash, which causes about 80% of glare issues.
Fine-Tuning Your Light for Perfect Results
Once your main lights are in place, a few extra tools can take your images from good to truly great. These are the little tweaks that add that final professional polish.
Using Reflectors to Fill Shadows
Even with softboxes, you might see tiny, distracting shadows. This is where a simple reflector comes in. A small piece of white foam core or even a folded sheet of white paper works perfectly. Just place it opposite your main light source to bounce a little light back into those shadows, brightening them just enough to bring out the detail.
Controlling Color Temperature
Ever take a photo indoors and have it come out weirdly yellow or orange? That’s color temperature. To make sure your metals and gems look true-to-life, you need to set your camera’s white balance to match your lights. For a clean, neutral look, 5500K (Kelvin) is the industry standard for daylight. Most quality photography LEDs are rated right around this temperature.
Taming Glare with a Polarizer
A circular polarizing filter (CPL) is a secret weapon for shooting anything reflective. It screws right onto the front of your lens and acts like a pair of polarized sunglasses for your camera, cutting down on glare. By simply rotating the filter, you can literally watch distracting reflections on metal surfaces or gem facets disappear, letting the true color and detail shine through. This is an indispensable tool for getting clean, pro-level shots.
Getting Your Camera Settings and Composition Just Right
Okay, your lighting is set up and your gear is ready. Now comes the part where the technical meets the creative: dialing in your camera settings and composing the shot. This is what separates a decent product photo from a stunning one.
Getting these settings locked in is how you guarantee those sharp, clean, professional images. Then, a little creative composition makes them pop.
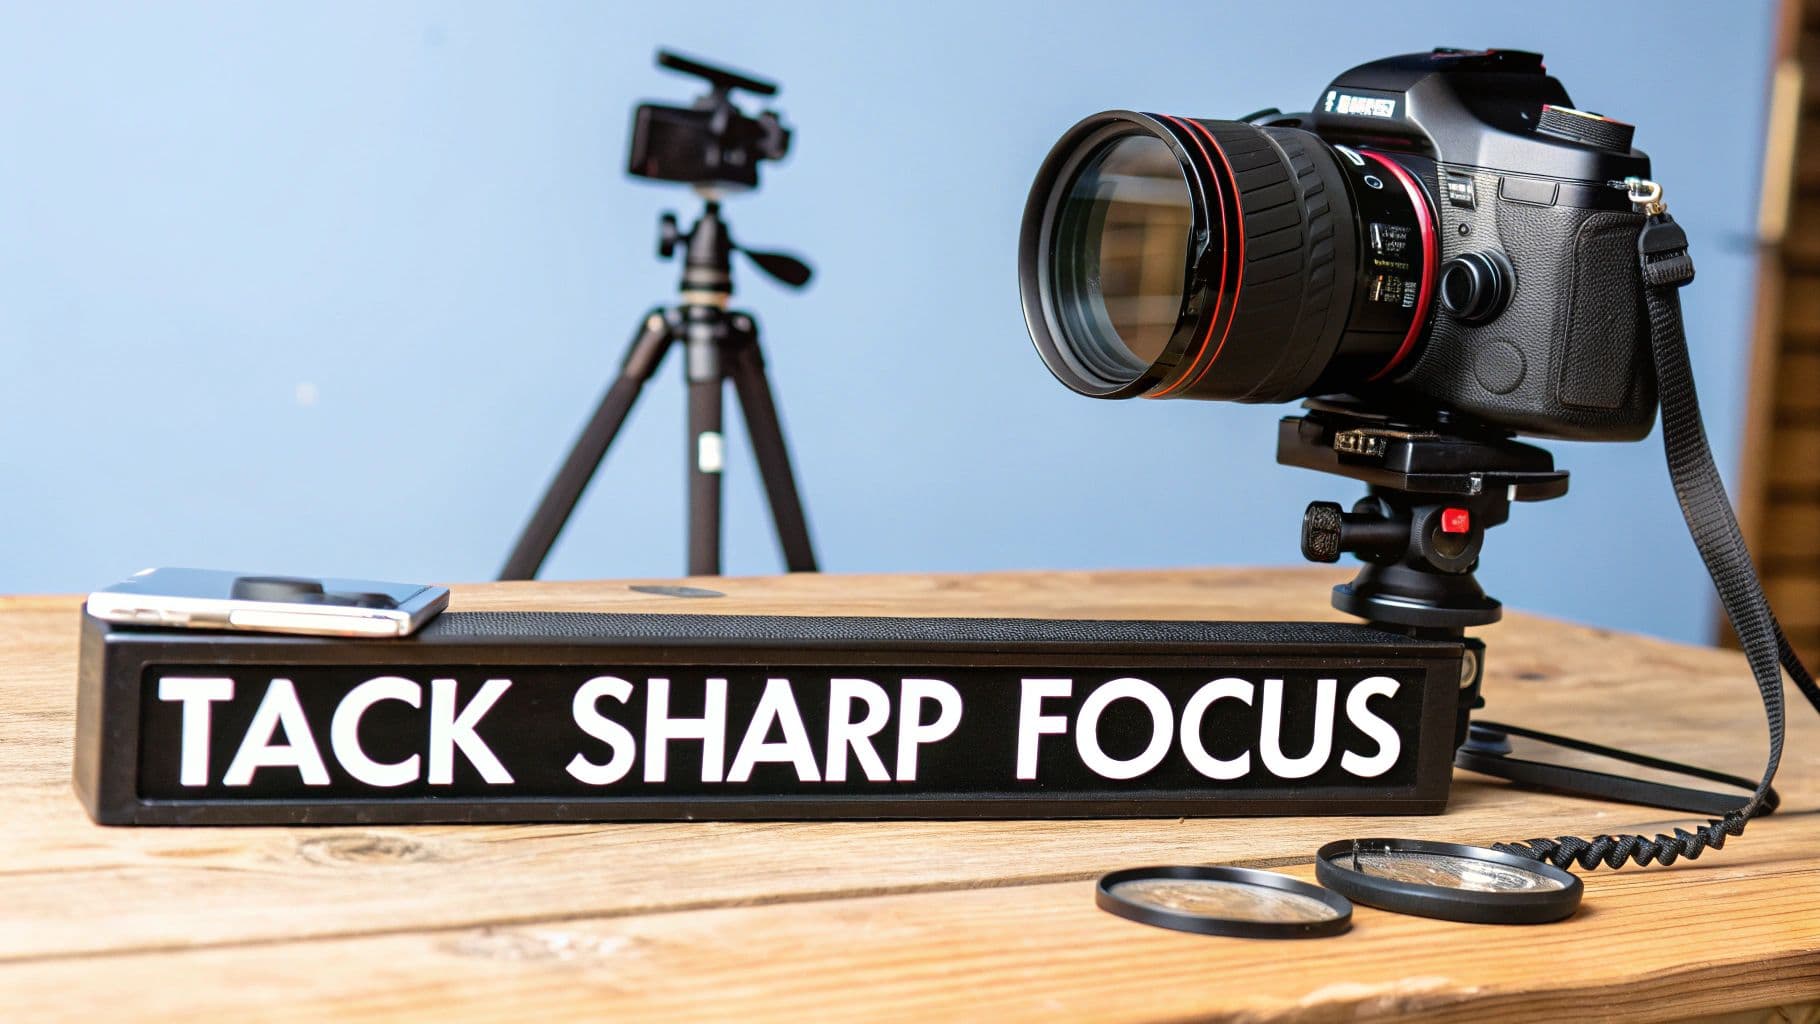
A professional camera with a large lens, smartphone, and "TACK SHARP FOCUS" sign on a wooden table.
The numbers you choose on your camera directly control the quality and clarity of the final shot. For jewelry, the mission is always the same: maximum detail. Let's walk through the three most critical settings.
The Holy Trinity of Macro Settings
Photographing jewelry is macro photography, a world where tiny adjustments make a huge difference. To get this right, you absolutely must be in Manual Mode (M) on your camera. This gives you total control over the big three.
- Aperture (f-stop): This is all about depth of field—how much of your shot is in focus. With jewelry, you want the entire piece tack-sharp, from the front facet of a diamond to the clasp in the back. To pull this off, you need a small aperture, which translates to a high f-stop number like f/11 or f/16. A classic beginner mistake is shooting wide open at f/2.8; you'll get a tiny sliver of focus and the rest of the piece will be a blurry mess.
- ISO: Think of this as your camera's sensitivity to light. A high ISO might seem like an easy way to brighten a dark scene, but it comes at a steep price: digital "noise" or grain. That graininess will obliterate the fine details you're working so hard to capture. Always, always, always use the lowest native ISO your camera offers, which is almost always ISO 100.
- Shutter Speed: This is the last piece of the puzzle. Because you've chosen a small aperture (which lets in very little light) and a low ISO (which makes the sensor less sensitive), you'll need to compensate with a slower shutter speed. This is exactly why a sturdy tripod is non-negotiable. It holds the camera perfectly still during that longer exposure, killing any chance of motion blur.
Think of it like a recipe: Aperture (f/16) gives you the sharpness. ISO (100) gives you the quality. The Tripod gives you the stability to make it all work. Nail these three, and you're 90% of the way there.
The Art of Composition and Styling
With the technical side locked down, it's time to get creative. How you arrange the jewelry within the frame tells a story and directs your customer's eye. The product is always the hero of the shot.
For e-commerce, a clean, minimalist approach almost always wins.
- Backgrounds Are Everything: For standard product listings, nothing beats a seamless white or light gray background. It eliminates all distractions, makes your editing life way easier, and is the required standard for marketplaces like Amazon. A simple roll of white paper or a curved piece of acrylic creates that professional "infinity" backdrop with no harsh horizon line.
- Find Your Angles: Don't just shoot every piece from a boring, straight-on view. Experiment! Get down low to make a ring feel grand and majestic. Try a 45-degree angle to show off the depth and dimension of a necklace. Move the camera around until you find the perspective that highlights the jewelry's best features.
- Use Props Sparingly: When shooting for social media or lifestyle campaigns, a few props can add wonderful context. The key word here is subtlety. A single, delicate flower petal, a swath of silk fabric, or a cool piece of marble can complement the jewelry beautifully. Before you add anything, ask yourself: does this prop enhance the product, or does it just create clutter?
The Final, Flawless Prep
This might be the most overlooked step, but it's one that can save you hours of headaches later. Your macro lens is ruthless—it will show every single speck of dust, fingerprint, and microscopic scratch that you can't even see with your own eyes. Trying to fix all of that in Photoshop is a nightmare.
Take a few minutes to meticulously clean every piece right before it goes in front of the camera. Use a soft microfiber cloth to polish away smudges and a can of compressed air to blast away any stubborn dust. Pro tip: wear cotton gloves while handling the jewelry after cleaning. It feels a bit silly, but it completely prevents you from leaving fresh fingerprints on a perfectly prepped piece.
Taking the time to get your setup right is a non-negotiable skill in the booming global jewelry market. A great shot often starts in a light tent with soft, diffused LED lights (set to a 5500K color temperature) at 45-degree angles to minimize harsh reflections. When you pair a true macro lens, like a 100mm f/2.8, with a small aperture like f/16, you can achieve the stunning 1:1 detail that makes jewelry sell. But this level of detail means you have to be vigilant—even tiny specks of dust can ruin up to 30% of your unretouched images. By shooting on a seamless white background, you isolate the piece and create a clean, professional look that has been shown to significantly boost online sales.
Making Your Images Shine with Smart Post-Production
Snapping the photo is just the first step. The real magic—the kind that turns a good shot into a jaw-dropping, professional image—happens in post-production. This is where you polish away tiny imperfections, dial in the colors, and give your jewelry that irresistible sparkle that grabs a shopper's attention.
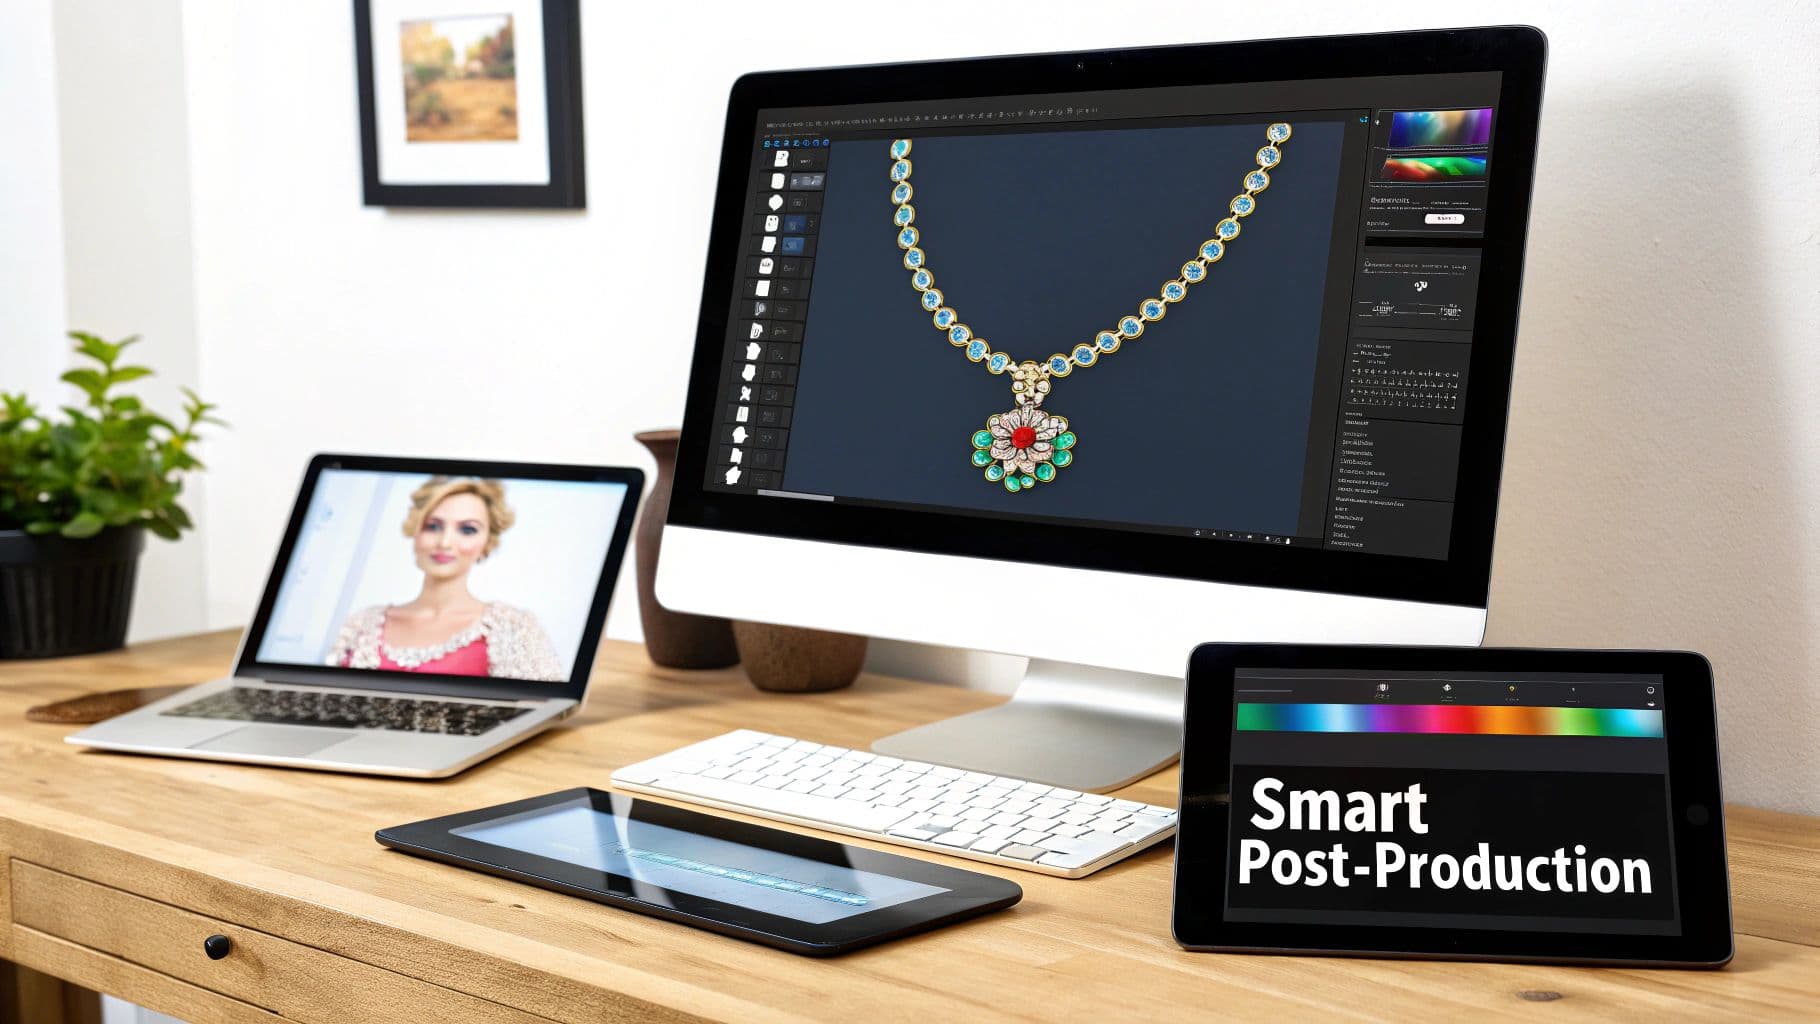
A creative digital workspace featuring a desktop with jewelry design software, a laptop, and an iPad.
Don't worry, your editing workflow doesn't need to be overwhelming. The goal here is subtle, natural enhancement, not a complete overhaul. Tools like Adobe Lightroom or Photoshop are the go-to for a reason; they give you incredible control to perfect the final image.
Core Editing Moves for Flawless Jewelry Photos
You can make a huge impact by focusing on just a few key adjustments. Getting these right is often what separates amateur product shots from high-end commercial work.
- Exposure and Contrast: The first thing I always do is check the brightness. A quick slide on the exposure setting can bring the whole image to life. Then, I'll add a touch of contrast to make the details pop, being careful not to crush the shadows or blow out the highlights.
- White Balance Correction: Getting your colors right is non-negotiable. Even with a great lighting setup, you might need to tweak the white balance to make sure your whites are pure and the metal tones—gold, silver, platinum—look true to life.
- Dust and Blemish Removal: No matter how meticulously you clean a piece, a macro lens will always find a spec of dust you missed. This is where the Spot Healing Brush in Photoshop becomes your best friend. Zoom way in and just click on any tiny imperfection to make it vanish.
If there's one rule in post-production, it's that less is more. The best editing should be completely invisible. You're aiming to show an idealized—but still honest—version of the piece, not create a digital fantasy that could mislead your customer.
For brands that want to go deeper, our guide on e-commerce image editing is packed with more advanced techniques. Mastering these skills is fundamental to building a polished, trustworthy online store.
The On-Model Imagery Dilemma
A clean product shot on a white background is essential, but it's the on-model lifestyle photos that truly sell. Strong photos are only half the job; our guide to selling jewelry online covers the rest. They instantly answer a customer's biggest questions: How big is it? How does it hang? What does it look like against skin?
But let's be real: organizing a traditional photoshoot is a massive headache. It's expensive, takes forever to coordinate, and can be a logistical nightmare. The costs of hiring models, photographers, and stylists add up fast, often delaying your product launch by weeks.
AI: The Smart Solution for Modern Jewelry Brands
This is where technology steps in to offer a game-changing alternative. As the market gets faster, you need a scalable way to produce photography. A traditional shoot for just 10 necklaces can easily cost $2,000+, yet the data shows pieces sell 2-3x better when shown on a model.
AI-powered platforms have cracked this code. As we showed in a recent tech demo, you can now upload a simple product photo and generate an endless variety of diverse, on-body visuals in seconds. This slashes production time from weeks to moments and cuts costs by as much as 90%. Brands can now get to market faster and see a real, measurable lift in conversions.
With these tools, you can place your jewelry on different models, test various poses, and experiment with backgrounds to match your brand's vibe perfectly—all without a single camera or light.
For those wanting to push creative boundaries even further, exploring a guide to Mastering GPT Image Generation can unlock unique backgrounds and conceptual visuals for your campaigns. By combining smart, subtle editing with AI-driven model imagery, you create a powerful and scalable visual strategy that truly sets your brand apart.
Common Jewelry Photography Questions Answered
Even with the best gear and a solid plan, shooting jewelry always throws a few curveballs. Below, I’ve tackled some of the most common questions that pop up, with practical solutions I’ve used myself to get past those frustrating hurdles.
How Do I Photograph Diamonds Without Harsh Glare?
Here’s the secret: you want to control reflections on a diamond, not get rid of them completely. Those reflections are what create the sparkle. The trick is making them soft and flattering instead of sharp and distracting.
Start by using large, soft light sources. A light tent is perfect for this, but two softboxes positioned at different angles can also create that gentle, wrapping light you need.
Next, play with your angles. Avoid placing your lights where they bounce directly back into your camera lens. Your best friend in this fight is a circular polarizer filter. As you rotate it, you can literally watch the worst of the glare vanish, letting the diamond's facets come to life. For an extra pro touch, use small black cards just out of frame to create dark reflections, which adds incredible contrast and depth.
What Is the Best Background for Jewelry Photos?
For e-commerce, the answer is almost always a clean, seamless white or light gray background. This isn't just a trend; it's the industry standard for a reason. It puts the jewelry front and center, with zero distractions. Marketplaces like Amazon and Google Shopping often require it.
A neutral background also makes your life way easier in post-production. Color correcting on a clean white backdrop is a breeze.
But for social media or your brand’s lookbook, you can get more creative. Just make sure your background supports the brand aesthetic. Some great options include:
- Polished marble slabs
- Natural linen or silk fabric
- Rich, dark velvet
- Textured slate or stone
Whatever you choose, remember the golden rule: the background complements, it never competes. The jewelry is always the hero of the shot.
Can I Get Professional Results with My Smartphone?
Absolutely. Modern smartphone cameras are ridiculously good, but you can't just point and shoot and expect magazine-quality results. It’s all about controlling the environment.
The key to success with a smartphone isn't the phone itself, but the accessories and techniques you use with it. A well-supported phone with great lighting will always outperform a handheld DSLR in a poorly lit room.
First things first, get a tripod. It's non-negotiable for keeping your phone perfectly still and your shots tack-sharp. Second, never, ever use the phone's built-in flash. Rely on your external, diffused lighting instead.
For those tiny, intricate details, a high-quality clip-on macro lens is a game-changer. Finally, download a camera app that gives you manual control over focus, ISO, and shutter speed. With this simple setup, you can capture stunning, high-quality images ready for your online store.
How Can I Show the Scale of My Jewelry Pieces?
This is so important for managing customer expectations and cutting down on returns. The single most effective way to show a piece’s size is with on-model photos. It gives customers an instant, real-world reference for how that necklace hangs or how big those earrings really are.
If you're doing product-only shots, you can still provide context. In one of your secondary images, include a common object for scale. Placing a ring next to a delicate flower petal or a pendant beside a small, elegant prop can work wonders.
And don't forget the basics: always list the exact dimensions (like length, width, and carat weight) in your product description. Combining strong visual cues with hard data gives buyers the confidence they need to click "add to cart."
WearView makes creating stunning on-model imagery effortless. Skip the expensive photoshoots and instantly generate studio-quality visuals by visiting our site.

WearView Team
WearView Content & Research Team
WearView Team is a group of fashion technology specialists focused on AI fashion models, virtual try-on, and AI product photography for e-commerce brands. We publish in-depth guides, case studies, and practical insights to help fashion businesses improve conversion rates and scale faster using AI.