February 11, 2026•25 min read
Mastering Lay Flat Photography for E-Commerce Brands
Unlock the secrets to stunning lay flat photography. Our guide offers practical tips on lighting, styling, and composition to create product images that sell.

Mastering Lay Flat Photography for E-Commerce Brands
Lay flat photography is simply the art of shooting things from directly above. Think of it as creating a clean, organized, bird's-eye view of your products. It's an incredibly powerful style for e-commerce because it lets you showcase items with total clarity and add a bit of context, turning a simple product into something much more compelling. Getting this technique right is key to creating images that stop the scroll and actually drive sales.
Building Your Lay Flat Photography Foundation
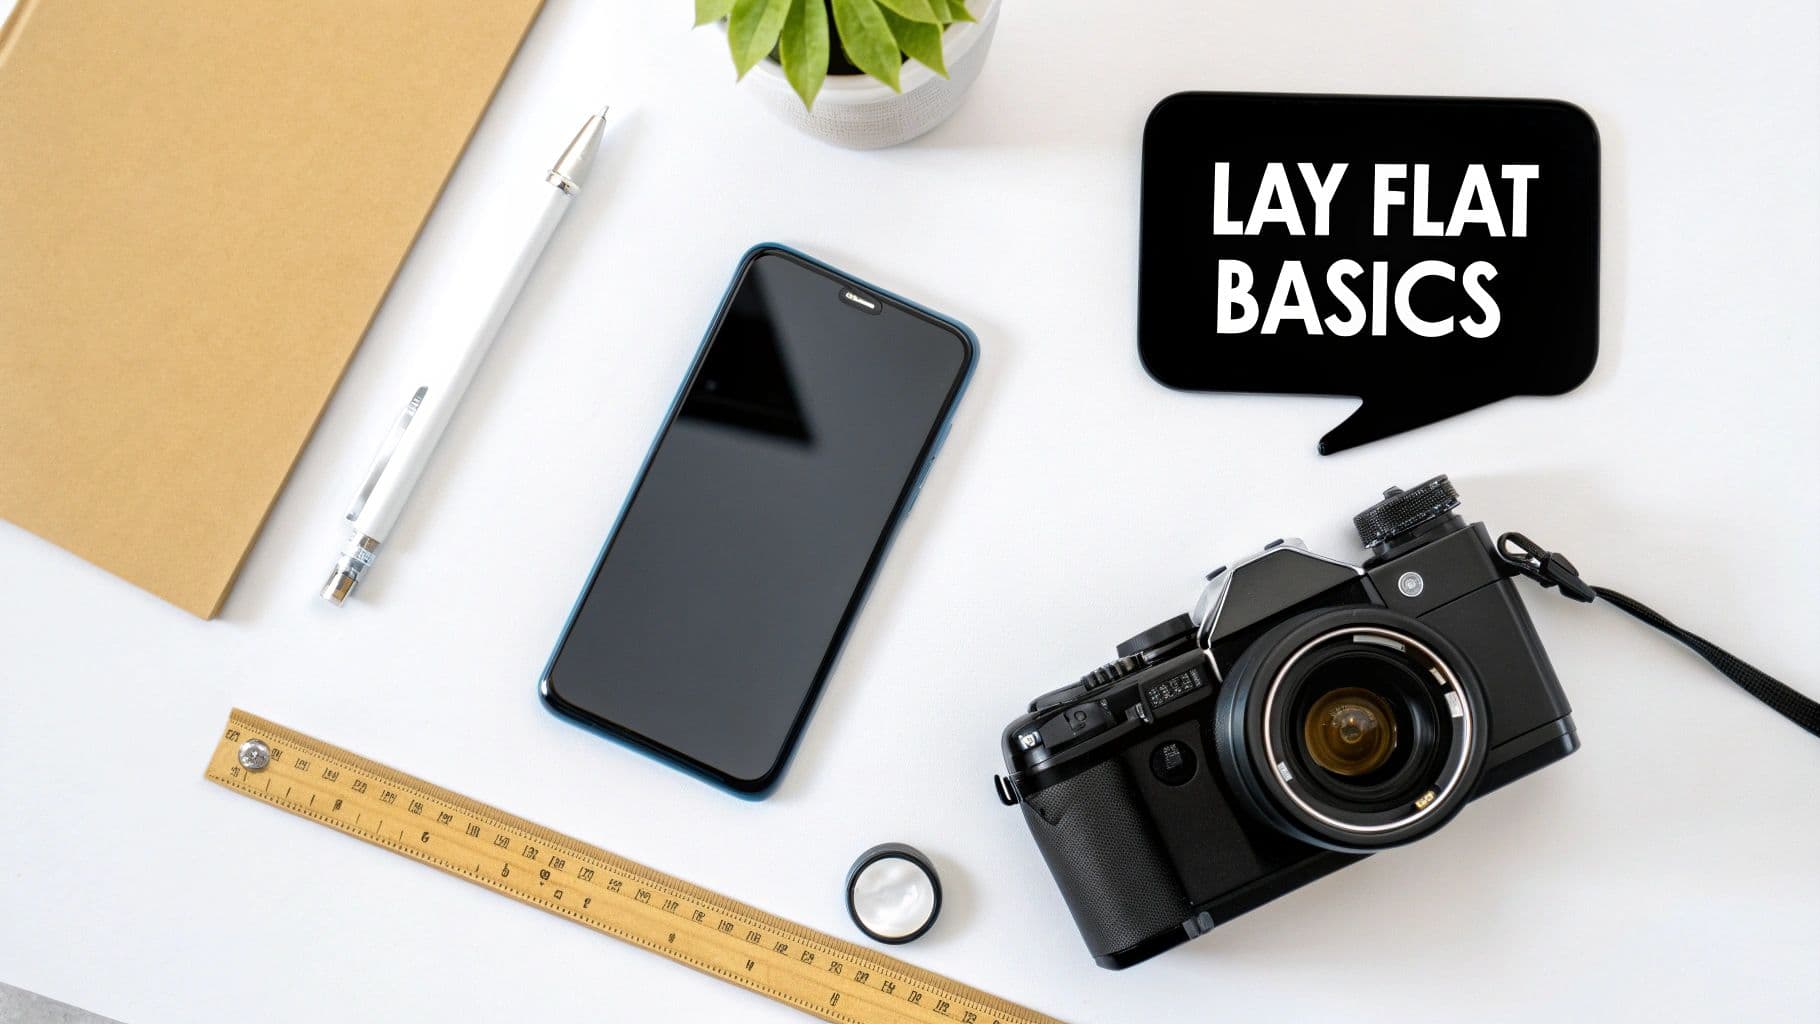
Overhead view of a flat lay photography setup with camera, smartphone, and 'LAY FLAT BASICS' speech bubble.
For any modern e-commerce store, especially in fashion or lifestyle, a killer flat lay isn’t just a nice-to-have—it's a core part of your visual strategy. These images do more than just show an object; they tell a story, set a mood, and let you highlight all the little details that might get lost otherwise. And the best part? You don't need a massive budget or a pro studio to get amazing results.
The real magic happens when you use a flat lay to mix product features with your brand's personality. A plain t-shirt, for instance, suddenly becomes an outfit when you style it with a pair of jeans, some sunglasses, and a notebook. This helps your customers see exactly how the product fits into their own lives, which builds an aspirational connection that goes way beyond a simple purchase.
Essential Gear for Any Budget
Getting started with flat lays is way more accessible than most people think. Whether you're shooting with the latest smartphone or a DSLR, the fundamental principles are exactly the same. Your goal is always to capture a crisp, well-lit, and perfectly aligned top-down shot.
Here’s a quick rundown of what you'll actually need:
- A Camera: Seriously, your modern smartphone is more than capable of producing incredible results. If you have a DSLR or mirrorless camera, great—you'll get more manual control. But it's absolutely not a must-have for high-quality shots.
- A Stable Mount: This is non-negotiable. To get that perfectly parallel, straight-down angle, you need something to hold your camera steady. A tripod with an articulating arm or a dedicated overhead camera mount is perfect for preventing blur and keeping your shots consistent.
- A Good Light Source: Natural light from a big window is your best friend. It’s soft, diffused, and totally free. If you're shooting at night or the weather isn't cooperating, an affordable softbox or ring light will give you that reliable, even glow you're after.
- A Background Surface: Keep it simple to start. A large white foam board from any craft store is cheap, clean, and incredibly versatile. Once you get the hang of it, you can start playing with textured surfaces like wood panels, marble-patterned contact paper, or even linen fabric.
Here's the secret most people miss: great flat lays are 90% planning and setup and only 10% technical camera skills. If you focus on getting your arrangement, lighting, and background right, you'll see a much bigger impact than you would from buying expensive gear.
Setting Up Your First Shot
Your initial setup can be pretty straightforward. Just place your background surface on the floor or a low table right next to your largest window. This position lets that soft, directional light wash across your products beautifully.
Lay out your items on the background, then position your camera directly overhead using your tripod or mount.
To really nail this, you should start with a solid grasp of what is flat lay photography and its core principles. This foundational knowledge will pay off big time when you need to troubleshoot issues and refine your shots. As you practice, you'll see how even tiny adjustments to your setup can make a massive difference. For brands trying to build a complete visual identity, learning these basics is the first step toward creating a polished and effective e-commerce presence, which you can learn more about in guides to setting up an e-commerce photo studio.
Planning Your Shoot Like a Pro Stylist
The best flat lays are never a happy accident. They’re born from thoughtful planning long before a camera ever comes out. Getting this pre-production phase right is the secret sauce that separates a random pile of stuff from a compelling, on-brand image that actually sells.
It's tempting to just start arranging things and see what happens, but a little prep work saves a ton of time and guarantees your final shots are both beautiful and effective.
Define Your Theme and Build a Shot List
Before you do anything else, you need a theme. Think of it as the core story for your setup. It dictates your colors, props, and the overall vibe. Your theme should feel like a natural extension of your brand—are you minimalist and modern, rustic and organic, or bold and vibrant?
A sleek tech brand, for instance, would probably stick to a clean white background, maybe some simple metallic props, and a tight color scheme. On the other hand, a brand selling handmade leather goods would feel more at home on a weathered wood surface with natural textures like linen and earthy colors.
Once your theme is locked in, build a shot list. This is your roadmap for the entire shoot. It doesn't have to be fancy; a simple spreadsheet is perfect. This little document keeps you focused and makes sure you don’t forget a single crucial shot.
At a minimum, your shot list should track:
- Product Name/SKU: So you know exactly what’s the star of the show.
- Composition Notes: A quick description of the layout (e.g., "Sweater folded left, sunglasses and book on right").
- Required Props: Every single supporting item you'll need for that shot.
- Intended Use: Is this for Instagram, a product page hero image, or an email banner? This detail changes how you frame everything.
A great shot list forces you to visualize each photo before you start. You'll quickly spot gaps in your prop collection or weaknesses in your composition before you've wasted any time setting things up. It’s a creative filter.
This kind of organization is what creates consistency, especially when you’re shooting a bunch of products at once. It ensures every photo serves a purpose and contributes to a cohesive story across all your channels.
Source Props That Enhance Your Story
Props are the supporting cast. They add context and personality but should never steal the spotlight from your product. The goal is to choose items that feel authentic to your theme and your customer's world. What would they naturally pair with your product?
If you’re shooting a summer dress, maybe you add a straw hat, a great pair of sunglasses, and a magazine. For a bag of high-end coffee beans, you could bring in a beautiful ceramic mug, a few scattered beans, and a small pastry. These props build a scene and help the customer picture the product in their own life.
Try to mix up textures and shapes to keep things interesting. A hard marble slab looks amazing next to a soft cashmere throw. A few small, delicate items can balance out a larger, more structural piece. You don't need a huge budget, either. Thrift stores, craft shops, and even your own home are goldmines for props—vintage books, unique dishes, and natural elements like dried flowers or leaves work wonders.
Perfecting the Final Product Prep
This is the final—and most skipped—step: meticulous product prep. No amount of styling can fix a wrinkled shirt or a dusty surface. This last check is absolutely critical for that clean, professional look that defines great lay flat photography.
Before any product hits your background, make sure it’s perfect. Steam or iron clothing until every single crease is gone. A lint roller is your best friend; use it generously to grab any stray fibers or dust that will scream for attention under bright lights.
For clothing, pay close attention to the folds. You want clean, intentional lines. A great pro tip is to use a little tissue paper to stuff sleeves or collars. This gives them a bit of life and shape, preventing them from looking limp and flat. It’s a small detail that adds dimension and makes the product look so much more appealing.
Nailing Your Lighting and Camera Settings
Okay, you’ve planned your scene and prepped your products. Now for the fun part—the technical details that separate a basic snapshot from a professional, eye-catching image. Getting your lighting and camera settings dialed in is absolutely crucial. It’s the difference between a flat, boring photo and one that’s crisp, vibrant, and makes a customer stop scrolling.
Don’t worry, this isn’t about getting lost in confusing jargon. It’s about making a few deliberate choices to create the exact look you’re after.
Great lighting is everything. It sculpts your products, brings out tiny details, and sets the mood. Bad lighting? It throws harsh shadows, messes up your colors, and makes even the most premium products look cheap. Honestly, if you only master one thing, make it lighting.
Choosing Your Light Source
You really have two main options for lighting your flat lays: natural light or artificial light. Neither one is "better" than the other; they just have different pros and cons. Your decision will come down to your shooting space, your budget, and how much consistency you need.
H3: Natural Window Light
For a lot of photographers, the soft, diffused light from a big window is the holy grail. It’s free, it’s incredibly flattering, and it creates a gorgeous, gentle quality that’s tough to replicate with a lamp.
- The Ideal Scenario: Shoot on a slightly overcast day. Those clouds act like a giant, natural softbox, scattering the sunlight perfectly and keeping harsh shadows at bay.
- Setup Tip: Place your backdrop and products right next to the window, but not in a direct beam of sunlight. You want the light to come in from the side, gently sweeping across your items to create soft, dimensional shadows that give them shape.
- The Reflector Trick: To brighten up the shadows on the side opposite the window, grab a cheap piece of white foam board. Prop it up to bounce light back into the dark areas. This simple trick creates a clean, bright, and evenly lit scene.
H3: Artificial Lighting
If you need to shoot at night, in a room with no good windows, or demand absolute consistency between every single photo, artificial light is your new best friend. A single softbox is a fantastic, relatively affordable way to get started.
- The Big Advantage: Total control. You are no longer at the mercy of the weather or the time of day. Your lighting will look identical in every shot, which is a game-changer for creating a cohesive product gallery on your website.
- Positioning: Set up your softbox at about a 45-degree angle to your layout, just like you would with a window. This mimics that same beautiful, flattering sidelight.
This simple workflow visualizes how these planning stages come together before you even pick up the camera.
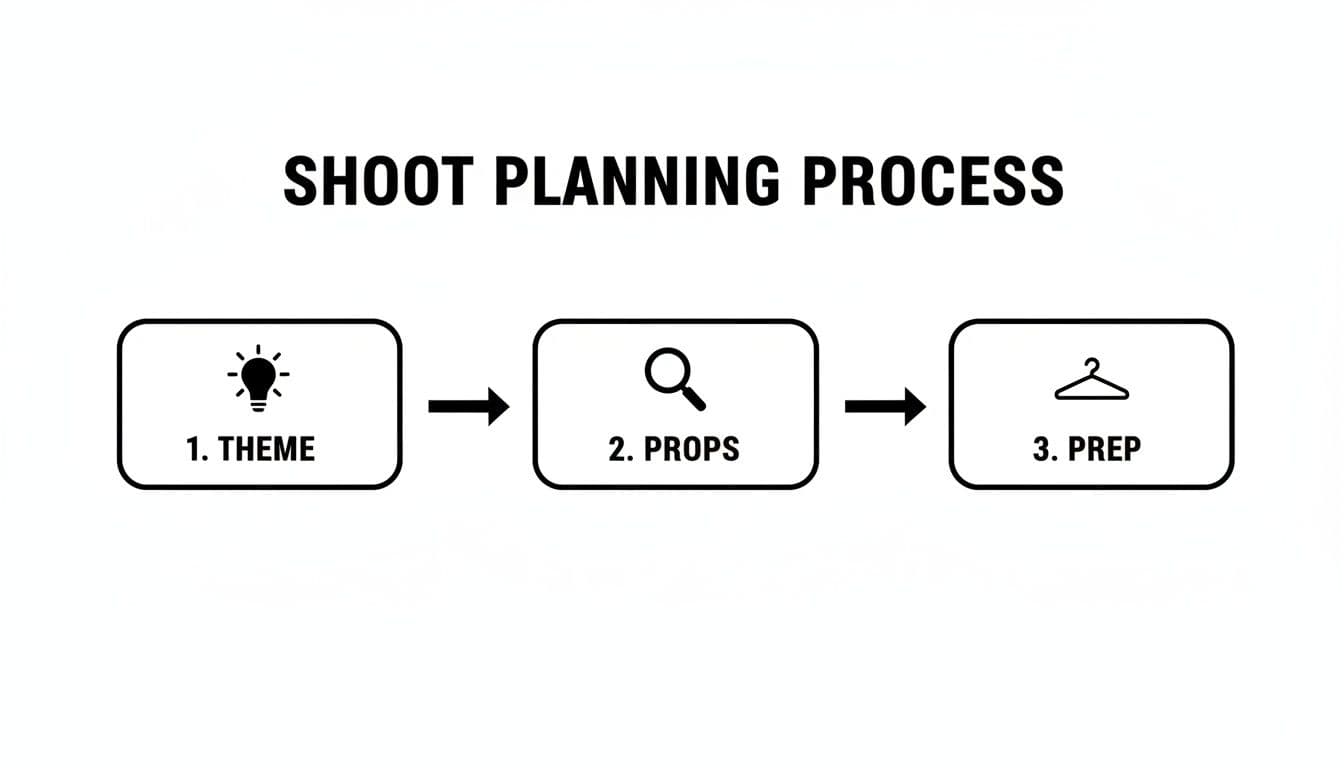
Diagram illustrating a three-step shoot planning process: Theme, Props, and Prep, with corresponding icons.
Ultimately, preparation is a step-by-step process. Each stage—from settling on a theme to gathering props and doing the final prep—builds on the last, setting you up for a smooth and successful shoot.
Demystifying Your Camera Settings
Once your lighting is looking perfect, a few key camera settings will make sure your final image is sharp and properly exposed. The exact numbers will shift a bit depending on your specific light, but the core principles are the same whether you're using a DSLR or your smartphone.
Pro Tip: I can't stress this enough: use a tripod or an overhead mount. It doesn't matter if you're using a phone or a professional camera. The tiniest bit of camera shake can ruin an otherwise perfect shot. For professional-level sharpness, stability is non-negotiable.
Here’s a quick reference to get you started, whether you’re shooting with a dedicated camera or your phone.
Quick Guide to Lay Flat Camera Settings
| Setting | DSLR Recommendation | Smartphone Tip |
|---|---|---|
| Aperture/Focus | Use f/8 - f/11 for a deep depth of field, keeping everything sharp. | Tap and hold on your product to lock focus and exposure. |
| ISO | Keep it low: 100 or 200 to avoid any digital grain. | Use the "sun" slider after locking focus to adjust brightness manually. |
| Shutter Speed | Adjust last to get the exposure meter to '0'. A tripod allows for slower speeds. | Apps like Halide or ProCamera let you control shutter speed for more precision. |
| Stability | Always use a tripod or overhead rig. | A phone tripod is a cheap and essential accessory for crisp shots. |
| Composition | Use the viewfinder's rule-of-thirds grid. | Turn on the gridlines in your camera settings for better alignment. |
This table isn't about rigid rules, but solid starting points. The goal is always the same: a clean, sharp, and well-lit image that lets your product do the talking.
H3: Settings for DSLR Shooters
If you're using a DSLR or mirrorless camera, flip that dial to Manual (M) or Aperture Priority (A or Av) to take the driver's seat. This gives you direct control over the settings that matter most for flat lays.
- Aperture (f-stop): This controls your depth of field—or how much of the image is in focus. For lay flats, you typically want everything sharp, from the closest prop to the furthest corner. A great starting point is an aperture of f/8 or f/11. This gives you a nice, deep depth of field, ensuring every little detail is crisp.
- ISO: Always keep your ISO as low as your camera will allow, ideally 100 or 200. A low ISO means less digital noise (that grainy look), which results in a much cleaner and higher-quality image. Only raise it as a last resort if you can't get enough light.
- Shutter Speed: This is the last piece of the puzzle. With your aperture and ISO locked in, just adjust your shutter speed up or down until the exposure meter inside your viewfinder reads '0'. Since you're on a tripod, you can use a slower shutter speed without worrying one bit about motion blur.
H3: Making Your Smartphone Shine
The cameras in modern smartphones are incredible, but just pointing and shooting in auto mode often falls short. Making a few quick adjustments can elevate your phone shots from good to great.
- Activate Gridlines: This is your secret weapon for perfect composition. Dive into your camera settings and switch on the grid. Use those lines to make sure your products are perfectly straight and your layout feels balanced and intentional.
- Lock Exposure and Focus: This is a huge one. Before you snap the picture, tap and hold on your main product. A little box or circle will pop up, locking the focus and exposure. This stops the camera from freaking out and changing things if your hand moves a little. You'll usually see a little sun icon appear, letting you slide your finger up or down to manually brighten or darken the shot.
- Consider a Third-Party App: If you want more DSLR-like control, look into camera apps that unlock manual settings. These give you the power to adjust things like ISO and shutter speed yourself, offering way more creative freedom over the final image.
Crafting Compositions That Actually Tell a Story
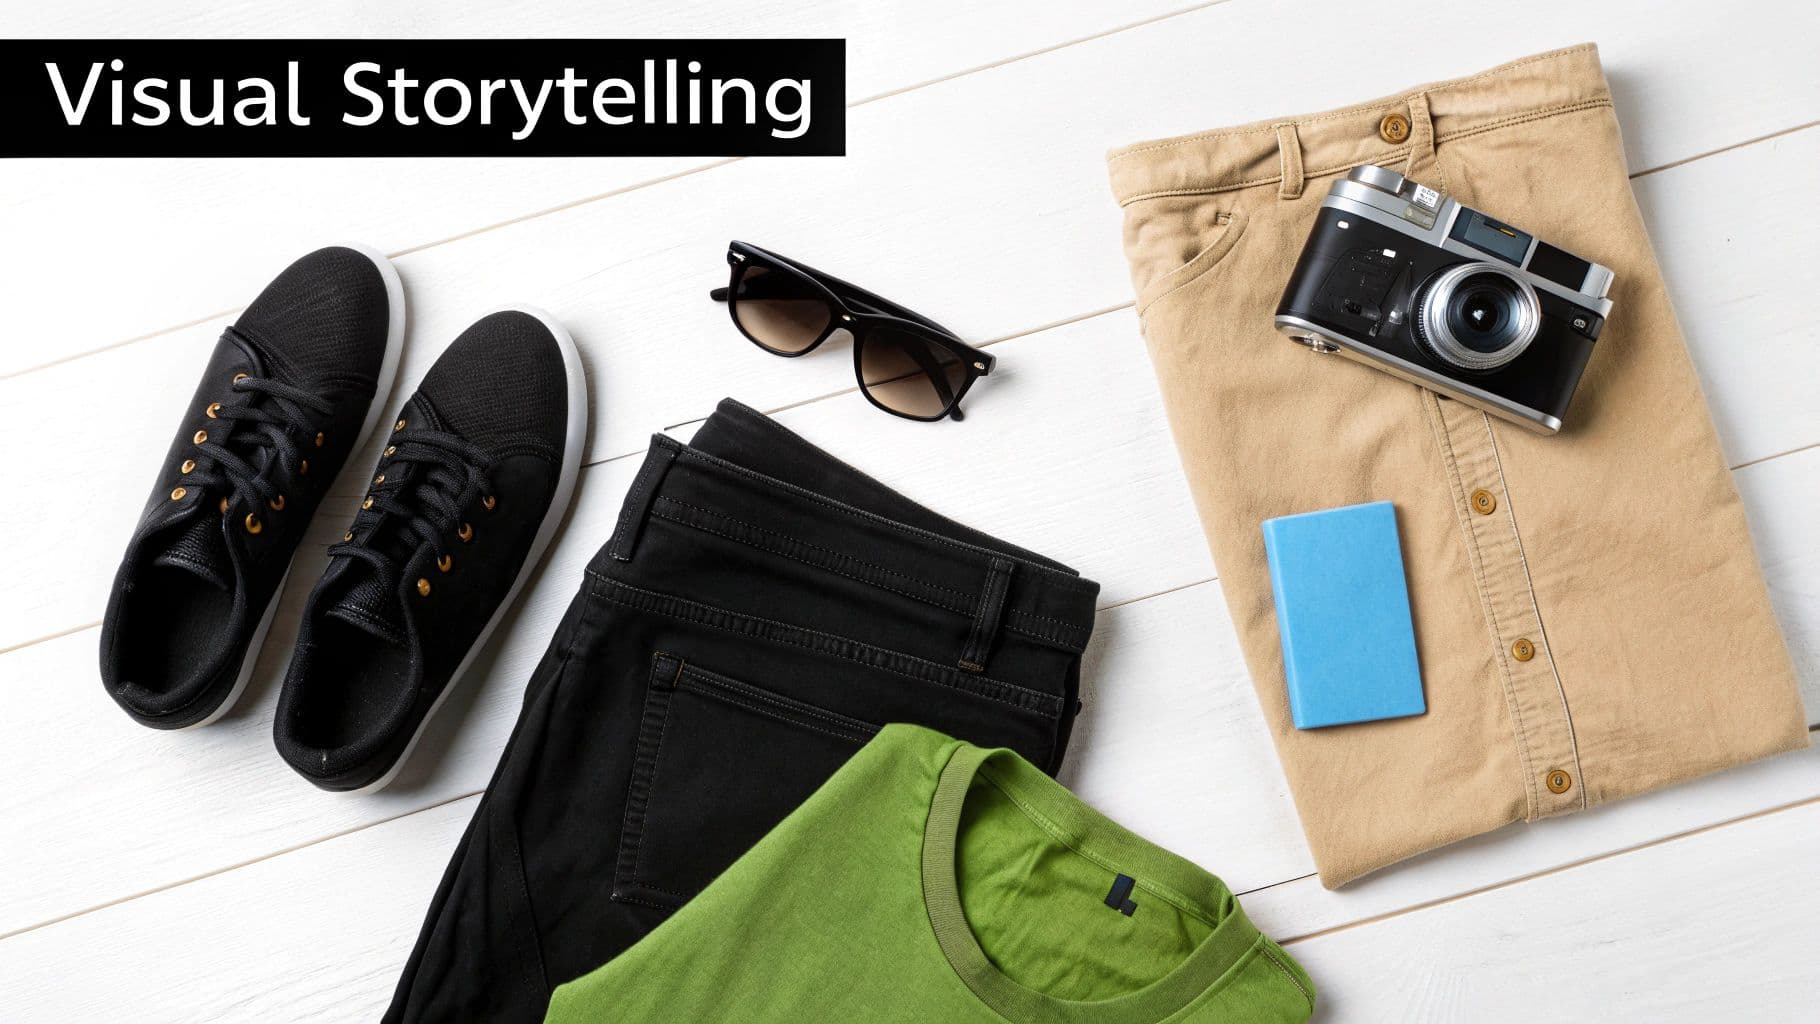
Flat lay of casual clothes, sunglasses, camera, and notebook on a white wooden surface, with 'Visual Storytelling' text.
Look, a photo with perfect lighting and a sharp focus is great. That's table stakes. But an image that sells? That's a different beast entirely. It uses thoughtful composition to pull you in, guide your eye, and tell a story that makes you feel something.
This is your chance to stop being just a photographer and become a visual storyteller. Your product isn't just an item; it's the hero of the scene you're creating. A few classic design principles are all you need to turn a messy pile of stuff into a sophisticated, scroll-stopping image.
Ditch the Center: Using the Rule of Thirds
One of the first things you learn in any visual art is the rule of thirds, and for good reason—it just works. Picture a tic-tac-toe grid over your frame. The goal is to put your most important elements, like your main product, along those lines or where they cross.
It’s a simple trick that forces you out of the habit of dead-centering everything, which instantly makes an image feel more dynamic and natural. Your viewer's eye is drawn into the scene, inviting them to explore rather than just landing in the middle and stopping.
For example, instead of plopping a folded sweater right in the center, try lining it up with the left vertical line. Then you can add balance by placing a pair of sunglasses and a book where the bottom and right lines intersect. The whole layout just breathes better and looks way more professional.
The Art of Leaving Things Out: Negative Space
Sometimes, the most powerful tool in your composition is what you don't include. Negative space—the empty area around your subject—isn’t wasted space. It’s an active part of your design.
Think of it as breathing room. Enough negative space keeps your flat lay from feeling cluttered and overwhelming. It makes your hero product pop and gives the whole image a calmer, more high-end vibe.
A crowded room feels chaotic; a thoughtfully arranged one feels intentional. Your flat lay works the same way. Don't be afraid to leave parts of your background showing. Try pulling props further apart or even removing one or two. You’ll be surprised how often less really is more, especially when creating clean lay flat photography that needs to stand out.
Finding Balance and Guiding the Eye
A well-balanced image just feels right. It’s stable and easy on the eyes. But balance doesn't mean perfect symmetry. In fact, asymmetrical balance usually creates a far more interesting shot.
You're essentially trying to distribute the visual weight of your items across the frame. Here's a quick way to think about it:
- Big vs. Small: Balance one large, heavy-looking item on one side with a few smaller items on the other. Think a chunky handbag on the left, balanced by a wallet, keys, and lipstick on the right.
- Dark vs. Light: A single dark object can feel as "heavy" as several lighter ones. Use this to your advantage to create both balance and contrast.
- Create a Path: Arrange your props to create lines or curves that lead the viewer's eye through the photo. Classic "S" curves or triangular arrangements are perfect for this. They create a natural path, so the viewer takes in the whole scene.
When you start arranging items this way, you're telling the viewer exactly where to look first. And that deliberate guidance is what turns a simple product picture into effective marketing. This same principle of creating leading lines applies even when using advanced tools. For instance, platforms that offer pose control AI let you generate on-model imagery where the model's posture itself creates lines that draw attention directly to your product.
You’ve nailed the shot, the lighting is perfect, and your flat lay looks fantastic. Time to pop the champagne? Not quite yet.
The click of the shutter is only half the battle. Post-production is where you take a great photo and turn it into a flawless, on-brand asset that’s ready to make you money. This is where you fix tiny imperfections, make your colors sing, and ensure every image looks like it belongs to the same cohesive family.
A simple, repeatable editing workflow is your best friend here. It’s what separates amateur shots from a truly professional gallery.
Your Go-To Editing Workflow
Don't worry, you don’t need to be a Photoshop wizard to see a huge difference. Focusing on just a few key adjustments can completely elevate your images. Whether you're on your phone or a desktop, the core ideas are the same.
Here's the rundown I use for almost every photo:
- Crop and Straighten: This is always step one. Fix any slightly crooked lines and crop in to really pull focus onto your product. This is also your chance to create different versions for different platforms—think a clean square for the 'gram or a vertical pin for Pinterest.
- Fix Your White Balance: This is absolutely critical for true-to-life colors. Find the white balance tool (it often looks like an eyedropper) and click on something in your photo that’s neutral gray or pure white. This one click tells the software what "true white" is, instantly nuking any weird color casts from your lighting.
- Tweak Exposure and Contrast: Now, let's get the brightness right. Nudge the exposure up or down until it looks perfect. Then, add a gentle touch of contrast. This makes the whites a little brighter and the blacks a little deeper, giving the whole image more life and dimension. It just makes it pop.
- Add a Touch of Sharpening: The final step. A little bit of sharpening makes details like fabric textures, stitching, or tiny logos look crisp and clear. The key word is little. Go too far, and you’ll get a crunchy, unnatural look.
Your goal in post-production isn't to fundamentally change the photo; it's to enhance what's already there. The best editing is invisible, resulting in an image that looks clean, vibrant, and effortlessly professional.
Picking the Right Editing Tools
The market is flooded with editing software, but you can get amazing results without spending a dime. It really just comes down to your workflow, budget, and how much control you want.
- For Quick Mobile Edits: Honestly, apps like Snapseed (made by Google) or even the built-in editor on your phone are incredibly powerful and free. They have all the essential controls you need to get a great polish right from your device.
- For Pro-Level Control: If you're serious about your lay flat photography, investing in a program like Adobe Lightroom is a game-changer. Its real superpower is creating presets—basically, saved recipes of your edits. You can apply a preset to an entire batch of photos with one click, guaranteeing every single image has the exact same professional look and feel.
Getting Your Images Ready for the Web
This last step is critical and so often overlooked. A stunning photo is useless if it takes an eternity to load on your website. Slow-loading pages are a top reason customers bail on a site, which means you're losing sales.
Before you upload anything, always compress your images. Use a free tool like TinyPNG or the "Save for Web" function in Photoshop. These can slash file sizes by over 70% without any noticeable drop in quality. It’s a simple step that makes your site faster, your customers happier, and can even give you a little boost with the search engines. A fast, beautiful website is the final piece of the puzzle.
Scaling Your Visuals with AI Photography
So, you've mastered your flat lay workflow. You have a folder full of crisp, perfectly edited product shots. Now what? This is where your hard work really pays off, letting you move beyond static images into a world of endless visual content.
The magic happens when you realize that single flat lay photo can be the seed for literally thousands of unique, on-model images. This new wave of technology completely sidesteps the need for expensive, time-consuming, and logistically nightmarish traditional photoshoots.
The Era of the Virtual Photoshoot is Here
The concept is deceptively simple. Instead of trying to coordinate models, photographers, studios, and stylists, you can now use your pristine flat lay as a digital foundation. That one image becomes the key to unlocking an entire gallery of diverse and inclusive marketing visuals.
Platforms offering this kind of product to model technology can instantly render your clothing onto a huge variety of AI-generated models. The AI handles all the tricky parts—realistic draping, textures, and shadows—in seconds. Brands are jumping on this approach for a few very good reasons:
- Massive Cost Savings: Forget about location fees, model bookings, and crew hires. Those costs just vanish.
- Insane Speed to Market: Generate campaign-ready images in minutes, not weeks. This lets you launch new products the moment they're ready.
- Endless Variety & Inclusivity: Showcase your products on a wide range of body types, ethnicities, and personal styles without the constraints of a traditional casting call.
- Perfect On-Brand Consistency: Use the same AI models and backgrounds across all your visuals to maintain a cohesive, professional look.
What This Looks Like in Practice
The financial and operational benefits here are enormous. For a lot of small to medium-sized businesses, a traditional studio shoot can easily run into the thousands per session. These new AI tools are completely rewriting the economics of content creation, often slashing those costs by up to 90% while instantly generating studio-grade imagery for your website and social feeds.
This technology turns your perfected flat lay into an infinitely scalable asset. One great photo can fuel your social media campaigns, product pages, and email marketing for an entire season.
This idea of creating realistic scenes from a single starting asset is blowing up across different industries. For example, to efficiently expand your visual assets, consider exploring how virtual staging AI can instantly furnish empty rooms with stunning, realistic details.
By leaning into these tools, you can transform the effort you put into your lay flat photography into a continuous stream of compelling, conversion-driving content.
Your Lay Flat Photography Questions Answered
Even when you follow all the steps, little issues can pop up. Let's tackle some of the most common questions that come up when you're dialing in your flat lay game.
What Is the Best Background for Lay Flat Photography?
The short answer? A non-reflective background that makes your product the star.
For most brands, a simple white or light gray foam board is the perfect starting point. It's clean, minimalist, and keeps all the focus right where it should be.
If you're looking to add a bit more personality, textured surfaces like wood, marble, or even a nice piece of linen can add incredible depth and context. Just make sure the pattern isn't so busy that it pulls attention away from your product. The key is to maintain consistency across all your shots to build that cohesive, professional look customers trust.
How Do I Get Rid of Shadows in My Flat Lay Photos?
This is all about the light. To kill those harsh shadows, you need a big, soft light source.
If you’re shooting with natural light from a window, an overcast day is your best friend. The clouds act as a giant natural diffuser. No clouds? No problem. Just hang a sheer white curtain over the window to soften that direct sunlight.
Using artificial lights? A large softbox is non-negotiable. Place it to the side of your setup, then grab a spare piece of white foam board and place it on the opposite side. This acts as a reflector, bouncing light back into the scene and filling in any dark spots for clean, even illumination.
The secret isn't just about adding more light; it's about making the light you have softer. A single, well-placed reflector can completely transform a photo, brightening shadows without needing a single extra piece of gear.
How Can I Make Clothes Look Neat Instead of Lumpy?
First things first: prep is everything. Steam or iron the garment until every last wrinkle is gone. Seriously, don't skip this.
To avoid that lifeless, pancaked look, you can add some subtle dimension by lightly stuffing areas like shoulders and sleeves with tissue paper. It gives the piece just enough shape to look natural.
Finally, break out the double-sided fashion tape or some well-hidden pins. Use them to secure collars, hems, and any unruly edges. This is how you get those crisp, clean lines that make clothing look so sharp and appealing in a professional flat lay.
Ready to turn those perfect flat lays into thousands of on-model images in minutes? WearView uses AI to generate studio-quality visuals from a single photo, saving you up to 90% on production costs and getting your products in front of customers faster. Create your first images today.

WearView Team
WearView Content & Research Team
WearView Team is a group of fashion technology specialists focused on AI fashion models, virtual try-on, and AI product photography for e-commerce brands. We publish in-depth guides, case studies, and practical insights to help fashion businesses improve conversion rates and scale faster using AI.