January 23, 2026•17 min read
Mastering Drawing for Fashion Designers A Practical Guide
Level up your drawing for fashion designers. This guide offers practical skills for sketching figures, rendering fabrics, and turning your vision into reality.
Mastering Drawing for Fashion Designers A Practical Guide
Fashion drawing isn't about creating a masterpiece for a gallery wall. Think of it as a language—the first, most critical step in translating an idea from your head into a tangible blueprint. It's how you communicate the precise details of a garment's silhouette, construction, and texture long before a single stitch is sewn.
Building Your Essential Fashion Drawing Toolkit
Before you can even think about bringing a design to life, you need the right tools. This isn't about just grabbing any old pencil and paper; it's about curating a set of instruments that will help you express your vision clearly and professionally.
Think of it like a chef choosing their knives. Each tool has a specific purpose, and having the right ones gives you the confidence to execute your ideas with precision. Assembling your toolkit is the first real step in mastering the art of fashion illustration.
Choosing Your Canvas and Lines
The paper you choose has a huge impact on your final sketch. A smooth Bristol board is fantastic for crisp, clean ink work—your fine-tipped pens will glide across it without bleeding. On the other hand, the slightly rougher surface of cartridge paper is more forgiving, which makes it perfect for those initial rough pencil sketches and brainstorming sessions.
And when it comes to pencils, one size definitely does not fit all. I always recommend having a range on hand to tackle different jobs:
- Hard Lead (like a 2H or 4H): These create super light, fine lines. They're perfect for sketching the underlying croquis (the body form) or initial construction lines that you'll either erase or draw over later.
- Soft Lead (like a 2B or 6B): These give you much darker, richer lines. A 6B is your best friend for adding deep shadows, emphasizing a dramatic hemline, or rendering the feel of heavy fabrics like wool or denim.
Adding Color and Definition
Once you have your basic lines down, markers and pens are what bring the sketch to life. I swear by alcohol-based markers, like the ones from Copic or Winsor & Newton, because they blend so beautifully. You can layer colors seamlessly to create realistic fabric folds and textures.
A common mistake I see beginners make is buying every single color under the sun. You don't need them all! Start with a curated set of neutrals—grays and beiges are invaluable for shading—and a few key colors that reflect your personal style. A limited palette actually forces you to be more creative.
These skills are more important now than ever. The fashion design market in the United States is booming, projected to hit $4.4 billion in revenue by 2025. We've also seen a 15% jump in freelance opportunities since the pandemic, which means designers need to be more versatile and efficient than ever.
To help you get started, here’s a breakdown of the essential tools, whether you prefer the classic feel of pen and paper or the flexibility of a digital workflow.
Essential Drawing Supplies for Fashion Designers
| Tool Category | Analog Options (Traditional) | Digital Alternatives (Modern) | Best For |
|---|---|---|---|
| Drawing Surface | Bristol board, cartridge paper | Graphics tablet (e.g., Wacom), iPad with Apple Pencil | Paper offers tactile feedback; digital provides undo/redo and layering. |
| Line Work | Graphite pencils (2H, 2B, 6B), fine-liners | Digital stylus, custom brushes in Procreate or Adobe Fresco | Capturing initial garment shapes, seam details, and outlines. |
| Color Rendering | Alcohol-based markers, watercolors | Digital airbrushes, texture brushes | Creating realistic fabric textures, shading, and color palettes. |
| Refinement | Kneaded erasers, tracing paper | Layers, layer masks, opacity adjustments | Correcting mistakes and building up complex designs without ruining the original sketch. |
Ultimately, your choice between analog and digital tools comes down to personal preference and your specific goals. Many designers, myself included, use a hybrid approach—starting with a quick pencil sketch and then scanning it to add color and texture digitally.
If you're ready to start building your own collection, you can explore some of my top recommendations in our curated guide to essential fashion design tools.
Mastering the Dynamic Fashion Croquis
Every great fashion sketch starts with the croquis. Think of it as the canvas for your design—a stylized figure that brings your garment to life. We're not talking about static, stiff mannequins here. To really sell a design, you need a figure that shows off the garment's movement and flow.
In the industry, we lean toward an elegant, elongated silhouette, which is why the 9-heads or 10-heads proportion standard is so common. This simply means the figure's total height is nine or ten times the height of its head. It creates a more dramatic, aspirational look compared to the average person, who is about 7.5 heads tall.
Building the Proportional Figure
The best way to start is with a single vertical line. This is your balance line, and it keeps your figure grounded and centered. Divide this line into ten equal parts. The top segment is for the head, and from there, all the other major body parts will fall into place at specific marks.
This methodical approach helps you sidestep one of the most common mistakes: creating awkward proportions that pull focus away from your actual design.
The point isn't to draw a perfect anatomical replica. It's about creating a believable foundation that makes your clothes look incredible. A well-drawn croquis helps you show how a fabric will drape, fold, and move with the body.
For example, I usually place the shoulders around the 1.5-head mark, the narrowest part of the waist near the 3-head mark, and the hips around the 4-head mark. Once you've mapped out these key points, you can connect them to build the torso, arms, and legs.
This visual guide breaks down the typical workflow, from simple paper sketches to the polished digital illustrations you see in professional portfolios.
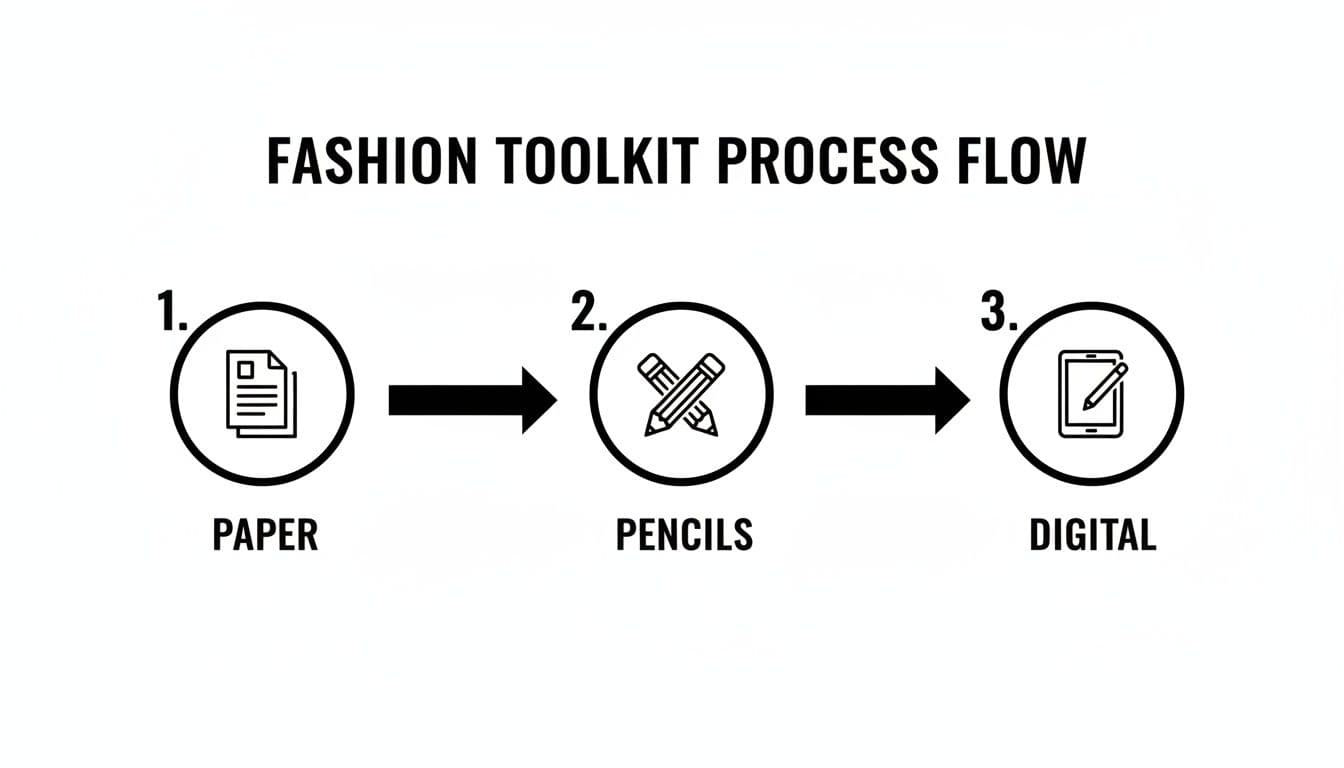
A step-by-step fashion design toolkit process flow from paper sketching to digital creation.
Most designers, myself included, start with pencil and paper to get the initial ideas flowing before jumping onto a computer or tablet for refinement and color.
Injecting Movement and Life
A flat, forward-facing pose rarely does a design any favors. To make your sketch feel alive, you need to master contrapposto. It's a classic artistic technique where the figure shifts its weight onto one leg, which makes the shoulders and hips angle in opposite directions. It’s a game-changer for adding a natural, dynamic feel.
Think about how people actually stand and walk. Their hips tilt, their shoulders are rarely perfectly level, and their bodies are constantly making tiny adjustments to stay balanced. Capturing these little details is what separates a good sketch from a great one.
Here’s what I focus on when practicing poses:
- The Angle of the Hips: The hip above the weight-bearing leg will always be a bit higher.
- The Shoulder Line: This will tilt in the opposite direction of the hips to maintain balance.
- The Curve of the Spine: Look for the gentle "S" curve in the spine. It's a dead giveaway of a natural stance.
Getting these poses right is a huge step up. For designers who want to explore this digitally, tools like WearView offer incredible pose control on virtual models, letting you see exactly how fabrics interact with a moving body. This kind of practice ensures your designs always look energetic and ready for the runway.
Translating Your Vision into Garment Sketches
Alright, you’ve got your croquis. Now for the fun part: actually designing the clothes. This is where your ideas jump from your head onto the page, transforming from a vague concept into a tangible garment. It’s the moment you start to see your design take on a three-dimensional shape.
This isn't just about drawing pretty clothes. It’s about showing how a garment will actually live on a body. Think about it: a structured wool blazer needs sharp, crisp lines to show how it sits on the shoulders. But a flowing silk dress? That’s all about soft, pooling lines that gather and move around the legs. Each material and silhouette demands a totally different touch.
Capturing Construction Details That Matter
What separates a hobbyist's sketch from a professional's? The details. A pattern maker has to look at your drawing and know exactly how to build the garment. That means you need to sketch the small, crucial elements that give a piece its shape and structure.
As you get more comfortable, you can even play around with different tools. I've seen some amazing fountain pen sketches that bring a really unique character to a design, perfect for capturing those clean, technical lines or just adding a bit of artistic flair.
Think about how you're showing volume. A few soft, looping lines are perfect for indicating gathers at a waist or cuff. In contrast, sharp, triangular shapes clearly define where darts need to go to contour the fabric around the bust. These aren't just random lines—they're instructions.
A common mistake I see is when designers forget that every single line on a sketch needs to have a purpose. Your drawing is telling a story of how the garment is made, from where a seam goes to the exact type of closure you want.
Illustrating Seams, Pleats, and Closures
Every little detail adds up, and your sketch has to show it. When you render these elements with real intention, it not only makes your design more believable but also shows you know your stuff when it comes to garment construction.
Here are a few of the non-negotiables you need to get right in your drawings:
- Seams: Show where fabric panels connect with solid or dashed lines. A simple topstitch, for example, can be a tiny dashed line running right alongside a seam.
- Pleats: For crisp knife pleats, draw a series of sharp, parallel lines. For softer box pleats, your lines need to suggest how the fabric folds over on itself, which means adding more depth and shadow.
- Closures: Don't just suggest a zipper or a button—draw it precisely. Show exactly where each button goes, how long a zipper is, or how the delicate hooks on a corset back should be aligned.
Getting these details right is what turns your artwork into a practical, functional design tool. It’s how you make sure that anyone—a collaborator, a professor, your first boss—can look at your sketch and understand exactly how to bring your vision to life.
Rendering Fabric Textures That Feel Real
A great fashion sketch does more than just outline a garment; it tells the story of the material itself. It’s the difference between a flat, lifeless drawing and one that makes someone feel the fabric's weight, drape, and finish before it's ever stitched together. This is where you translate the real world of textiles onto the page.
It all comes down to how a fabric plays with light. Think about the massive difference between satin and denim. For something like satin or silk, your shading needs to be soft and gradual, but with sharp, bright highlights where the light hits. That high contrast between deep shadows and crisp highlights is what creates that signature, luxurious sheen.
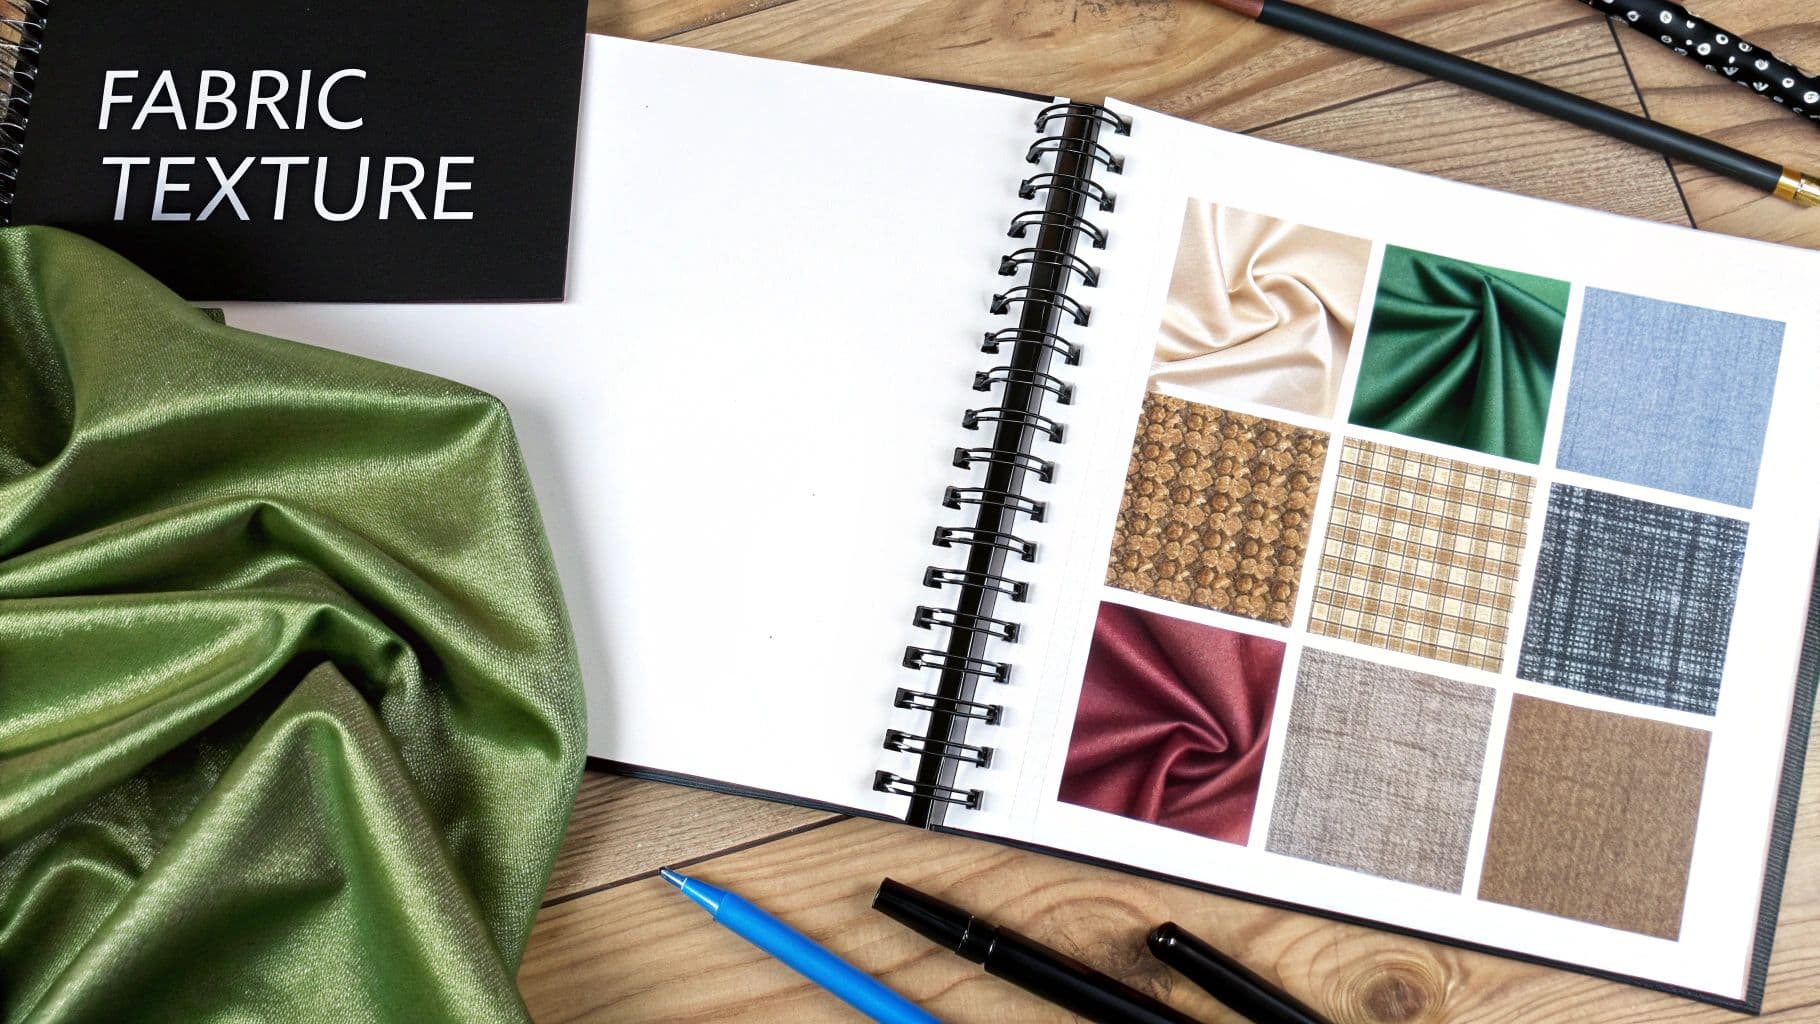
A notebook titled 'FABRIC TEXTURE' with green fabric and an open book showing various fabric swatches.
On the flip side, rugged materials like denim or tweed demand a totally different touch. Here, your line work should be sharp, varied, and almost scratchy to suggest that coarse surface. Techniques like cross-hatching and stippling are your best friends for building up a texture that feels authentic and almost tangible.
Drawing Complex Patterns and Prints
Illustrating patterns—florals, plaids, you name it—is a unique challenge. Why? Because they don't just sit flat on the figure. They have to wrap, distort, and stretch around the body's curves. Getting this right is a hallmark of a professional fashion drawing. A simple plaid pattern, for example, will curve over the bust and bend at the elbow.
To make it look believable, start by lightly sketching the pattern's grid or main shapes over your croquis before you add any heavy detail or color. You have to really pay attention to how the lines follow the body's contours. This one step makes the pattern look like it’s part of the garment, not just an afterthought stamped on top.
Your goal is to make the fabric look like it’s interacting with the world. Think about how a heavy wool coat creates deep, angular folds, while a lightweight chiffon forms soft, delicate ripples. The lines you draw should reflect this physical reality.
Mastering these details is a seriously valuable skill. The decorated apparel market was valued at $28.98 billion in 2023 and is only getting bigger. Women's wear is the engine behind this growth, making up about 65% of global revenue with a huge demand for embellished tops and gowns. This trend just goes to show how crucial it is to accurately sketch decorative elements and fabric types. If you're curious, you can learn more about fashion employment trends and see how these skills are shaping modern design careers.
Techniques for Common Fabric Types
Here are a few quick tips for rendering some popular materials:
- Velvet: Go for deep, rich shading with very few highlights. Velvet's texture absorbs light, so focus on creating soft, dark shadows in the folds to really sell its plush feel.
- Leather: This one is all about sharp, high-contrast highlights to show off its reflective surface. Don't be afraid to leave areas of pure white paper to represent shine, then use smooth, blended shading for the rest.
- Knitwear: Use curved, repetitive lines that follow the pattern of the stitches. Adding subtle shadows between these lines will create a realistic sense of depth and volume, making it look cozy and three-dimensional.
From Sketch to Storefront: Creating Market-Ready Visuals
In fashion, a killer sketch is just the first spark. The real challenge—and where the magic happens—is turning that concept on paper into a visual that can sell a garment. This is the crucial leap from creative idea to the polished imagery needed for lookbooks, e-commerce sites, and Instagram feeds.
The journey almost always starts by going digital. Tools like Procreate and Adobe Illustrator are the industry workhorses for a reason. They give you the power to clean up your line work, play with endless color combinations, and apply intricate textile patterns with a precision that’s nearly impossible to get right by hand. Footwear designers often layer specialized AI sketch-to-render apps on top of this stack—see our guide to the best AI tools for footwear design.
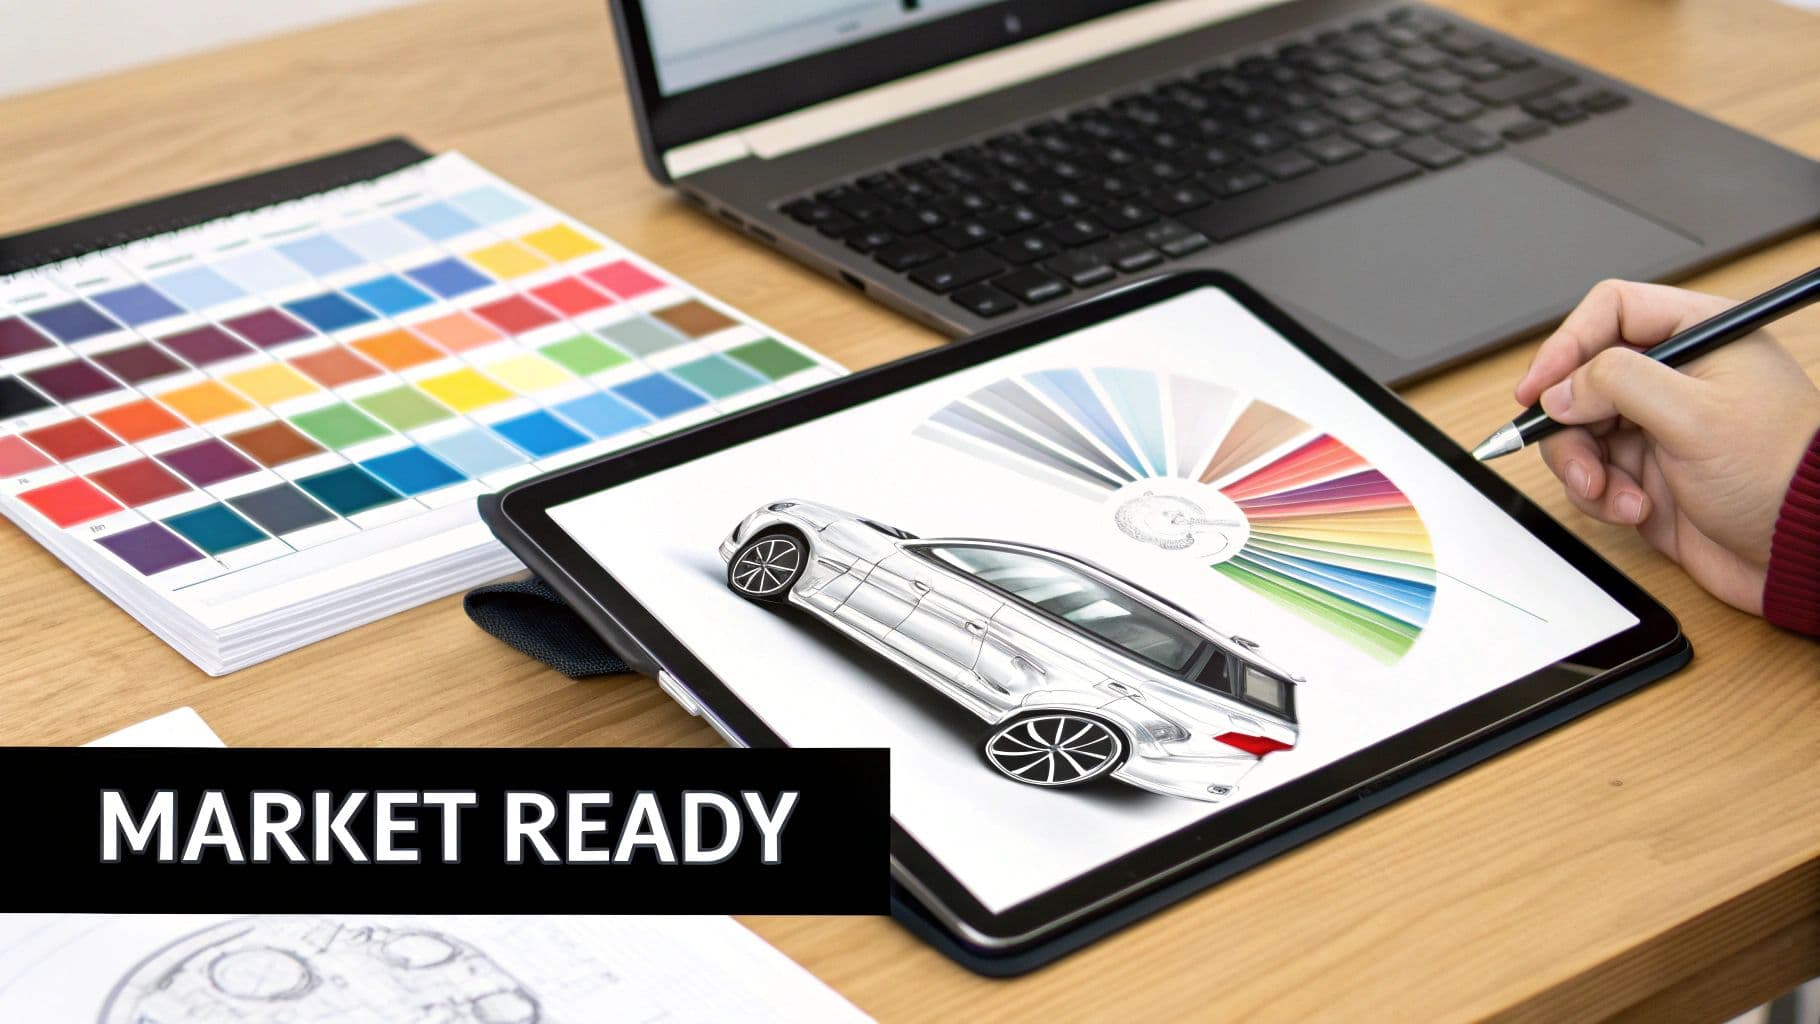
Designer drawing a car concept on a tablet with a stylus, surrounded by color swatches.
Beyond the Illustration: Photorealistic Imagery
Once you've nailed the garment sketch, the next step is to explore digital tools for transforming sketches into visuals that look like they came from a professional photoshoot. This part of the process has completely changed in recent years. Not long ago, the only path forward was to create a physical sample and then sink a ton of time and money into a photoshoot.
Now, that entire bottleneck is disappearing. New AI platforms can take your flat illustration or a simple photo of your garment and generate incredibly realistic, on-model images in just a few seconds. This lets you see your design on different body types, experiment with various locations, and show it from every angle, all before a single piece of fabric is cut.
This isn't just a cost-saving measure; it’s about giving you speed and creative agility. You can test a new collection's appeal with your audience before you've even committed to production, allowing you to make smart, data-backed decisions that were once out of reach.
This modern approach closes the gap between concept and consumer like never before. Designers can now generate incredible marketing assets and fill their online stores with high-quality visuals faster than ever.
The New Creative Workflow in Fashion
Bringing these tools into your process creates a much smarter, more efficient design cycle. It smooths out the friction between the creative vision and the commercial reality, empowering even solo designers to produce visuals that can compete with major brands.
Here's what this new workflow generally looks like in practice:
- Digitize & Polish: Start by scanning your hand-drawn sketch or, even better, create the final colored illustration directly in a digital program.
- Generate Your Shoot: Upload that clean design or a flat photo of a single garment to an AI generation platform.
- Direct the Creative: This is the fun part. You get to choose virtual models that fit your brand's vibe, select poses that show off the garment, and pick backgrounds to create a cohesive, on-brand look.
- Go to Market: Download the high-resolution, royalty-free images and start using them right away on your website, social media, or in your digital lookbook.
It's a faster, more sustainable alternative to the old ways. And if you're dealing with an entire collection, understanding effective ecommerce image editing can make your life even easier, ensuring everything looks consistent and professional. By embracing a digital-first mindset, you get to spend less time bogged down in logistics and more time doing what you actually love: designing.
Answering Your Top Fashion Drawing Questions
As you get deeper into fashion drawing, you're bound to run into a few hurdles or questions. It happens to everyone. Let's break down some of the most common ones I hear from up-and-coming designers.
What’s the Single Most Important Skill I Need?
This might surprise you, but it’s not raw artistic talent. The most important skill by a long shot is clear communication.
Think of your fashion sketch less as a piece of art and more as a technical blueprint. Its job is to tell a pattern maker or your production team exactly how to build the garment. A simple, clean sketch that clearly shows the silhouette, seam lines, and fabric is infinitely more valuable than a gorgeous, painterly illustration that leaves those details ambiguous. In the end, clarity is king.
How Do I Find My Own Unique Illustration Style?
Your personal style isn't something you decide on one day; it's something you discover over time. It really boils down to two things: consistent practice and soaking up tons of inspiration.
Start by looking at illustrators whose work you love. Don't just copy them, but really analyze what draws you in. Is it the way they use bold, sketchy lines? Their soft watercolor palettes? The dramatic poses? Try incorporating little pieces of what you admire into your own work.
Play around with different tools! Break out the charcoal, mess around with watercolors, or download a new brush set in Procreate. Your style will start to shine through when you find the medium that just clicks for you. It's a blend of your influences and your own natural hand.
Do I Have to Be an Amazing Artist to Be a Designer?
Absolutely not. You don't need to be a classically trained artist, but you do need to be an effective visual communicator.
Remember, the goal of a fashion sketch isn't to be framed and hung in a gallery. It’s a functional tool. As long as your drawing communicates proportions accurately and shows all the necessary construction details, it’s doing its job perfectly. That precision is what ensures the final garment looks exactly like what you had in your head.
Once your sketches are ready, turning them into market-ready visuals is the final hurdle. Instead of sinking your budget into photoshoots, you can use a tool like WearView to instantly generate photorealistic on-model images directly from your designs. Start creating stunning visuals today.

WearView Team
WearView Content & Research Team
WearView Team is a group of fashion technology specialists focused on AI fashion models, virtual try-on, and AI product photography for e-commerce brands. We publish in-depth guides, case studies, and practical insights to help fashion businesses improve conversion rates and scale faster using AI.