January 11, 2026•18 min read
Flat Lay Photo: Mastering a flat lay photo for stunning shots
Discover how to craft a captivating flat lay photo with expert styling, lighting, and editing tips for standout product shots.
Flat Lay Photo: Mastering a flat lay photo for stunning shots
So, what exactly is a flat lay photo?
Think of it as a picture taken from a bird's-eye view, looking straight down on a thoughtfully arranged collection of items. But it's so much more than a simple top-down shot. A good flat lay is a storytelling device, using objects, textures, and clever composition to build a whole vibe.
Why A Great Flat Lay Photo Sells More
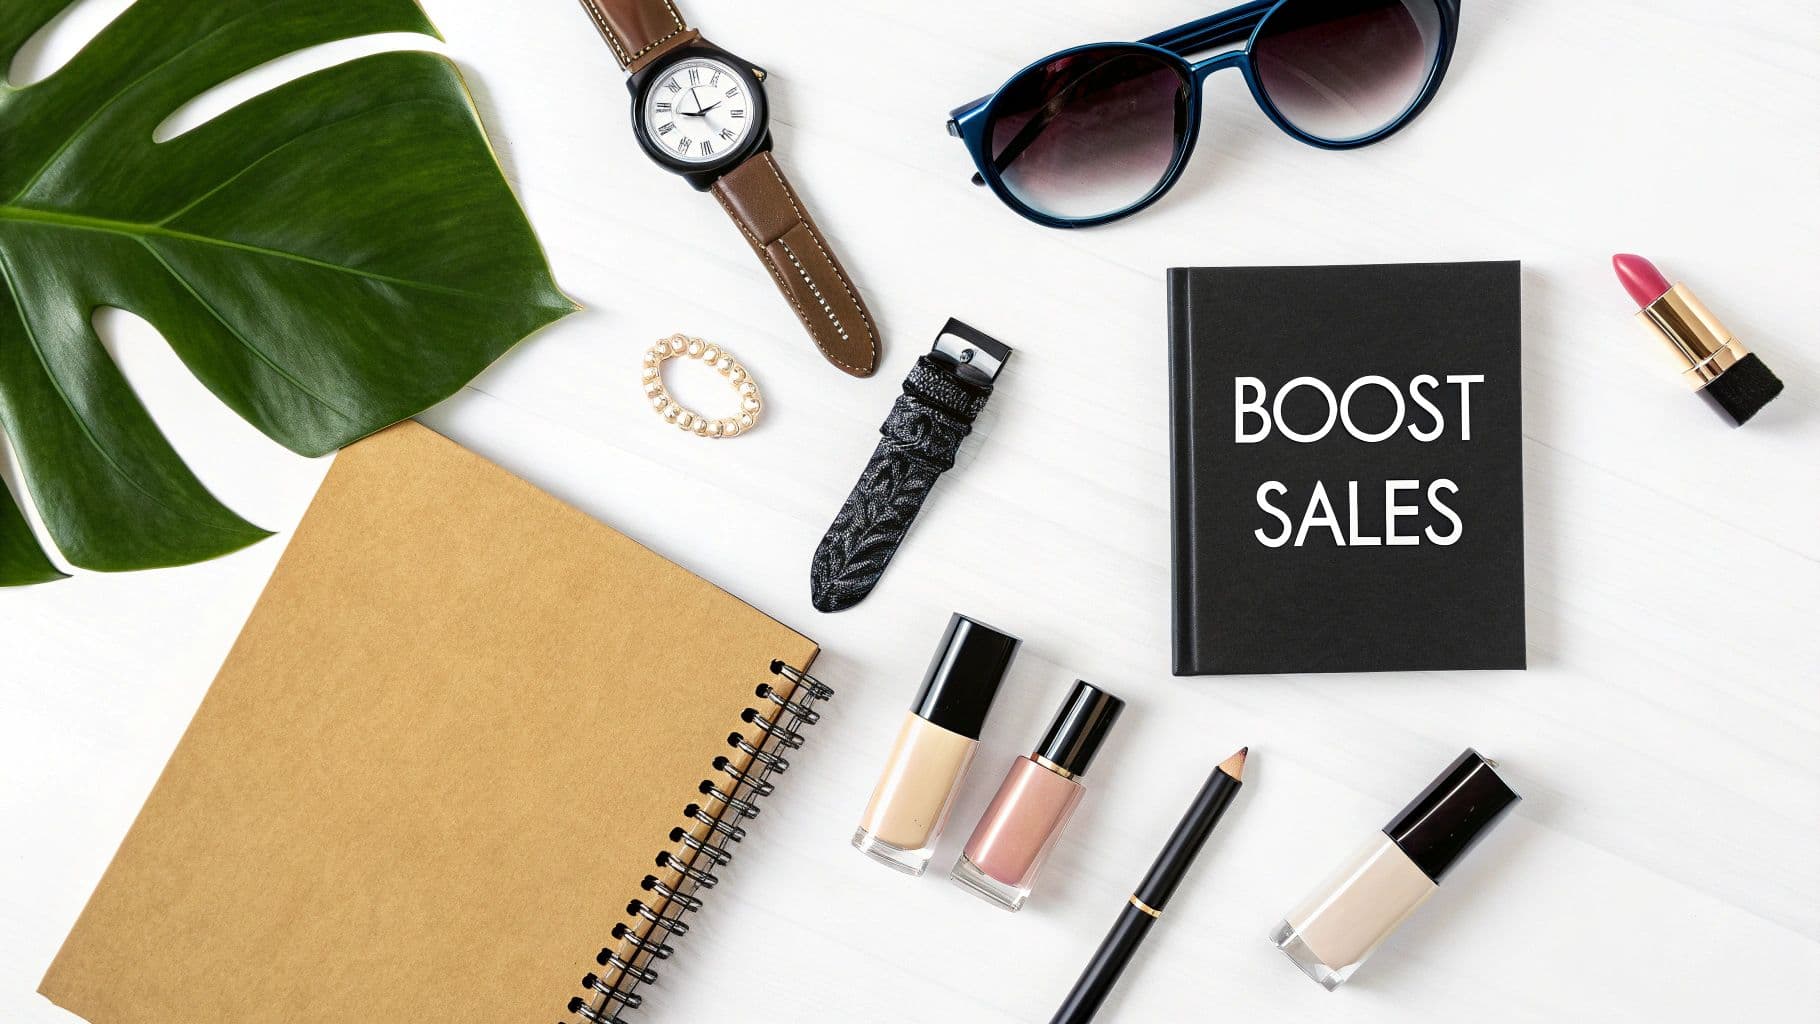
Flat lay of 'Boost Sales' notebook, watch, sunglasses, makeup, and Monstera leaf on a white background.
In a market overflowing with visual noise, a sharp, well-styled flat lay is a brand's secret weapon. You're not just showing a product; you're placing it in a context that tells a story, shapes your brand's identity, and ultimately, gets people to click "buy."
This style of photography gives you complete control over the narrative. You can pair your main product with complementary props to suggest a lifestyle, hint at a specific use case, or just create an irresistible mood. It’s this curated aesthetic that helps you build a strong, recognizable brand identity that connects with your audience, especially on platforms like Instagram and Pinterest.
The Impact on Customer Perception
A clean, professional flat lay does more than just look pretty—it builds trust. It quietly communicates that you're a brand that cares about quality and sweats the small stuff, both in your products and how you present them. That visual polish can be the tipping point for a customer who's on the fence.
The top-down perspective also offers unmatched clarity. It lets customers see all the important details, textures, and the scale of a product without a busy background getting in the way. You’re essentially answering their questions before they even have to ask. This level of detail is a cornerstone of any successful e-commerce photoshoot.
A great flat lay removes guesswork. It presents a product with honesty and style, allowing the customer to envision it in their own life, which is a critical step in the path to purchase.
You can see the growing importance of this technique just by looking at the numbers. The e-commerce product photography market, which leans heavily on flat lays, was valued at US$163.91 million in one recent year and is on track to hit US$275.4 million by 2030.
Mastering the flat lay is also a key piece of broader content monetization strategies, helping you turn simple product shots into valuable assets that drive both engagement and sales.
Gathering Your Essential Styling Toolkit
The magic of a great flat lay photo doesn't happen when you click the shutter. It starts way before that, with a bit of planning and the right styling toolkit. Getting your backgrounds, props, and product prep dialed in is what makes your hero item truly shine.
Your background is the stage for your product, and it sets the entire mood. You don’t need to drop a ton of cash on fancy surfaces, either. Some of the best options are cheap and easy to find. A simple white or black foam board from a craft store gives you a clean, minimalist canvas that makes colors pop.
For shots that need more texture and warmth, think about using natural elements.
- Fabrics: A simple linen tablecloth, a chunky knit sweater, or even a silk scarf can add softness and a sense of depth.
- Wood Surfaces: Grab a weathered wooden plank from a hardware store or even a sample of light-colored floorboards. These are perfect for a rustic, organic vibe.
- Paper and Vinyl: Marble contact paper stuck onto a board gives you that elegant look without the heavy lifting. Colored cardstock is your best friend for vibrant, graphic layouts.
Choosing Props With Purpose
Once your background is sorted, it's time for props. The key here is to be intentional. Every single prop should support your main product, not fight it for attention. A classic rookie mistake is just throwing things in to fill empty space, which almost always creates a cluttered mess.
Instead, pick props that tell a story. Photographing a planner? Add a nice pen, a pair of glasses, and a steaming mug of coffee to build a narrative around productivity. Shooting a skincare product? A soft face cloth, a small green plant, and a few drops of water can suggest freshness and natural ingredients.
Think of it like you're creating a little ecosystem for your product. Props are the supporting cast that makes your star look even better, giving customers a glimpse into the lifestyle it represents.
The Final Polish: Product Preparation
This is the last, and maybe the most important, step: getting your product ready for its close-up. Wrinkles, dust, and smudges are distracting and can instantly make a great shot look amateurish. This is where the pros separate themselves.
Before you place a single item, do a quick final check.
- Steam or Iron Garments: If you're shooting clothes, make sure every piece is perfectly smooth. Wrinkles catch light in all the wrong ways.
- Wipe Down Surfaces: Use a microfiber cloth to clean every product, especially anything with a reflective surface like glass or metal. Fingerprints are a dead giveaway.
- Have Tools on Hand: Keep little things like white tack or museum putty nearby. They're lifesavers for stopping round objects like lipstick from rolling away or for propping something up just a tiny bit for a better angle.
By taking the time to gather these elements and prep your products, you're not just taking a picture; you're setting the stage for a flawless flat lay.
Arranging Your Products With Confidence
With your toolkit ready, it’s time for the fun part: bringing your creative vision to life. The secret to a great flat lay photo isn't about following a rigid formula. It’s about understanding a few core principles that create visual harmony and pull the viewer into the scene you’ve built.
Think of it less like a science and more like telling a story within a frame.
One of the most powerful tools you have is negative space—the empty areas around your products. Don't be afraid to use it. White space gives your hero items room to breathe, prevents the shot from feeling cluttered, and guides the viewer's eye exactly where you want it. A crowded layout feels chaotic; a well-spaced one feels intentional and high-end.
This focus on intentional, clean styling is making a huge comeback. A recent analysis found a 43% surge in flat lay photography among beauty brands in just one month, a clear sign that brands are shifting back to high-quality static images to tell a clear product story. You can dig into more engagement statistics that show just how effective this approach is at cutting through digital noise.
Creating Visual Flow and Interest
To make your arrangement feel dynamic instead of flat, you need to create a sense of movement and balance.
A simple trick I love for clothing is to create a gentle 'S' curve. Instead of laying a t-shirt completely flat and lifeless, give it a soft wave through the fabric. This one tiny detail suggests movement and gives the garment a much more natural, appealing shape.
Another classic design principle that works wonders is the "rule of odds."
- Group Items in Threes or Fives: An odd number of items just feels more visually interesting and dynamic than an even number. A pair of earrings is a natural exception, of course. But for supporting props like flowers or makeup brushes, grouping them in threes creates a more balanced, professional composition.
- Vary Sizes and Textures: Placing objects with different sizes and textures next to each other creates contrast and depth. Think about a smooth glass bottle next to a rough, textured linen cloth—it instantly adds a layer of sensory detail that makes the photo more engaging.
Your styling toolkit is what makes executing these techniques possible. This simple workflow shows how each element builds on the last to create a polished, professional setup.
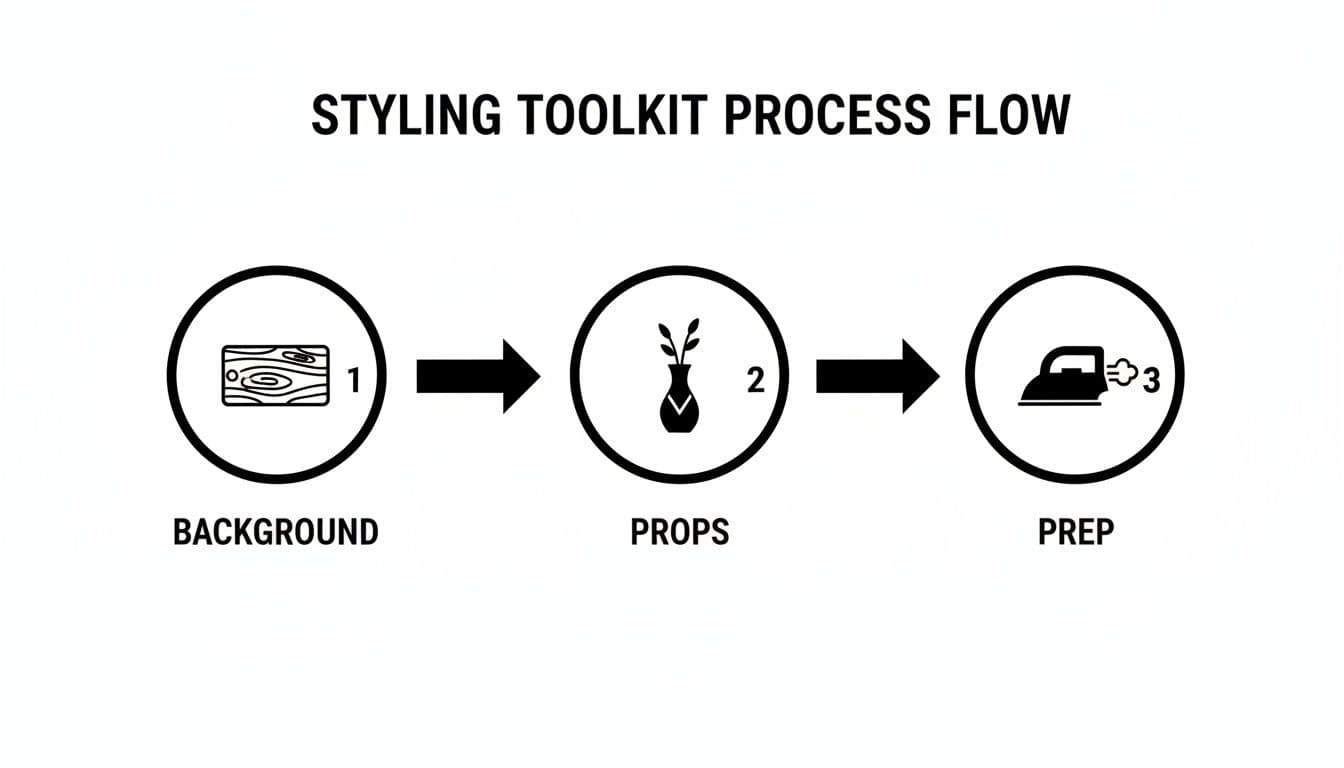
Process flow diagram showing styling toolkit steps: background (wooden plank), props (vase), and prep (iron).
As you can see, it all starts with the right background, followed by choosing purposeful props, and finishing with meticulous product prep.
To help you remember these core ideas, here’s a quick reference table of the composition principles that will instantly improve your flat lay photos.
Key Flat Lay Composition Techniques
| Composition Principle | What It Achieves | How to Apply It |
|---|---|---|
| Negative Space | Prevents clutter and draws focus to the hero product. | Leave empty areas around your main items. Don’t feel the need to fill every corner. |
| Rule of Odds | Creates a more natural and visually appealing balance. | Group props in sets of 3 or 5. For example, three small flowers instead of two or four. |
| 'S' Curve | Adds a sense of movement and flow to static items. | Gently arrange clothing or fabric items in a soft, flowing ‘S’ shape instead of laying them flat. |
| Leading Lines | Guides the viewer’s eye through the composition. | Use props like makeup brushes or stems of flowers to create lines that point toward your main product. |
Applying even one or two of these techniques will make a noticeable difference in the quality of your shots.
Building a Narrative in the Frame
Every flat lay should tell a miniature story. Before you place a single item, ask yourself: what is the core message here?
A perfect real-world example is styling a skincare routine. You wouldn't just scatter the products randomly. Instead, you could lay them out in the order of use—cleanser, then serum, then moisturizer—to subconsciously guide the customer through the experience of using them.
The most compelling flat lays feel like a snapshot of a real moment. They are carefully constructed to look effortlessly natural, inviting the viewer to imagine using the products in their own life.
Now, think about a complete fashion outfit. Lay out the sweater, jeans, shoes, and a few accessories (like a watch or a handbag) in a way that shows how they all work together. This moves beyond simply showcasing individual products; it sells a complete look and inspires the customer. It's this narrative approach that transforms a simple product shot into a powerful marketing asset.
Finding The Perfect Light And Camera Settings
Great lighting is the single most powerful tool you have to make your flat lay photo look expensive and professional. The good news? You don't need a complicated studio setup to get it right. The best light for this style of photography is usually soft, diffused, and completely free.
Your best starting point is a large window that lets in plenty of indirect natural light. "Indirect" is the magic word here. Direct sun creates harsh, ugly shadows and bright spots that are a nightmare to edit out later. Set up your scene just to the side of the window, not right in front of it. This lets the light wash across your products from one direction.
That side-lighting approach is what creates those gentle, flattering shadows that give your products depth and shape. To soften them up and brighten the darker side of your layout, grab a simple piece of white foam board or even a big sheet of white paper. Prop it up opposite the window, and it'll bounce light back into the shadows, giving you a clean, beautifully lit image.
Demystifying Your Camera Settings
Once your lighting is dialed in, it's time to talk camera settings. Whether you're working with a DSLR or just your smartphone, a few key tweaks will make the difference between a blurry snapshot and a sharp, professional product photo.
For anyone using a camera with manual controls, the first thing to master is your aperture (or f-stop). A classic rookie mistake is shooting with a super wide aperture like f/1.8. While that's great for portraits, it creates a shallow depth of field that will leave parts of your flat lay annoyingly blurry.
- For a Sharp Flat Lay: You'll want to set your aperture to a higher f-stop—somewhere in the f/5.6 to f/11 range is perfect. This creates a much larger depth of field, which keeps everything from the front to the back of your scene perfectly crisp.
Your goal is to keep the entire story within your frame sharp and clear. A higher f-stop is the simplest way to guarantee every element of your carefully styled scene is visible to the customer.
Next on the list is ISO, which is just your camera's sensitivity to light.
Keeping Your Images Clean and Crisp
Cranking up the ISO might seem like an easy fix for a dark room, but it comes at a cost: digital noise, or "grain," that instantly makes photos look amateur. Since you've already set up beautiful window light and you'll be using a stable setup, you should always aim for the lowest ISO your camera can handle.
For most cameras, that base ISO is 100 or 200. Stick to that, and you'll get the cleanest, most detailed images possible. If your shot still seems a little dark, resist the urge to bump the ISO. Instead, just use a slightly slower shutter speed—which is where our final tool comes in.
To get a tack-sharp flat lay, you absolutely need stability.
- Use a Tripod: This is non-negotiable for flat lay photography. A good tripod holds your camera perfectly still and allows you to position it directly overhead. Many even have a horizontal arm designed specifically for this kind of shot.
- Engage the Timer or a Remote: Believe it or not, even the tiny vibration from you pressing the shutter button can introduce a little bit of blur, especially with those slower shutter speeds. Use your camera's two-second timer or a cheap remote shutter to get a perfectly steady shot every single time.
Nailing these simple lighting and camera techniques is the foundation of a stunning flat lay photo. They're what elevate a good arrangement into a truly great one.
Editing Your Flat Lay For A Polished Look
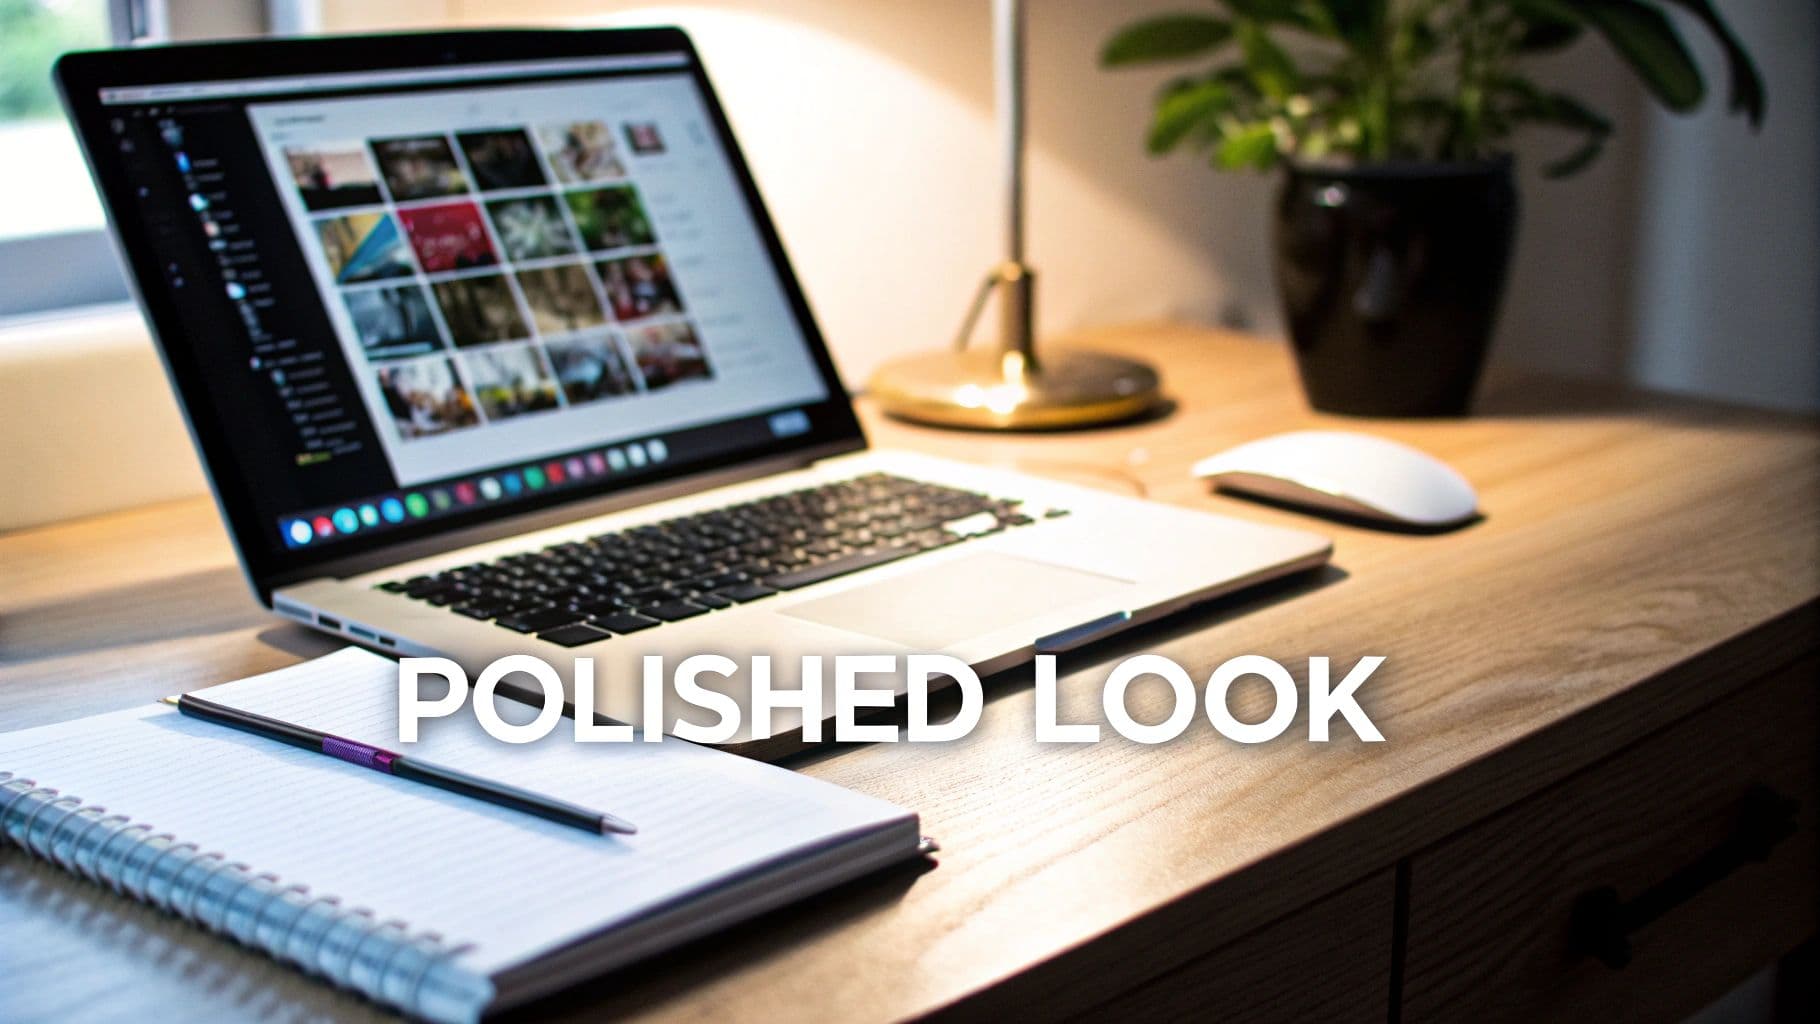
A modern workspace featuring a laptop, mouse, lamp, plant, notebook, and pen on a wooden desk.
The magic of a great flat lay photo doesn't stop when you put the camera down. Honestly, that’s just the beginning. The editing process, or post-production, is where you transform a good shot into something truly exceptional—an image that polishes your brand to a high shine.
Think of it like this: getting the fundamentals right in-camera gives you a great canvas. Editing is where the artistry happens.
Your first move should always be to clean up the basics. Start by cropping and straightening the image. Even a line that's off by a single degree can make an entire composition feel unbalanced and amateurish. Cropping lets you tighten the focus on your hero product, trimming away any distracting bits at the edges that you might have missed during the shoot.
With the frame set, it's time to dial in the exposure and contrast. The goal here isn't to create some over-the-top, dramatic effect. You just want the image to pop. Gently boosting the brightness can mimic the feel of clean, natural light, while a little bump in contrast helps define the edges and makes your products stand out from the background.
Refining Your Colors And Details
Once the foundation is solid, it's time to get granular with color and texture. White balance is absolutely critical, especially in e-commerce. It’s what makes your product colors look true-to-life. If your photo leans too yellow (warm) or too blue (cool), a quick white balance tweak will neutralize it, making your whites pure and your colors accurate.
This is a step so many beginners skip, but it’s fundamental for building trust. Nobody wants to order a "sky blue" shirt that arrives looking teal.
Editing isn't about changing the reality of your product; it's about presenting it in its best possible light. The goal is to create an image that is both aspirational and accurate, ensuring what the customer sees is what they get.
After you've nailed the colors, you can play with saturation or vibrance. A word of caution: a little goes a long, long way. Saturation boosts all colors equally, which can get garish fast. Vibrance is smarter, targeting the more muted tones to give them life. A subtle touch here can make your colors feel rich and luxe, not fake.
This is just one of many small tweaks that can elevate your visuals. For a deeper dive, check out our complete guide to e-commerce image editing.
The final touch? A bit of sharpening. This last polish brings out the fine details and textures in your products—think the delicate weave of a fabric or the brushed finish on a piece of jewelry. It’s the detail that makes an image feel crisp and professional.
Choosing Your Editing Software
You don’t need a Hollywood-level budget or a degree in graphic design to get professional results. Some of the best tools are probably already on your phone.
- Mobile Apps: For quick, high-quality edits on the go, you can't beat apps like VSCO and Adobe Lightroom Mobile. They have incredibly user-friendly controls for all the essentials and come packed with presets that can help you establish a consistent brand style fast.
- Desktop Software: If you crave more precise control, Adobe Lightroom and Photoshop are the industry workhorses for a reason. They offer powerful tools for everything from microscopic color correction to zapping away a stray dust speck you didn't see on set.
Whatever you choose, the real key is consistency. Develop a repeatable workflow, apply it to every flat lay, and you'll build a polished, cohesive visual identity that makes your products look utterly irresistible.
Turning Flat Lays Into On-Model Photos With AI
You've planned, styled, lit, and edited your flat lay photo to perfection. But what if that wasn't the final step? What if you could take that beautiful, static shot and instantly bring it to life on a professional model—without the chaos and cost of a real photoshoot?
This is where your workflow gets a superpower. Using specialized AI tools, that polished flat lay can become a hyper-realistic, on-model lifestyle image in seconds. It’s a move that's quickly changing how brands create visuals for their websites, social media, and ad campaigns.
The Simple Path from Flat Lay to Lifestyle
The process is surprisingly straightforward. You just take the high-quality, edited flat lay photo you’ve already made. This image becomes the perfect input for an AI platform, which then renders the garment onto a diverse lineup of AI-generated models.
You simply upload your product image to kick off the transformation.
The magic here is getting the best of both worlds: complete creative control without any of the logistical headaches.
From there, you can dial in the final image to perfectly match your brand’s aesthetic. Choose models, backgrounds, and poses that connect with your specific audience. This is exactly how modern brands are scaling up their content production, showing customers how products actually look and fit in the real world. As artificial intelligence gets better, it's smart to keep an eye on the broader landscape of tools available. You can explore some of the best AI tools for content creators to see what else is possible.
Why This Method Works
This process perfectly bridges the gap between clean product shots and relatable lifestyle content. A flat lay is brilliant for showing off the details—the fabric, the stitching, the cut. An on-model photo, on the other hand, helps customers imagine the item in their own lives. Combining the two gives you a massive advantage.
By generating on-model photos or ghost mannequin visuals from a flat lay, brands can dramatically slash production costs and get new visuals to market faster than ever before. It offers the best of both worlds: the clarity of a studio shot and the emotional connection of a lifestyle image.
The benefits aren't just theoretical; they're clear and measurable. Brands using this tech report huge cost savings, of course, but also real bumps in key e-commerce metrics like conversion rates and ad performance. For a deeper dive into how this all works, our guide to AI product photography breaks down the entire process. It’s a powerful final step that adds incredible value to your flat lay workflow.
Ready to see it in action? With WearView, you can turn your garment photos into studio-quality model images in seconds. Stop shooting, start generating.

WearView Team
WearView Content & Research Team
WearView Team is a group of fashion technology specialists focused on AI fashion models, virtual try-on, and AI product photography for e-commerce brands. We publish in-depth guides, case studies, and practical insights to help fashion businesses improve conversion rates and scale faster using AI.